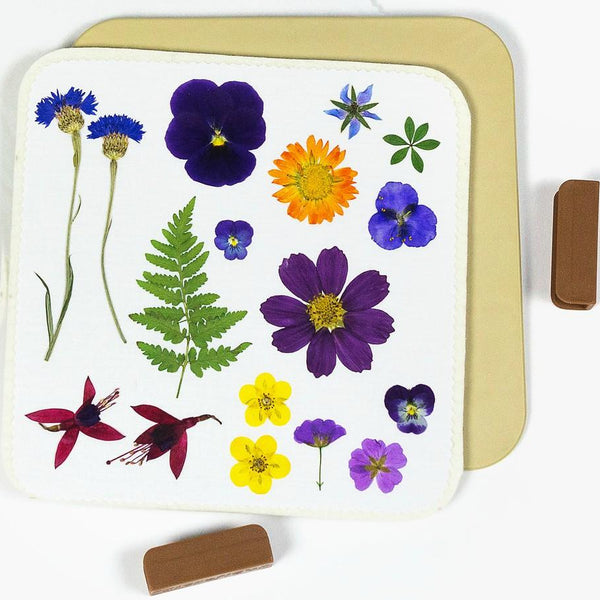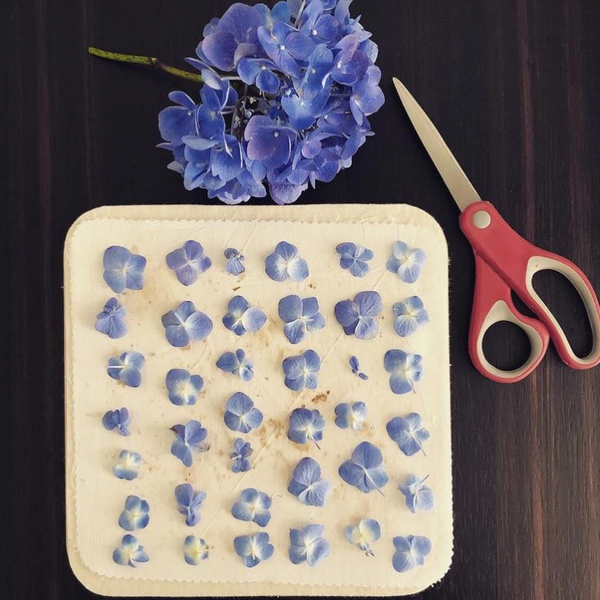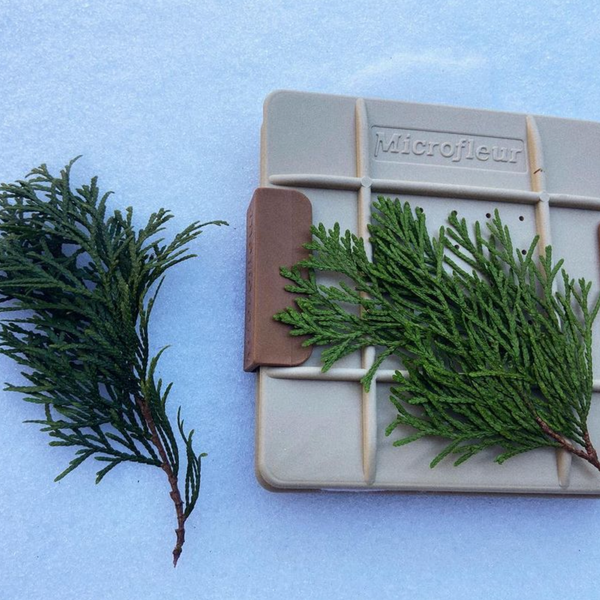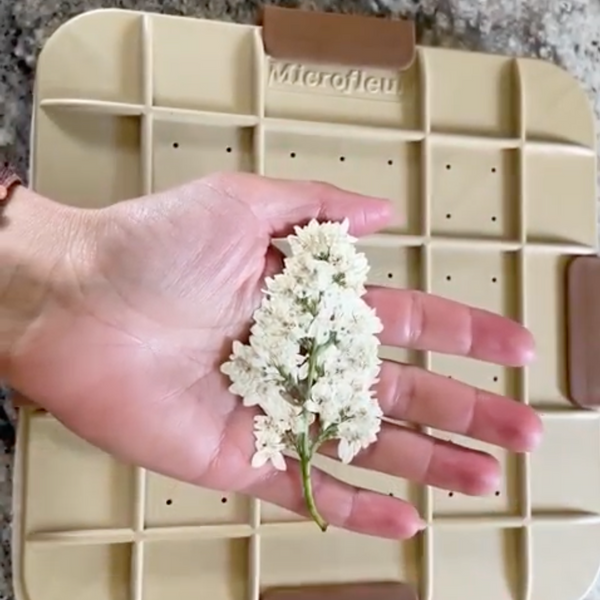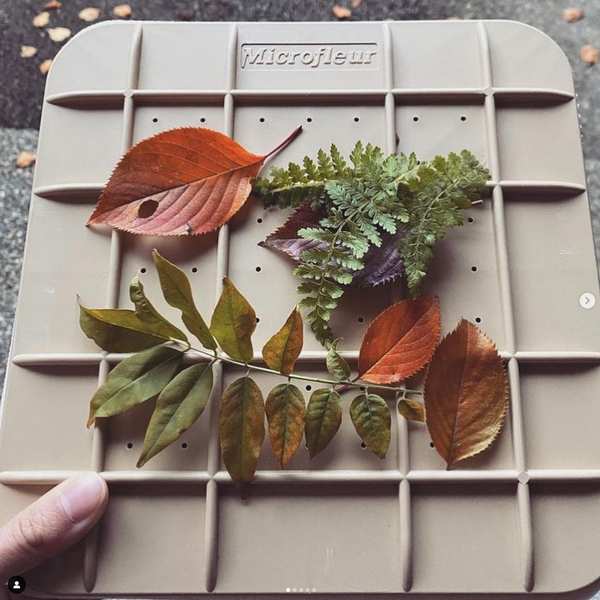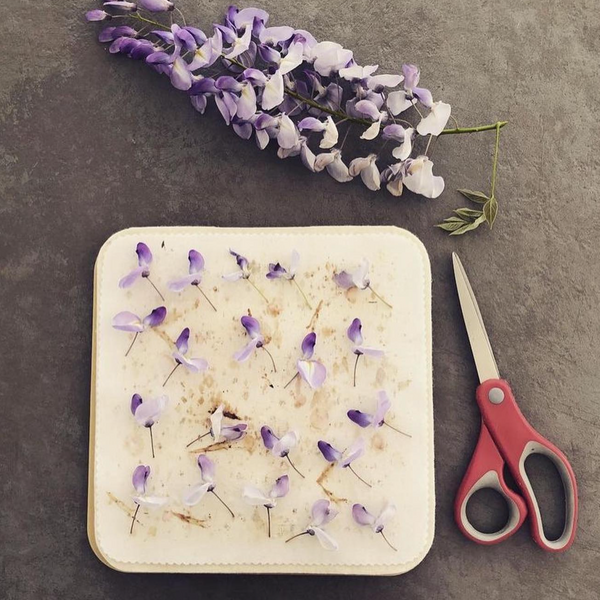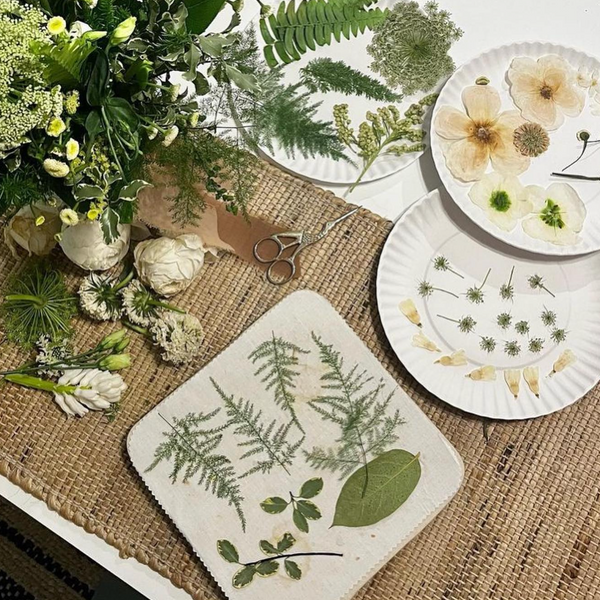

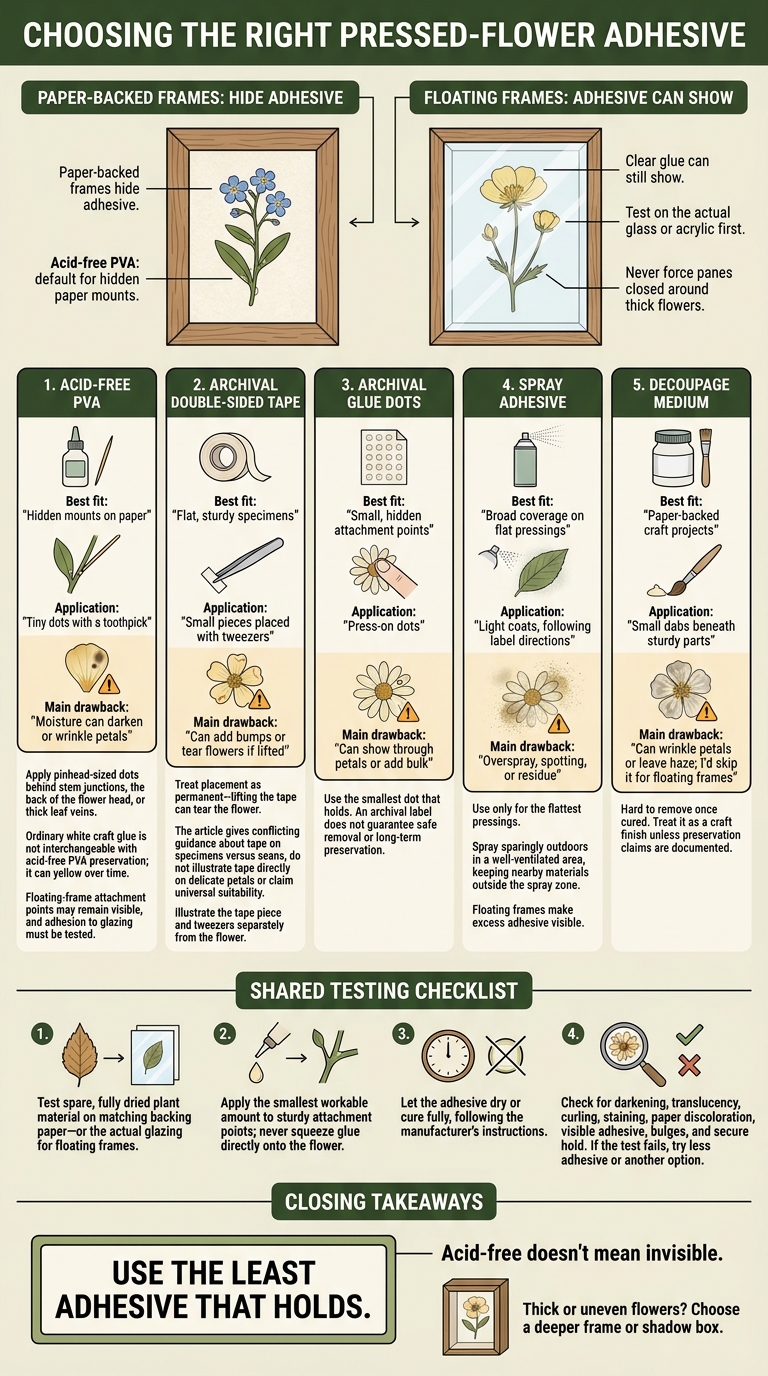
I’d start with acid-free PVA for paper-backed frames, using pinhead-size dots behind sturdy flower parts. For floating frames, I’d test the adhesive on the actual glass or acrylic first: clear glue can still show.
Here’s how I’d choose among the 5 options, based on hold, control, and visible marks.
Quick Comparison
| Adhesive | Best fit | Application | Main drawback |
|---|---|---|---|
| Acid-free PVA | Hidden mounts on paper | Tiny dots with a toothpick | Moisture can darken or wrinkle petals |
| Archival double-sided tape | Flat, sturdy specimens | Small pieces placed with tweezers | Can add bumps or tear flowers if lifted |
| Archival glue dots | Small, hidden attachment points | Press-on dots | Can show through petals or add bulk |
| Spray adhesive | Broad coverage on flat pressings | Light coats, following label directions | Overspray, spotting, or residue |
| Decoupage medium | Paper-backed craft projects | Small dabs beneath sturdy parts | Can wrinkle petals or leave haze; I’d skip it for floating frames |
Before mounting, I’d test spare petals on matching backing paper - or the frame’s glazing - and let the adhesive cure as directed. Then I’d check for stains, curling, visible glue, and a secure hold.
My rule: <u>use the least adhesive that holds</u>. If thick flowers keep the frame from closing, I’d choose a deeper frame rather than force the panes together. This ensures your pressed flower framed art remains protected and visually striking.
Pressed Flower Framing: Choose the Right Adhesive
1. Acid-Free PVA or White Craft Glue
Bond and Application
Acid-free PVA is the better choice for archival use. Ordinary white craft glue can yellow over time. Use a fine detail brush or toothpick to apply pinhead-sized dots to thicker flower parts: stem junctions, the back of the flower head, or thick leaf veins.
Too much PVA can soak into thin petals and darken them. A lay-flat formula helps reduce paper warping. Test the glue first to check for darkening, warping, and a secure hold.
Paper and Floating Frames
For paper-backed frames, such as those in a framed pressed flowers kit, let the design dry for at least 4 hours before sealing. In floating frames, PVA attachment points may stay visible, so keep the dots pinhead-sized and wait 15 minutes before closing the frame. Flowers thicker than 1/16 inch may prevent the frame from closing.
sbb-itb-80d8183
2. Archival Double-Sided Tape
Bond and Application
Archival tape offers a clean alternative to wet glue for flat, sturdy petals. It creates a dry bond for firm, flat pressed flowers. Use the smallest piece that will hold, and attach it only to sturdy areas: the back of the flower head, stem junctions, or thick leaf veins. This technique works best when choosing and preparing flowers specifically for flat-lay designs.
Visible Marks and Damage
Even a tiny piece of tape can leave a bump on thin flowers. Keep the contact area as small as possible, and place the tape with tweezers rather than your fingers.
Removal and Preservation
Treat placement as permanent - lifting the tape can tear the flower. Choose archival tape instead of household tape, which can dry out, crack, and leave residue.
Paper and Floating Frames
For paper-backed frames or a DIY simple pressed flower card, put the adhesive on the back of the flower or leaf to keep it hidden. In floating frames, the specimen needs to be almost perfectly flat and less than 1/16 inch thick. This lets the glass panes press it evenly and keep it from sliding. Use tape only when the flower lies flat enough to keep the attachment nearly invisible.
3. Archival Glue Dots
Bond and Application
Archival glue dots provide a dry, press-on hold, but their fixed shape doesn't fit uneven surfaces as well as liquid glue. They sit between dry tape and wet glue as a mounting option.
Visible Marks and Damage
Use the smallest dot that holds. Even a tiny dot can show through translucent petals or add thickness.
Removal and Preservation
An archival label doesn't guarantee safe removal or long-term preservation. Before mounting, test for staining, show-through, and bulges in the surface. This is especially important for color retention as some adhesives can cause petals to darken or fade over time.
Paper and Floating Frames
Paper-backed frames can hide a slightly protruding glue dot more easily than floating frames can. If the flower center is too thick for the frame, adding more dots won't fix the fit.
4. Spray Adhesive
Bond and Application
Spray adhesive covers more surface than tape or glue dots, so use it only for the flattest pressings. It works well for ferns and fine petals that need attachment across a larger area rather than at isolated glue points. Set the layout first, then spray sparingly outdoors in a well-ventilated area. Following general flower pressing tips ensures your botanicals are ready for the adhesive. Keep nearby materials outside the spray zone to limit overspray.
Visible Marks and Damage
test spare petals on the backing paper. Check for darkening, spotting, curling, or a glossy or cloudy film. A matte finish is less visible, but too much spray can still leave residue. Apply several light coats instead of one heavy pass.
Removal and Preservation
Read the product instructions before spraying. Quick-drying permanent formulas leave little room to reposition the pressings.
Paper and Floating Frames
Paper-backed designs are a better fit when a tested matte spray dries clear. Floating frames leave excess adhesive visible. For floating frames, use spray only on completely flat botanicals under 1/16 inch thick; uneven buildup can press against the glass.
Pressed Flower Gluing Mini Course
5. Decoupage Medium
Compared with the drier options above, decoupage medium leaves the least room for error.
Bond and Application
Decoupage medium can hold pressed flowers in place, but it sets fast. Settle on your arrangement before applying it. Use a toothpick or fine detail brush to dab tiny amounts beneath attachment points. Avoid wetting the whole flower - extra liquid increases the risk of damage.
Visible Marks and Damage
Wet medium can wrinkle delicate petals and leave a film that changes their gloss and translucency. Test a spare petal first. If you are new to the craft, review these flower pressing tips for beginners to ensure your blooms are properly prepared before framing.
Removal and Preservation
Once cured, decoupage medium is hard to remove without damaging the petals. Standard decoupage medium also isn't a strong choice for archival preservation.
Floating Frames
Any haze or smear stays visible in a floating frame, making these drawbacks harder to hide. Skip decoupage medium for floating frames: it can haze the glass and leave visible marks around the petals.
How the Adhesives Compare
Strength is only part of the choice. What matters just as much is how precisely you can apply the adhesive - and whether you’re working with paper backing or a floating frame.
PVA is the best all-purpose hidden mount for paper-backed frames. Use tape for seams, glue dots for small hidden points, and spray for broad, flat coverage, or create DIY pressed flower stickers for a peel-and-stick alternative. Save decoupage medium for special cases.
| Adhesive | Holding Strength | Application Control | Appearance / Notes |
|---|---|---|---|
| Acid-free PVA/white craft glue | Strong, permanent paper bond; depends on the formula | High with a toothpick or detail brush | Excess can dry shiny; check acid-free status and aging data |
| Archival double-sided tape | Strong on suitable seams | Moderate | Use on seams, not petals |
| Archival glue dots | Holds small, specific spots | High; hide behind sturdy flower bases | Can show through petals or add bulk |
| Spray adhesive | Strong; permanence depends on the formula | Covers broad areas but is hard to control | Can darken petals or leave visible residue |
| Decoupage medium | Moderate; hard to remove once cured | Brush-on finish, not a precision mount | Can leave haze or wrinkle thin petals |
Choose by intended use and aging data, not label claims alone. The dried result matters: PVA can leave shine, spray adhesive can darken petals, and decoupage medium can leave haze or wrinkles. Treat decoupage medium as a craft finish unless its preservation claims are documented.
Paper Backing vs. Floating Frames
Paper-backed frames hide adhesive; floating frames leave it exposed. That difference can change how well the same glue works for your piece. Floating frames need the flattest specimens and the least visible adhesive. If flowers slip, tiny dots of clear PVA may help, but test whether it sticks to the glazing first. Never force the panes closed around thick flowers. For best results, ensure you are using a flower press correctly to achieve the flat profile needed for these frames.
Before mounting the final piece, test the smallest amount of adhesive on spare petals and scrap backing paper.
Test Spare Petals Before Mounting
Test on Spare Flowers and the Final Paper
Test the materials you’ll use in the final frame - not just the adhesive. Use fully dried petals, leaves, and stems from the same pressing session. Place them on scrap acid-free cardstock or archival paper that matches your final backing.
Apply the smallest workable amount of adhesive, ideally a pinhead-size dot, to the plant’s strongest areas: stem junctions, the back of the flower head, or the thickest veins. For liquid glue, use a toothpick or a size 0–4 round detail brush. Never squeeze glue directly onto the flower.
Check the Dried Bond and Appearance
Let the test dry or cure fully, following the manufacturer’s instructions. Then check for darkening, translucency, curling, staining, or paper discoloration. If the plant material lifts or the adhesive marks the paper, test again with less adhesive or a different option.
Match the Mounting Method to the Frame
After testing the adhesive, choose a mounting method that suits your frame. The frame style determines how much hold you need, whether the glue will show, and how much room the flowers have.
| Frame Type | Support Surface | Adhesive Visibility | Depth Requirements |
|---|---|---|---|
| Paper-backed | Cardstock or white paper | Low; glue usually stays hidden behind the specimen | Minimal; best for standard flat frames |
| Floating | Glass or plexiglass | High; adhesive points show from both sides | Low; specimens must be very flat and stay aligned between the panes |
Paper-Backed Frames: Hide the Attachment Points
Apply tiny dots of adhesive to the plant’s sturdiest parts: stem junctions, the back of the flower head, or the thickest leaf veins. Keep the backing flat until the adhesive cures.
Floating Frames: Check Visibility and Hold
Even transparent adhesive can leave shiny marks. Test clear mounts for both hold and show-through. If the flowers are too thick or uneven, use a deeper frame rather than forcing the panes closed.
Thick or Fragile Flowers: Use a Deeper Frame
Choose a deeper frame or shadow box when flower centers or stems need extra room. Leave clearance above the highest part of the arrangement. For more design inspiration, consult a pressed flower project book to master complex layouts.
Final Recommendation: Use the Least Glue That Holds
After testing, make acid-free PVA your default for paper-backed frames. Apply small, hidden amounts with a toothpick or size 0 brush. Even then, moisture can wrinkle or darken delicate petals.
For sturdy, flat specimens, use archival tape or glue dots when you want a dry mount. Wait until the adhesive has fully dried or cured before checking the bond.
Floating frames need a different approach: choose a mount that holds securely and looks clean from both sides, and leave enough clearance for the flowers. Acid-free doesn’t mean invisible - the adhesive can still show through or cause discoloration.
FAQs
How can I tell if my flowers are dry enough to glue?
Flowers should feel crisp but fragile and be completely dry before you glue them. Trapped moisture can lead to stains, mold, or condensation inside the frame.
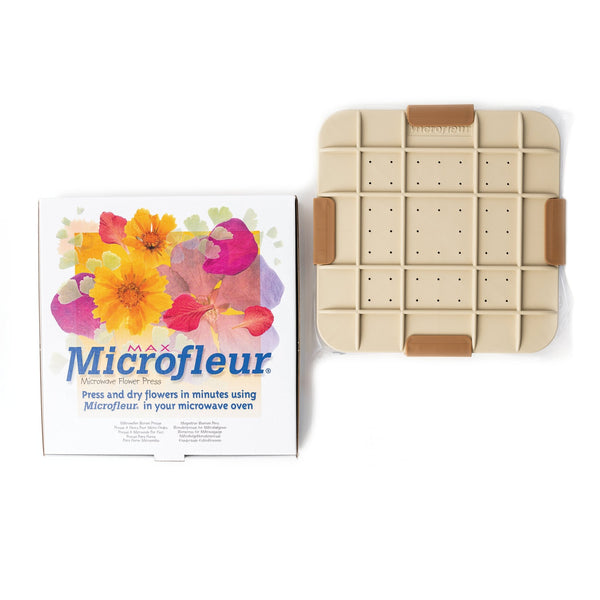
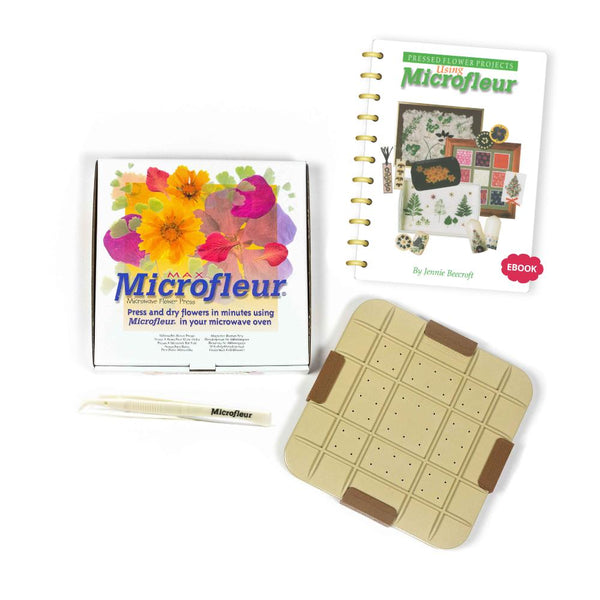
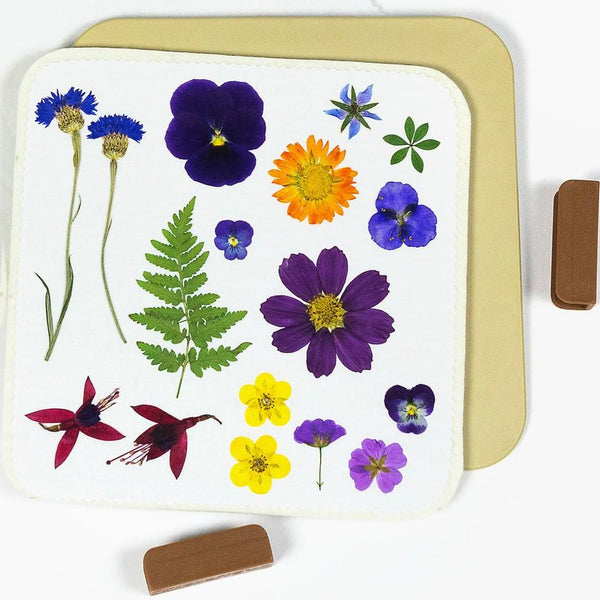
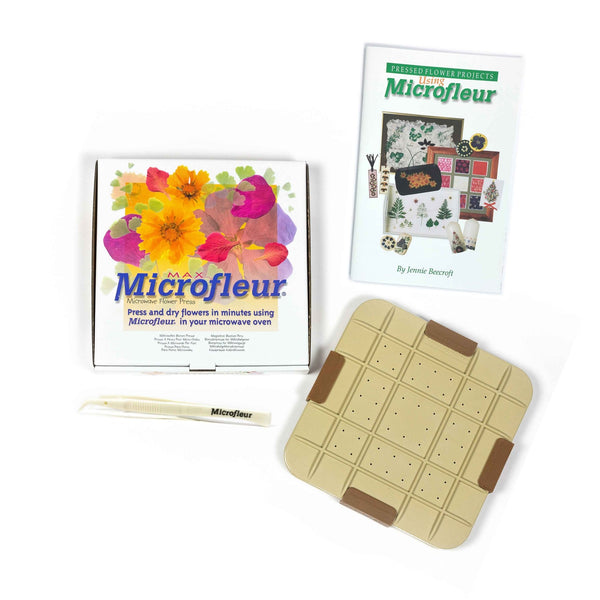
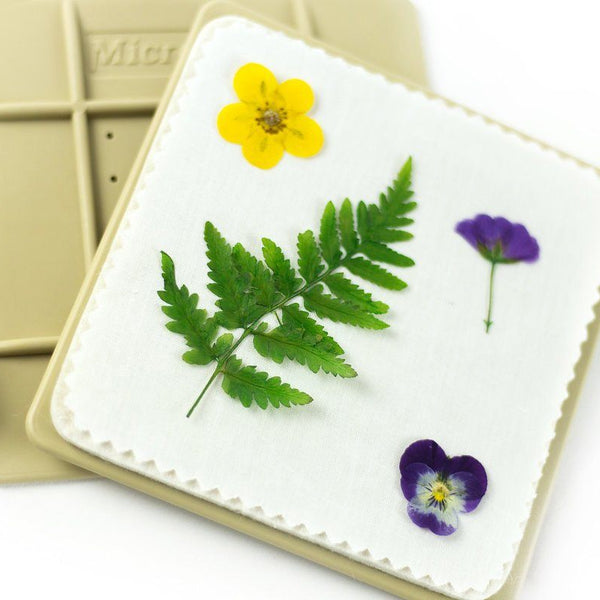
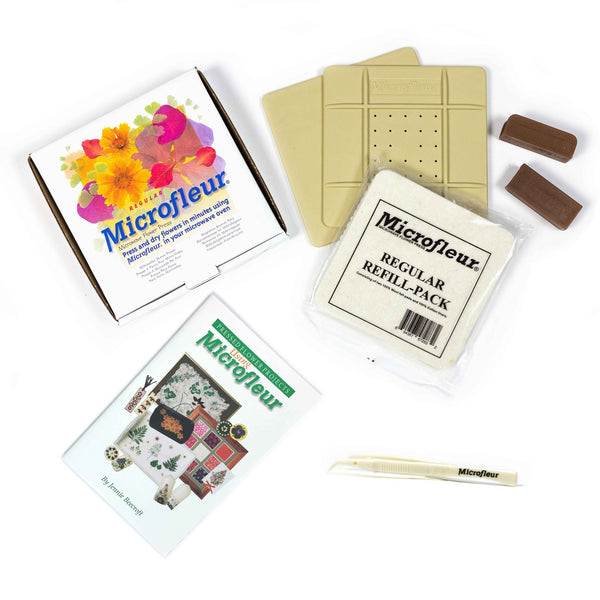
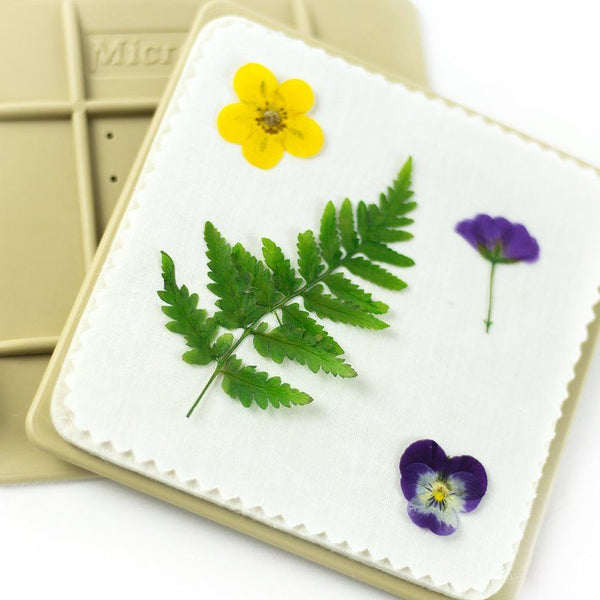
A microwave flower press can shorten drying time while helping preserve color. If you're using resin, let both the flowers and adhesive dry fully to avoid clouding or color shifts.
How long should I watch test petals for glue stains?
Let the glue on spare petals dry and cure fully before checking for stains. Some water-based glues feel dry in 20 to 30 minutes, but they need more time to cure - and browning, wrinkling, or tackiness may not show up right away. Follow the adhesive manufacturer’s curing times rather than judging by touch alone. Once cured, compare the test petal with an untreated petal in natural light to check the final appearance.
Can I mount flowers in a floating frame without glue?
Pressed flowers usually need adhesive in a floating frame to keep them from shifting or sliding when displayed vertically. Apply a tiny dab of acid-free, neutral-pH glue to the thickest part, such as the flower’s center or stem. This helps hold the flower in place while leaving as few visible marks as possible.
Very thin botanicals can sometimes be mounted without glue, but the arrangement may shift over time.