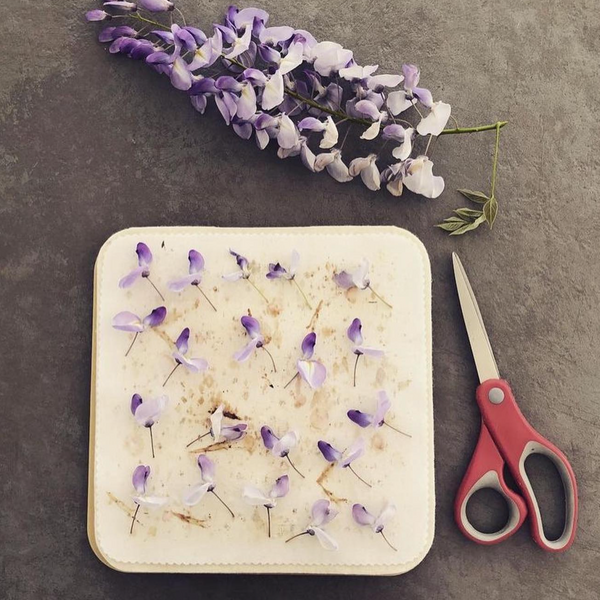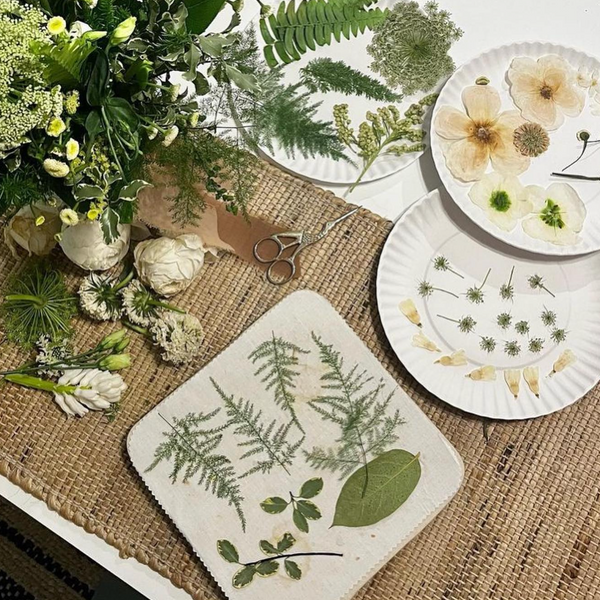


I’d choose separate petals for flat art, split blooms for side-view designs, and whole rose heads for keepsakes with room for extra thickness. A pressed whole head can still measure about 1/8 inch thick. Pressing flattens a rose - it won’t keep its 3D shape.
The trade-off is simple: keeping more of the bloom means more bulk and a harder-to-dry center.
Quick Comparison
| Factor | Whole rose head | Split bloom | Separate petals |
|---|---|---|---|
| Thickness | Thickest | Less bulk; thick center | Thinnest |
| Drying difficulty | Hardest | Moderate | Easiest |
| Finished shape | Flattened bloom | Half-bloom profile | Individual petals |
| Trapped-moisture risk | Highest | Lower | Lowest when spaced apart |
| Best fit | Deep frames and keepsakes | Side-view botanical art | Cards and flat rose designs |
My rule for all three: <u>check the thickest part before mounting</u>. Let microwave-pressed flowers cool first; they should feel stiff and papery, not cool or soft. With paper pressing, check sheets after 48 hours and replace damp ones. For microwave pressing, follow your press’s loading and heating instructions - more space won’t solve a damp center.
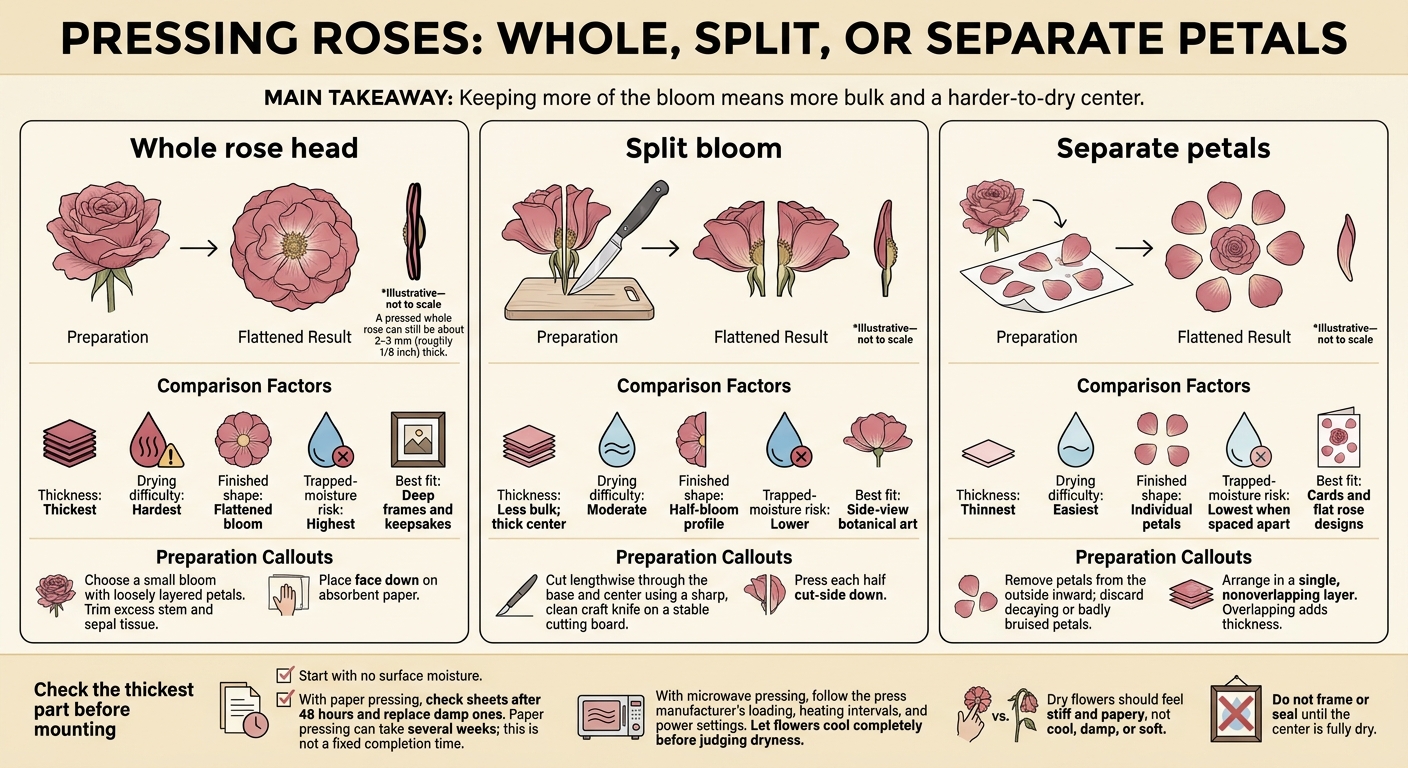
Rose Pressing Compared: Whole Blooms, Split Blooms, and Petals
Pressing Rose Blooms & Petals
sbb-itb-80d8183
Whole Rose Heads: A Complete Bloom With More Bulk
Whole roses work best when you want a recognizable bloom and don’t mind extra thickness or slower drying. Choose a small bloom with loosely layered petals. Dense petals press unevenly and trap moisture.
Prepare and Position a Whole Rose
Start with a bloom that has no surface moisture. Trim excess stem and sepal tissue so the head lies flat.
Place the rose face down on absorbent paper to form a flattened bloom outline.
Check the Center for Moisture
The center dries last. Check it before mounting, even if the outer petals feel dry. If you’re using a paper press, replace damp sheets after 48 hours.
A pressed whole rose can still be about 2–3 mm (roughly 1/8 inch) thick, making a deep frame or shadow box a better fit than a folded card or shallow frame. Don’t frame or seal the rose until its center is fully dry.
Split blooms reduce the bulk, but their centers still need a moisture check.
Split Rose Blooms: Less Bulk, a Half-Bloom Profile
Split a rose when it’s too thick to dry evenly as a whole head. This reduces bulk while keeping a recognizable half-bloom shape. It also exposes the center so you can check drying progress more easily - a middle step between whole heads and loose petals.
Cut the Bloom Lengthwise
Use a sharp, clean craft knife on a stable cutting board. Cut lengthwise through the base and center, then tuck any loose petals back into place.
The split bloom presses faster, and its shape is easier to see.
Press With the Cut Side Down
Place each half cut-side down against absorbent material, such as blotting paper or microfiber cloths. This helps keep the bloom flatter as it dries.
Check the exposed center first: it shows dampness sooner than a whole bloom. Let the bloom cool completely before judging dryness. If the center still feels cool or soft, it likely holds moisture. A fully dried bloom should feel stiff and papery.
Use the dried half-bloom in side-view framed art, where the exposed center adds structure to the design.
Separate Rose Petals: More Control for Flat Art
If a split bloom is still too bulky, separate the petals. Individual petals are the thinnest option and dry more evenly. You can also inspect each piece, but you’ll lose the bloom’s shape.
Space Petals in a Single Layer
Remove petals from the outside inward. Discard any that are decaying or badly bruised, and check each one for surface moisture before pressing. Gently flatten curved petals - sharp folds can tear or crease them.
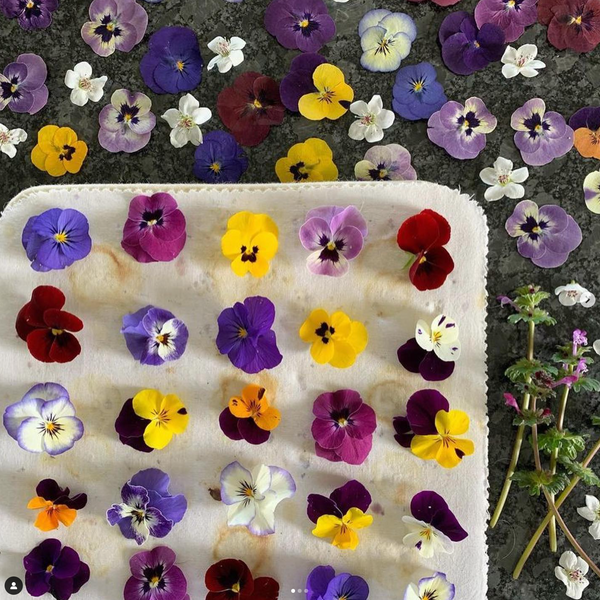
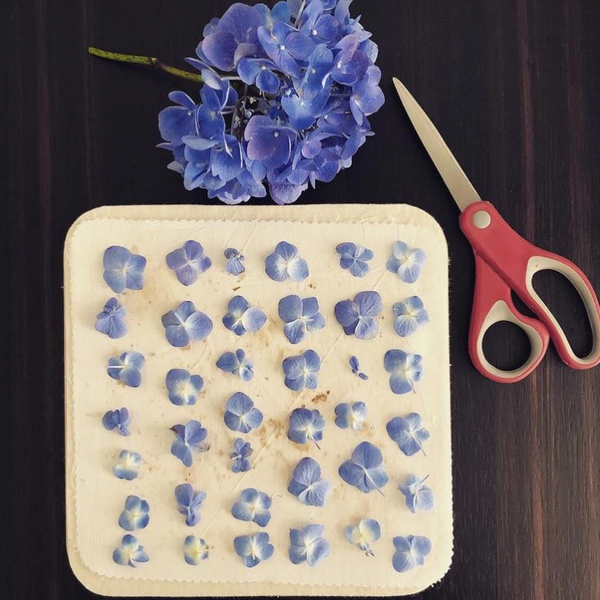
Arrange petals in a single, nonoverlapping layer so they dry separately. Use tweezers for precise placement. When pressing with paper, replace damp sheets to help pale petals keep their color, though some fading may still occur.
Make Cards and Rose Designs With Petals
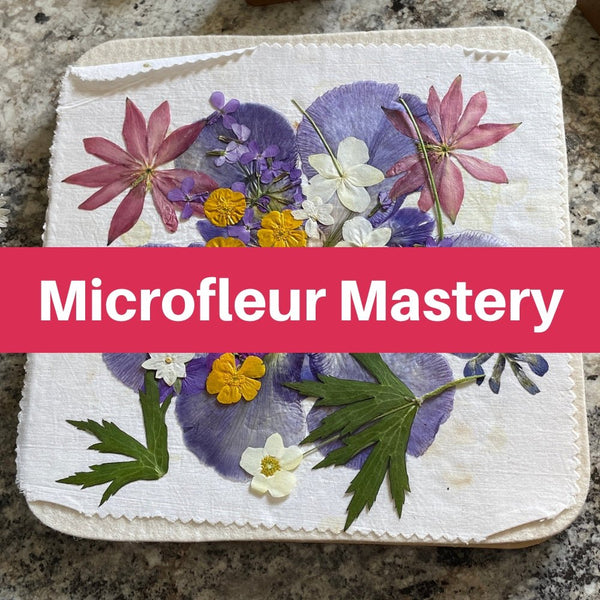
Use dried petals for cards, framed art, and flat rose reconstructions. To rebuild a rose shape, place larger petals in an outer circle, then work inward with smaller pieces. Overlapping adds depth and thickness, so keep it to a minimum when you want a flat finish.
Even individual petals need proper drying.
Choose a Rose Form and Drying Method
Choose a rose form that fits your layout and can dry completely. Thicker centers dry less evenly, so match your drying method to the flower’s thickness for the best results by following these flower pressing tips.
Match Drying Steps to Rose Thickness
Drying time depends on bloom size, petal density, starting moisture, absorbent materials, and pressing method. Paper pressing can take several weeks. Check the sheets early and replace damp ones often.
For microwave pressing, follow your press’s heating intervals and power settings. Let it cool between cycles, then check the thickest area. It should feel papery - not cool, damp, or soft.
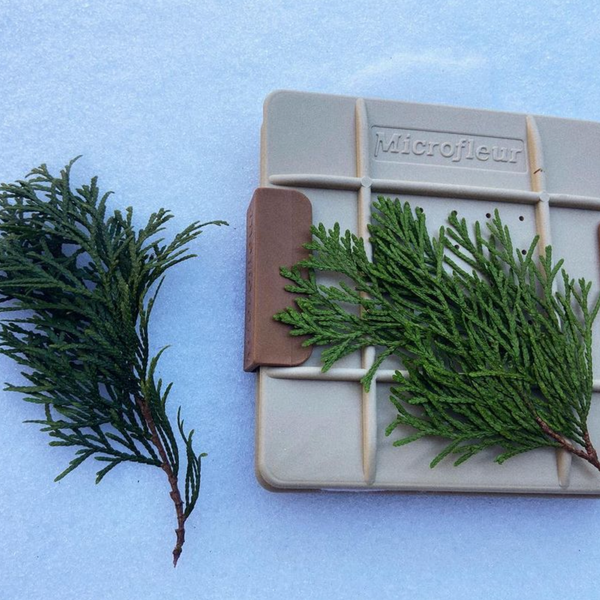
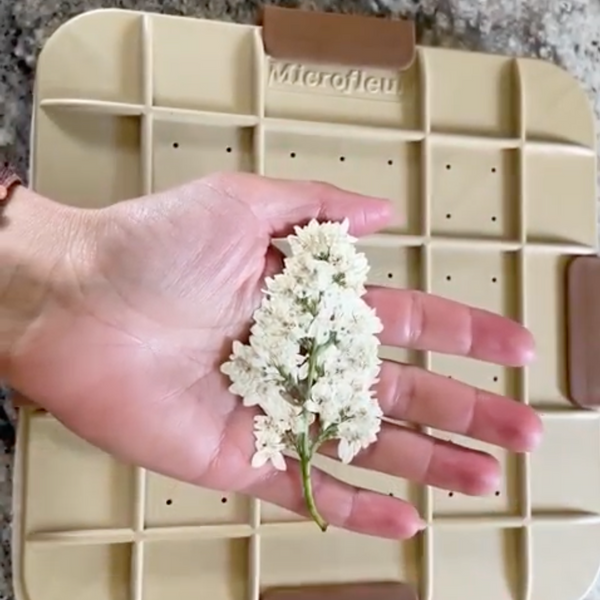
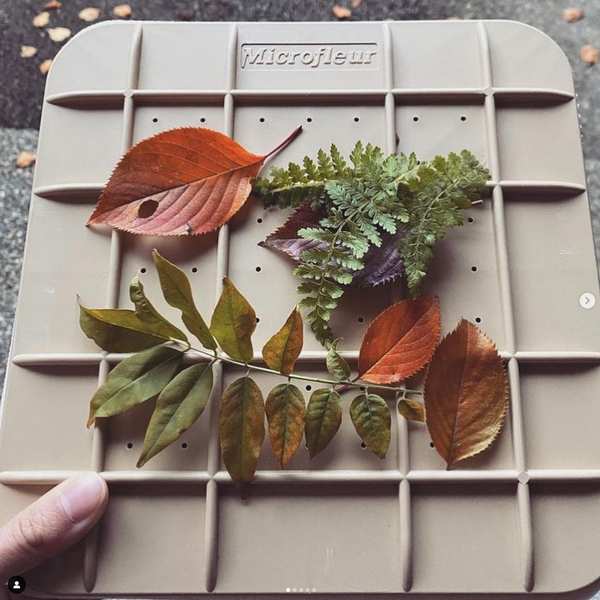
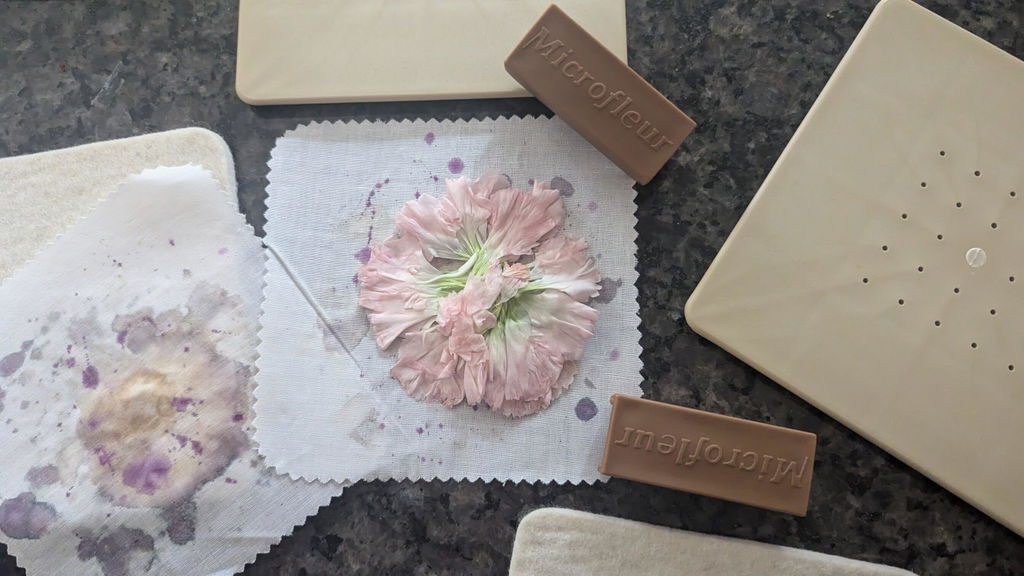
Follow Microfleur Pressing Instructions
Keep those thickness limits in mind as you follow your press’s loading steps.
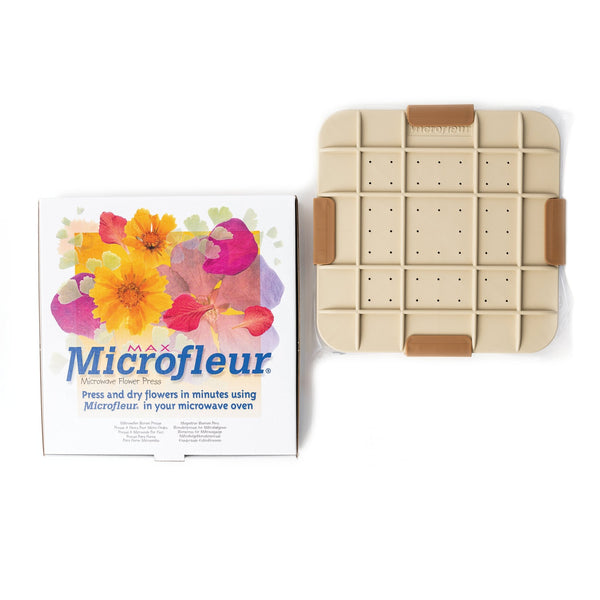
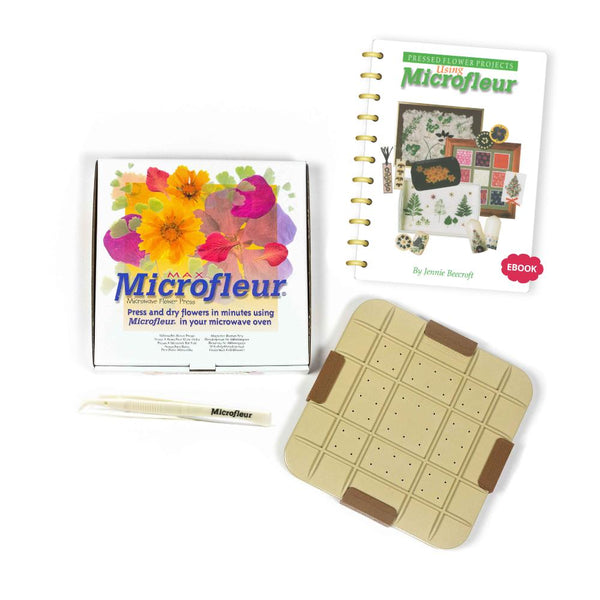
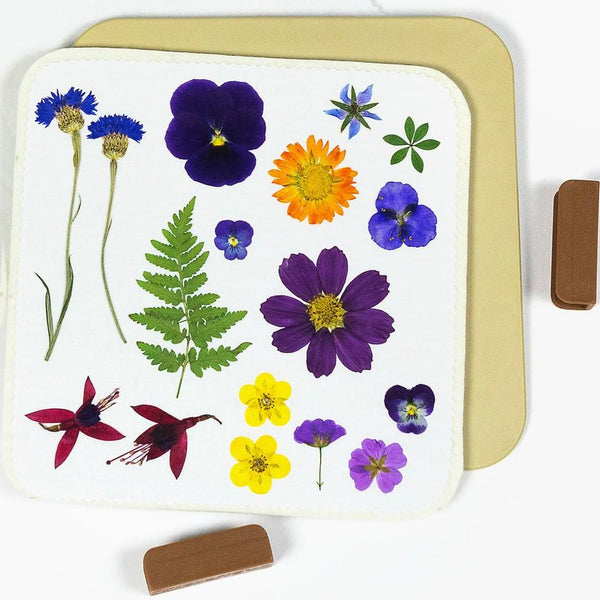
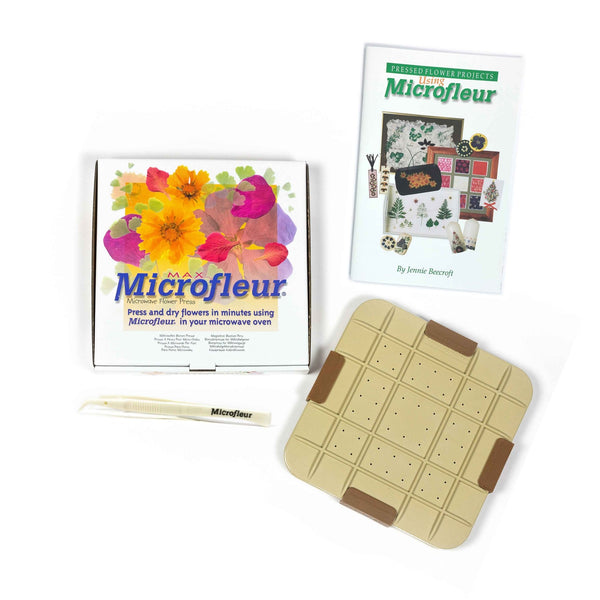
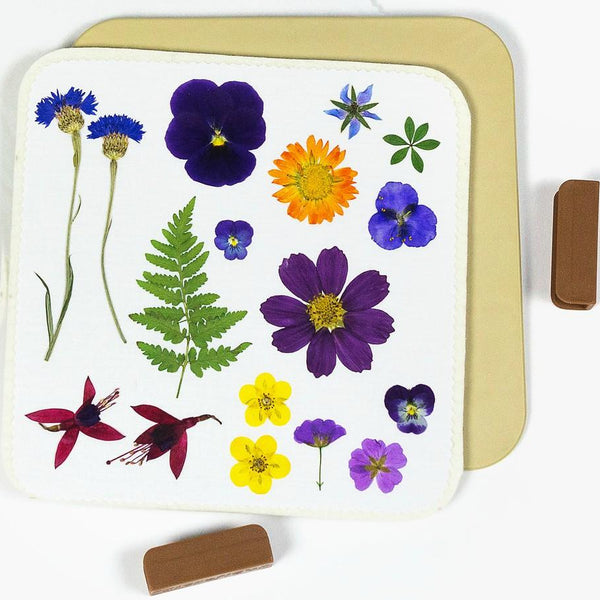
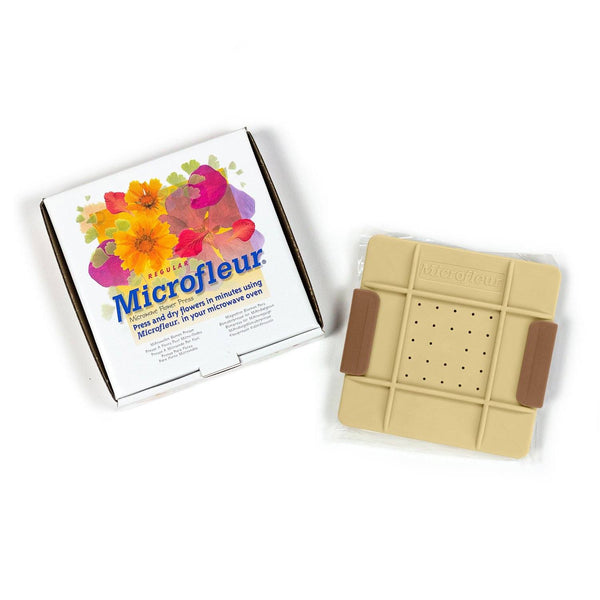
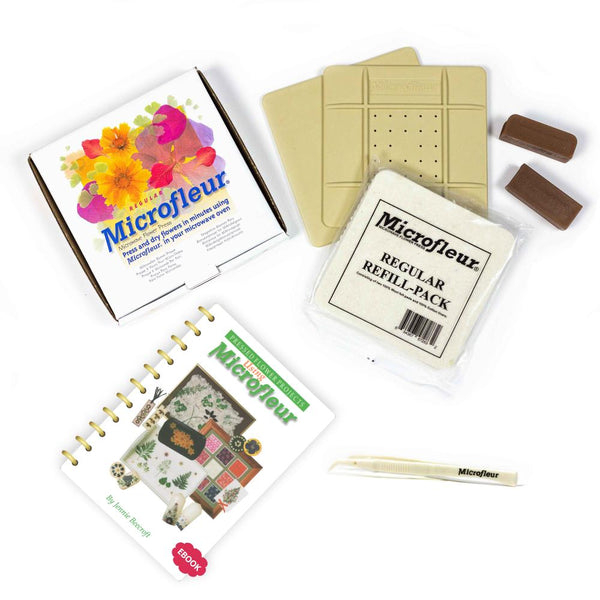
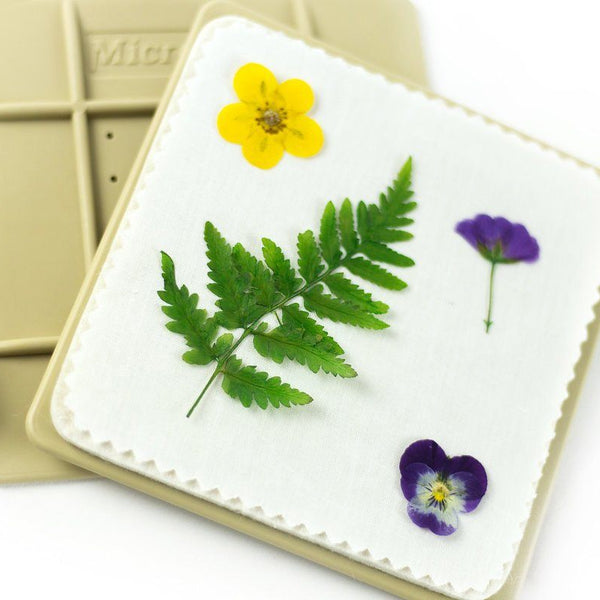
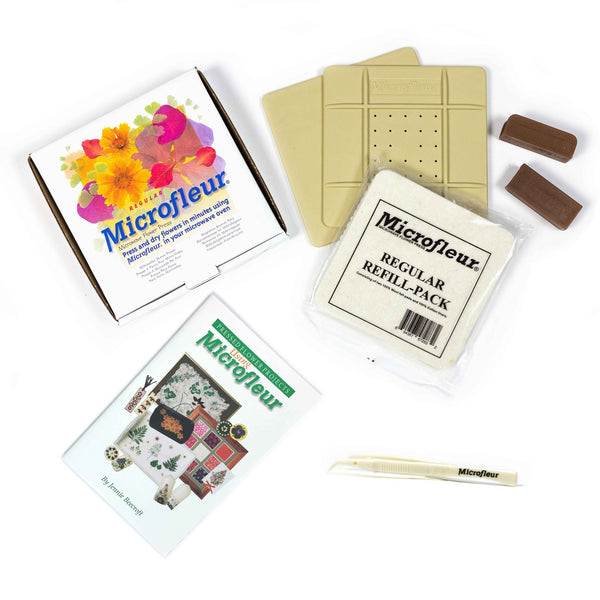
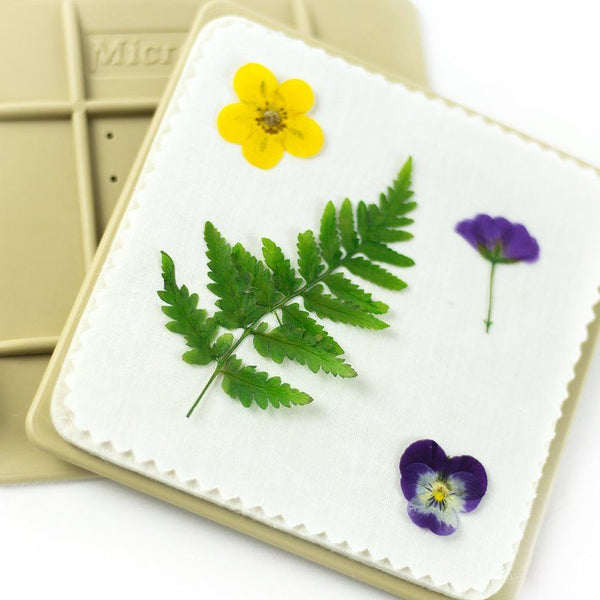
Using the Microfleur 9-by-9-inch Max press? Follow its loading and heating instructions. The larger pressing surface helps, but it won’t dry dense centers on its own.
Conclusion: Match Rose Preparation to Your Project
Use petals for flat, precise art and split blooms for profile designs. Save whole heads for projects that can accommodate their thickness.
FAQs
Can I press roses that have started to wilt?
For the best results, choose young roses with no signs of wilting, damage, or bruising. Flaws will still show after pressing, and wilting blooms tend to lose more color, making them a poor choice for colorful flower art.
Pick roses on a dry morning, once the dew has evaporated. Moisture on the petals can lead to browning, patchy color, or mold as the flowers dry.
How can I keep pressed rose petals from browning?
Choose roses that have just been picked and are free of dew, rain, or damage. Moisture is the main cause of browning, so press petals individually or cut the rose in half instead of pressing a whole, dense bloom.
If you’re using a microwave press, dry the petals in 20- to 30-second bursts. Between rounds, let the press air out and wipe away condensation so the petals don’t steam.
What glue should I use to mount pressed roses?
No specific glue is recommended here. When mounting pressed roses, use acid-free paper to help slow discoloration. A clear acrylic sealer adds protection against moisture and light.
For long-term display, choose UV-protective glass or seal the roses in UV-resistant resin to help preserve their appearance. Always use tweezers to handle delicate, dry petals and prevent accidental breakage.