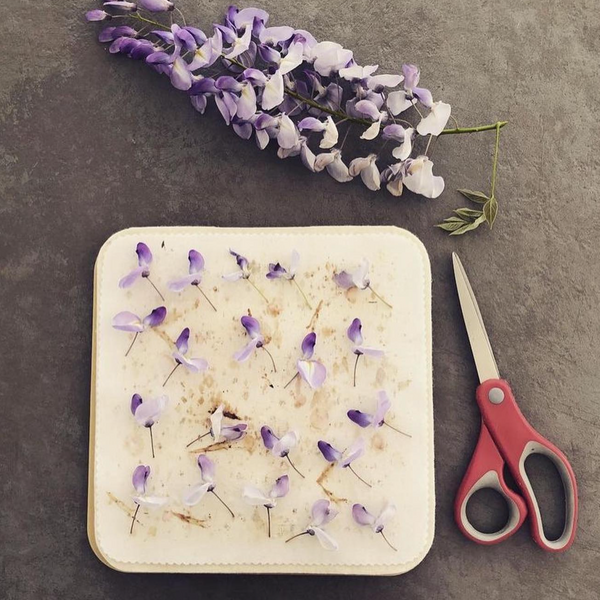





A lilac cluster looks airy on the branch, but flatten it and a different picture emerges: layers of tiny blossoms, folded petals, and a moisture-heavy center. That structure makes lilacs a useful lesson in flower preservation. The challenge isn’t simply drying them quickly - it’s drying the thickest areas without overdoing the delicate edges.
The video demonstrates this tension using white lilacs, comparing small flower groupings with a fuller cluster. Its most valuable lesson is a practical one: preparation and frequent checks matter more than a fixed microwave time.
This guide explains how to apply that lesson, recognize uneven drying, and decide when preserving a cluster’s shape is worth the extra work.
Key Takeaways
- Choose the freshest blossoms available. Pressing will not reverse the browning already visible on aging flowers.
- Reduce hidden bulk before pressing. Blossoms buried beneath other flowers add moisture without necessarily contributing to the finished design.
- Start with small groupings. They are easier to arrange and dry more evenly than a dense cluster.
- Check different parts of the specimen. Dry petal tips do not mean the center is finished.
- Remove finished pieces separately. Small flowers should not receive extra heating just because thicker pieces remain damp.
- Use texture as a finishing cue. The demonstration distinguishes slightly sticky, damp flowers from dry flowers with a papery feel.
- Treat the demonstrated 10-second finishing bursts as examples, not universal settings. Microwave wattage, power level, and initial heating times are not specified in the video.
sbb-itb-80d8183
Understand the Trade-Off: A Fuller Shape or More Predictable Drying
The demonstration effectively compares two approaches.
| Approach | Main advantage | Main challenge |
|---|---|---|
| Individual blossoms or small groupings | Less overlap and easier moisture checks | Less of the original cluster remains intact |
| A fuller lilac cluster | Preserves more of the branching arrangement | Thin edges dry before the layered center |
Neither approach is inherently better. The choice depends on what you want to preserve.
For a decorative composition, separate blossoms may provide more flexibility. For a keepsake where the cluster’s outline matters, a fuller piece may be worth the additional handling. That is a design decision as much as a drying decision.
Before You Begin
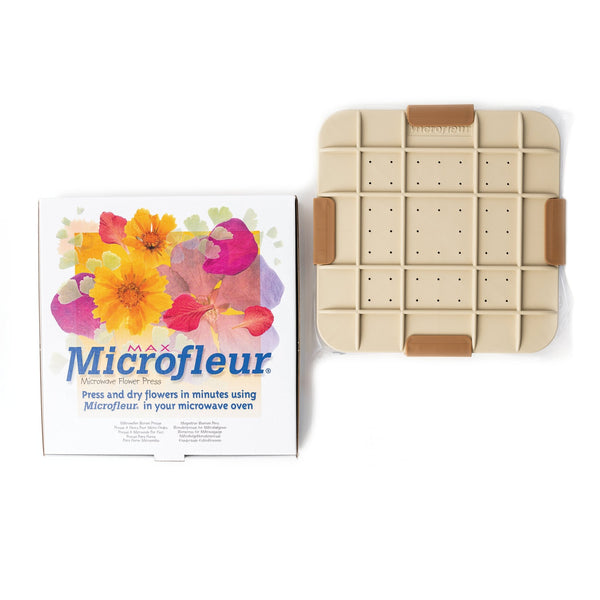
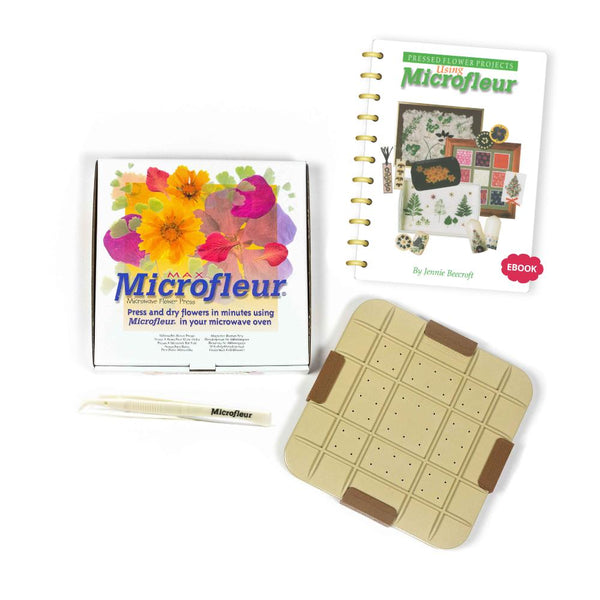
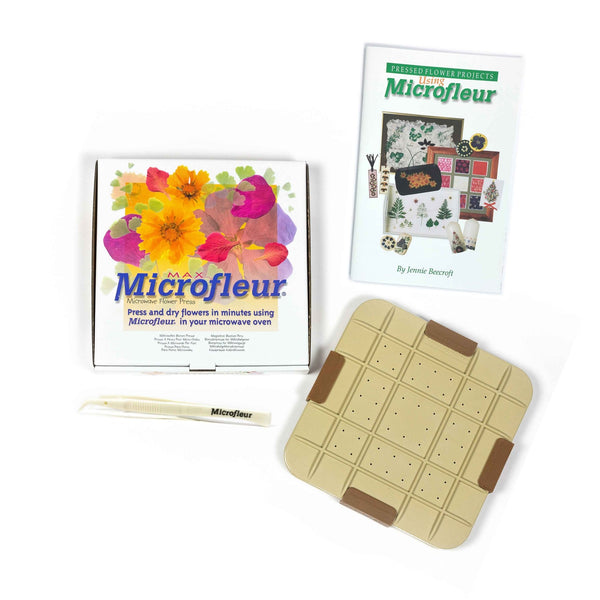
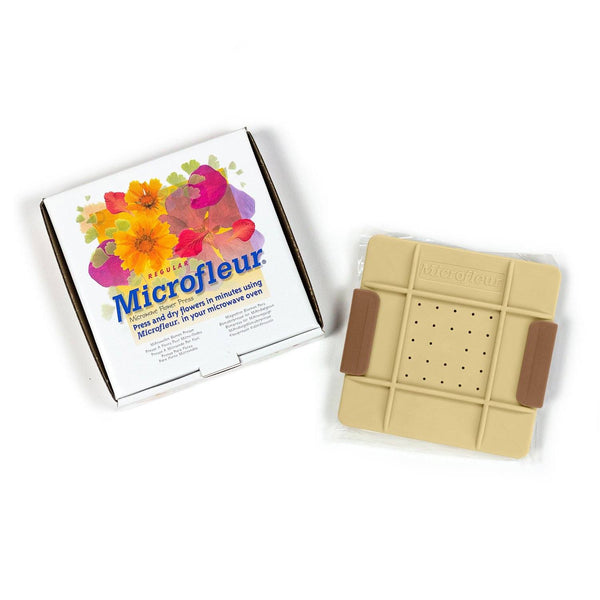
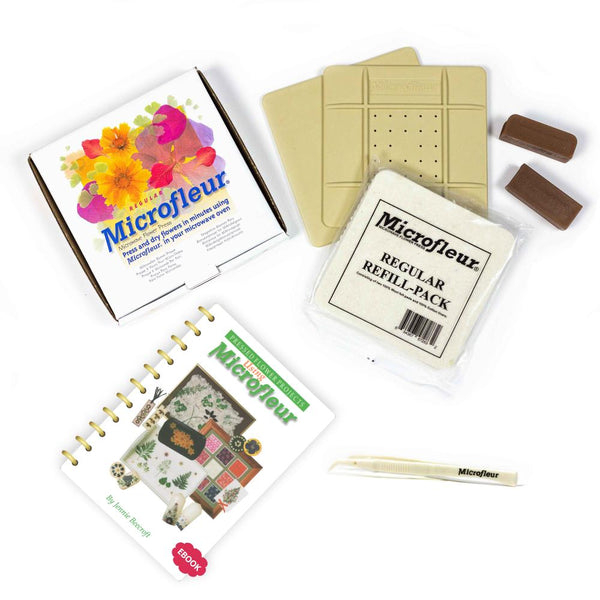
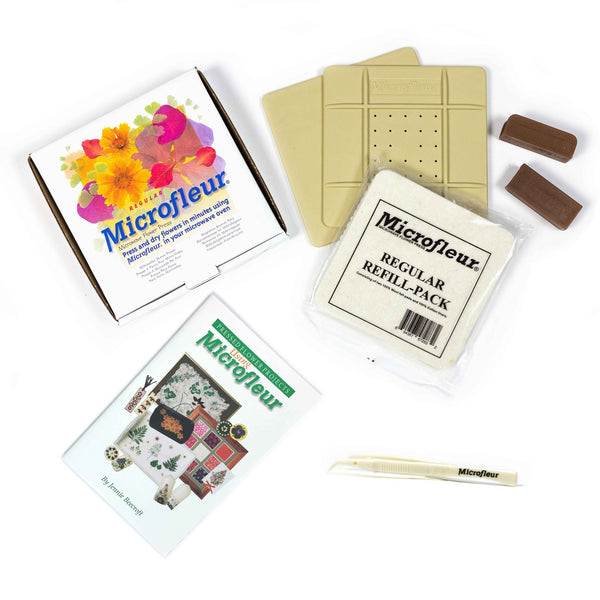
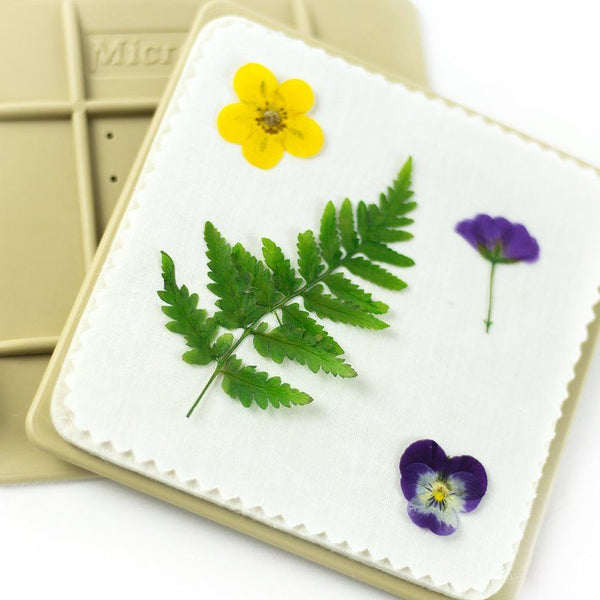
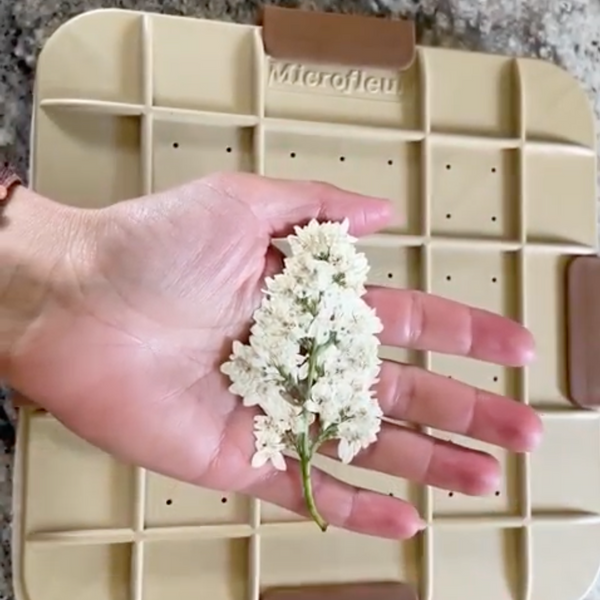
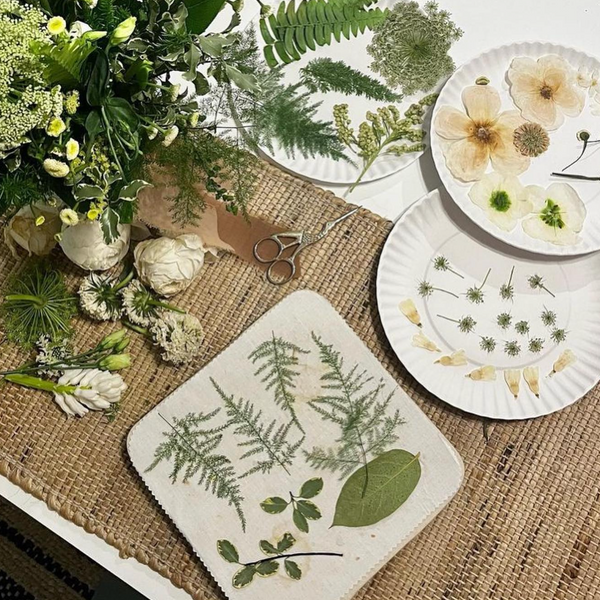
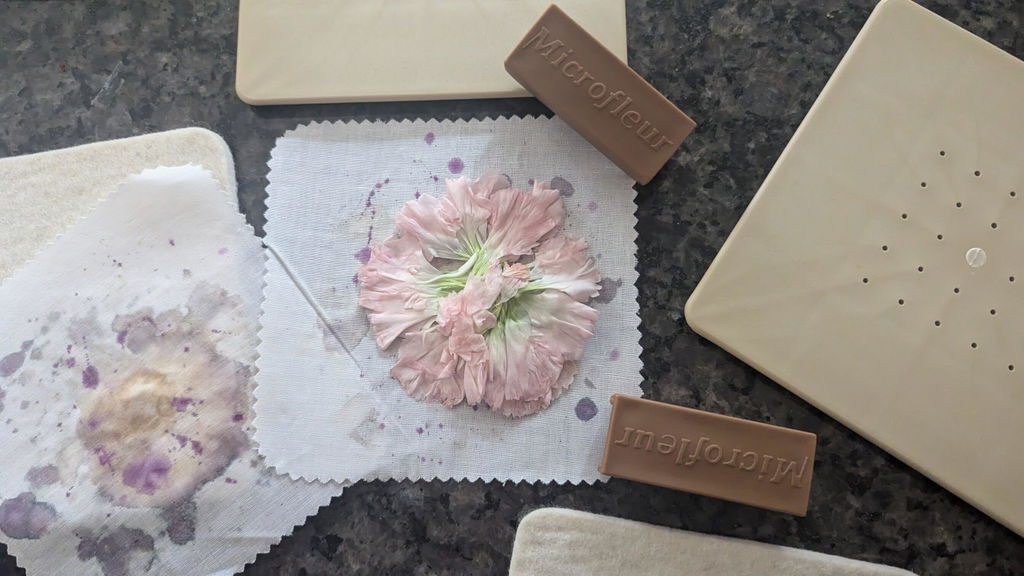
The demonstration uses lilacs, scissors, and a microwave flower press with absorbent material and ventilation openings.
A complete equipment setup and heating schedule are not specified in the video. It also does not give a microwave wattage or power setting. Follow the instructions for your particular microwave-safe flower press rather than assuming the demonstrated timing will suit every setup.
The process below focuses on the preparation and inspection principles the video does establish.
1. Select Blossoms for Their Condition, Not Just Their Size
Some of the white lilacs in the demonstration have begun browning. The presenter selects the better-looking flowers while explaining that fresher material produces better results.
This matters because pressing preserves the specimen you begin with, including visible deterioration. A large cluster with aging blossoms may be less useful than several smaller, fresher pieces.
Look over the cluster before loading the press:
- Set aside visibly browned or deteriorating blossoms.
- Choose the freshest sections available.
- Consider which flowers will actually show once the cluster is flattened.
Think of selection as editing the finished artwork before drying begins.
2. Thin the Cluster With the Flat Result in Mind
A rounded lilac cluster contains flowers that disappear beneath others when pressed. Leaving all of them in place increases thickness, even when they add little to the visible surface.
The demonstration removes some lower flowers, separates smaller groupings, and trims excess stem material. The goal is not to strip the lilac bare; it is to reduce unnecessary layers.
A useful question is: Will this blossom be visible in the final pressed piece, or will it mainly create a damp pocket underneath?
This approach also changes how much material a single cluster can provide. Rather than treating one flowering head as one specimen, you can divide it into several usable arrangements.
3. Arrange the Flowers to Limit Overlap
Spread the selected groupings so that petals lie as openly as possible. Adjust folded petals before closing the press, and give small pieces enough room that they do not create new layers.
In the video, the presenter positions the flowers carefully while bringing the top press layers into place. This reveals an important practical detail: closing the press is part of arranging the flowers, not merely the step after arranging them.
For a fuller cluster, some overlap is unavoidable. Aim for an arrangement that reduces concentrated thickness without destroying the outline you want to keep.
4. Dry in Stages and Inspect Between Heating Cycles
The video does not establish a complete starting schedule, so it should not be treated as a timed recipe. What it does show clearly is a cycle of heating, opening, checking, and deciding what needs further drying.
Near the end of drying, the presenter uses additional 10-second bursts for pieces that still hold moisture. Those brief intervals allow reassessment, but they are not presented with enough equipment detail to serve as universal instructions.
Check more than the outer petals:
- Inspect the layered center.
- Feel thicker portions carefully.
- Compare separate blossoms with attached groupings.
- Notice whether any areas remain slightly sticky or damp.
The underlying principle is to respond to the specimen’s condition rather than continue heating automatically.
5. Remove Dry Pieces Before Finishing Thicker Ones
The small blossoms finish before the overlapping groupings. The presenter removes those completed pieces, then continues working on the thicker material.
This is one of the most useful habits to carry into other flower-pressing projects: a batch does not have to finish together.
Leaving a finished blossom in the press while waiting for a dense cluster gives it additional exposure without helping it dry further. Sorting as you go makes the process more controlled.
Handle the pieces gently. The demonstration cautions against squeezing them while lifting them out.
6. Give Dense Clusters Time to Release Moisture
The fuller cluster becomes warm and remains moist inside even after exposed tips have dried. Instead of immediately repeating the heating cycle, the presenter closes the press and lets it cool.
In the demonstrated press, the absorbent layers and ventilation allow moisture to continue moving out during that rest. This makes cooling part of the drying strategy rather than simply a delay.
The presenter also suggests a sunny-window finish when a nearly dry specimen has fragile edges that may not tolerate more microwave exposure. However, the timing estimates given are specific to the situation shown - not a tested schedule for every flower or press.
Use any alternative finishing method only if it is compatible with your press’s instructions. The video does not establish that every microwave flower press can be used this way.
How to Tell Whether the Lilacs Are Finished
The demonstration relies on touch: damp sections feel slightly tacky, while completed flowers feel papery. The thickest areas must pass that check, not just the exposed edges.
Use several observations together:
| What you notice | What it suggests |
|---|---|
| Outer petals feel dry, but the center remains sticky | Drying is uneven |
| Small blossoms feel papery throughout | Those pieces may be ready to remove |
| A dense cluster is warm and still moist | It needs reassessment and a cooling pause |
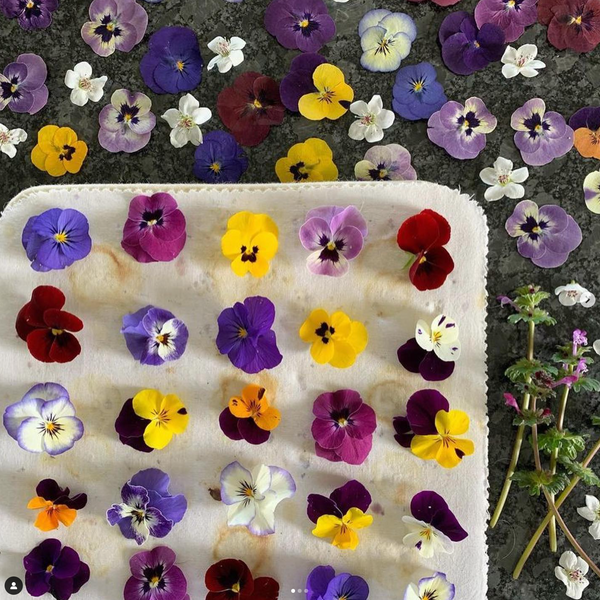
| Moisture marks are shrinking | Drying is progressing, but the flowers still need checking |
Moisture marks provide supporting information; they do not replace inspecting the flowers themselves.
If petals cling to the press material, separate them slowly. The video shows that a crowded cluster creates many possible attachment points, making hurried removal especially risky.
What This Demonstration Teaches Beyond Lilacs
The broader lesson is that flower thickness is not just about the size of a bloom - it is also about how many layers you create during pressing.
Small lilac flowers can behave like a thick specimen when packed together. Conversely, dividing a large cluster can make it much easier to manage. That explains why preparation has such a strong influence on the outcome.
The video is most useful as a lesson in observation, not as a universal microwave recipe. It shows how to make decisions: thin the material, reduce overlap, check the center, remove finished pieces, and pause when delicate edges are getting ahead of the rest.
A More Thoughtful Way to Preserve a Lilac Cluster
For a first attempt, a few fresh, lightly overlapping groupings offer the clearest way to learn how lilacs behave in your press. A fuller cluster can come later, once you are comfortable recognizing the difference between dry edges and a genuinely dry center.
The aim is not maximum speed at every stage. It is a balanced result: enough of the lilac’s character to make the keepsake meaningful, with enough control to preserve its delicate flowers successfully.
Source: "Pressing Lilacs" - Flower Pressing with Microfleur, YouTube, Nov 15, 2024 - https://www.youtube.com/watch?v=TdECWJOwmVk