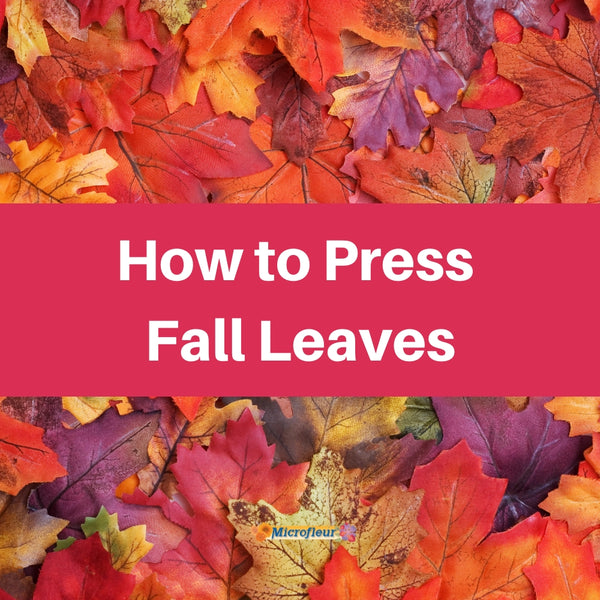


Making Peel & Stick Stickers with Pressed Flowers
Stickers are something that is fun for all ages. They can express ones individual style and likes. Let's also not forget about that feeling of satisfaction and enjoyment that comes from simple peeling and sticking the sticker where it can be seen by you and your friends. Just admit it... stickers are fun!
Here at Microfleur, we love pressed flowers. What can be better than a pressed flower? You guessed it! Pressed flower stickers!! They are beautiful, unique as each flower, and very easy to make.
[Disclosure: Keep in mind that some of the links in this post are Amazon affiliate links which mean we earn a commission if you click through and purchase something. However, we only recommend products that we have used ourselves and the decision is yours whether or not to purchase an item.]
What you will need:
- Tweezers
- Clear dot stickers - 1.5" to 2" are an ideal size, but you can get larger ones if you want to use larger flowers
- Something for pressing out air from the sticker. It can be a toothpick, the rounded back end of your tweezers, etc. I like to use a dotting tool because the tips are round, it won't break like a toothpick might, and it's easy to hold and use.
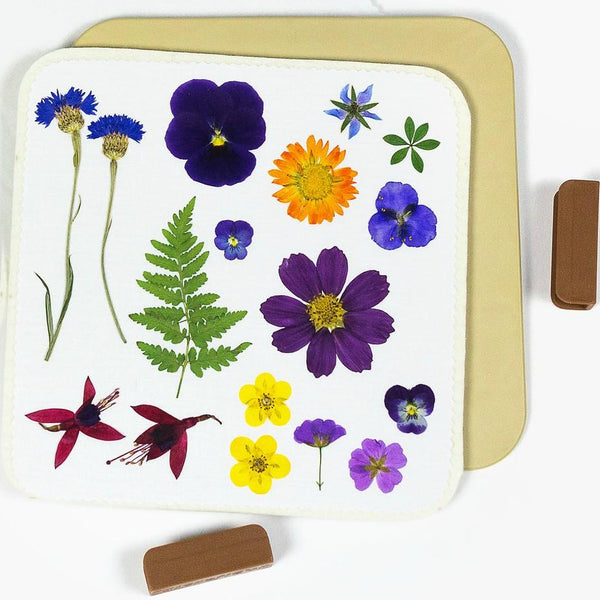
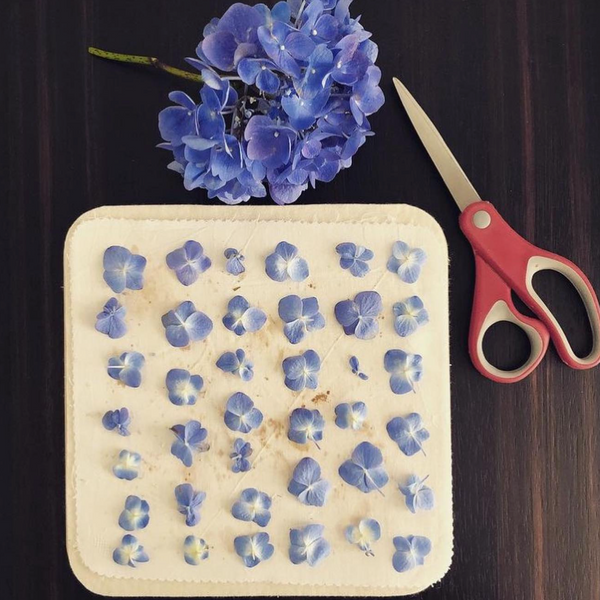
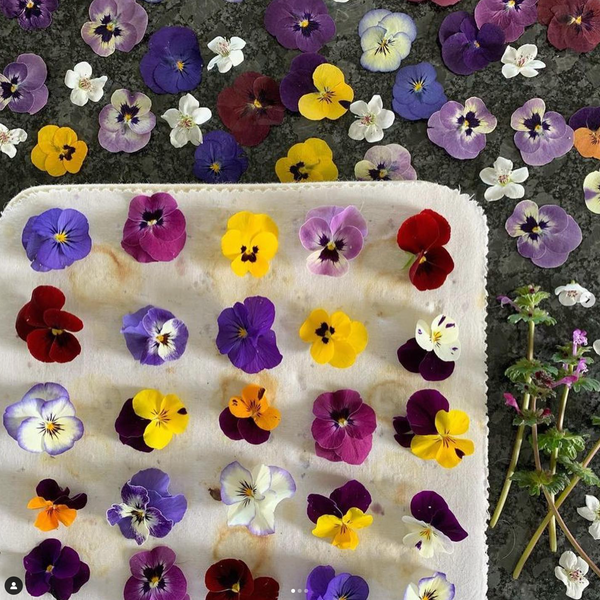
- Flowers and/or leaves that are slightly smaller in diameter than your clear dots and don't have thick parts. Phlox, shamrocks, verbena, small violas, etc. work great.
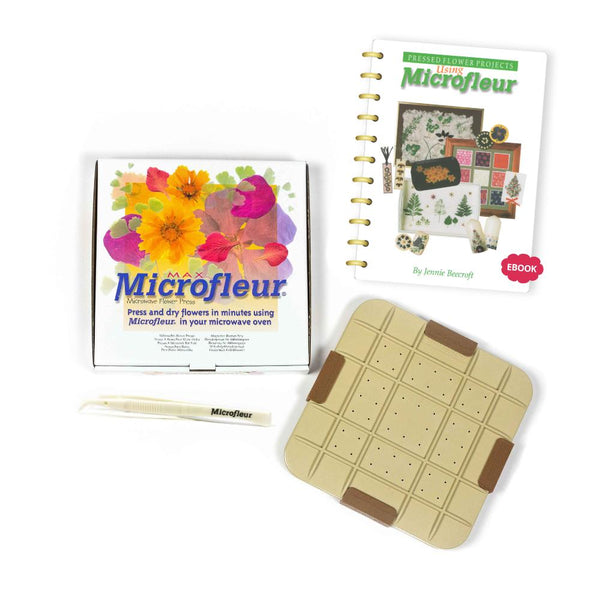
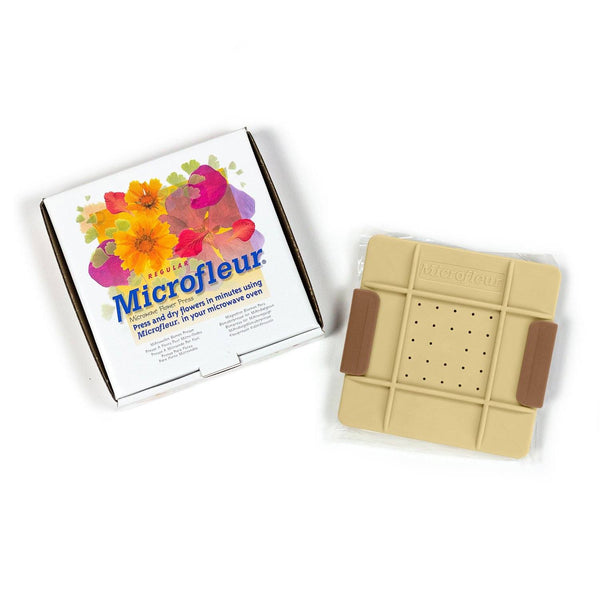
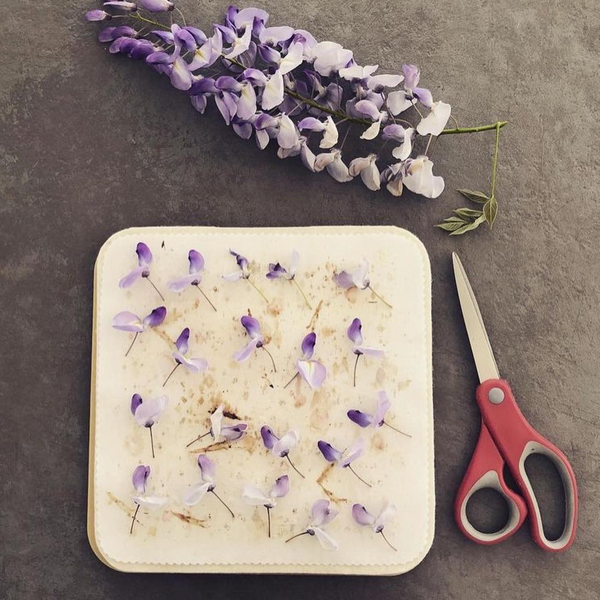
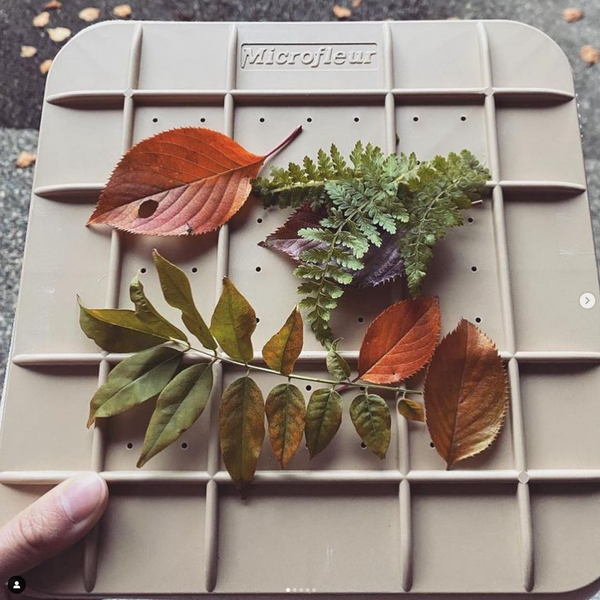
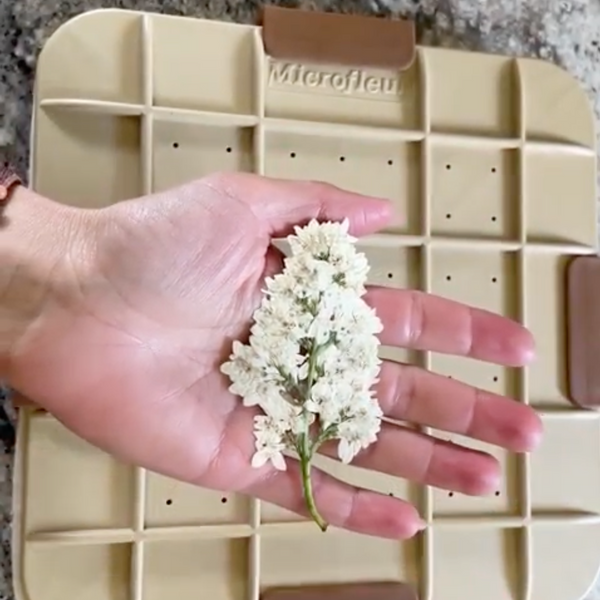
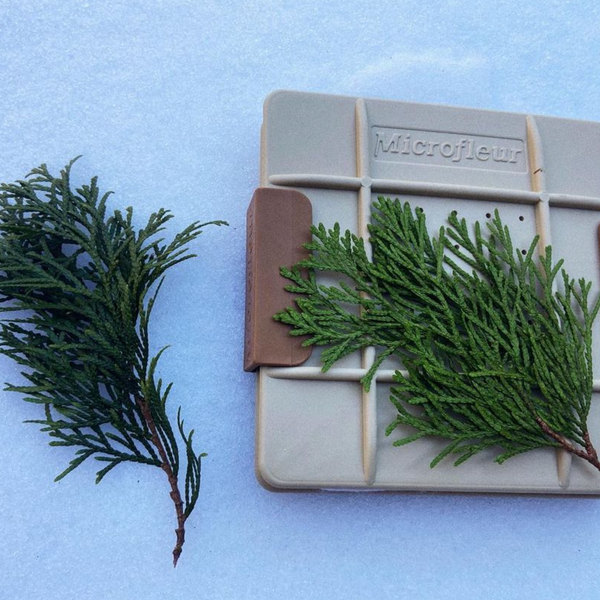
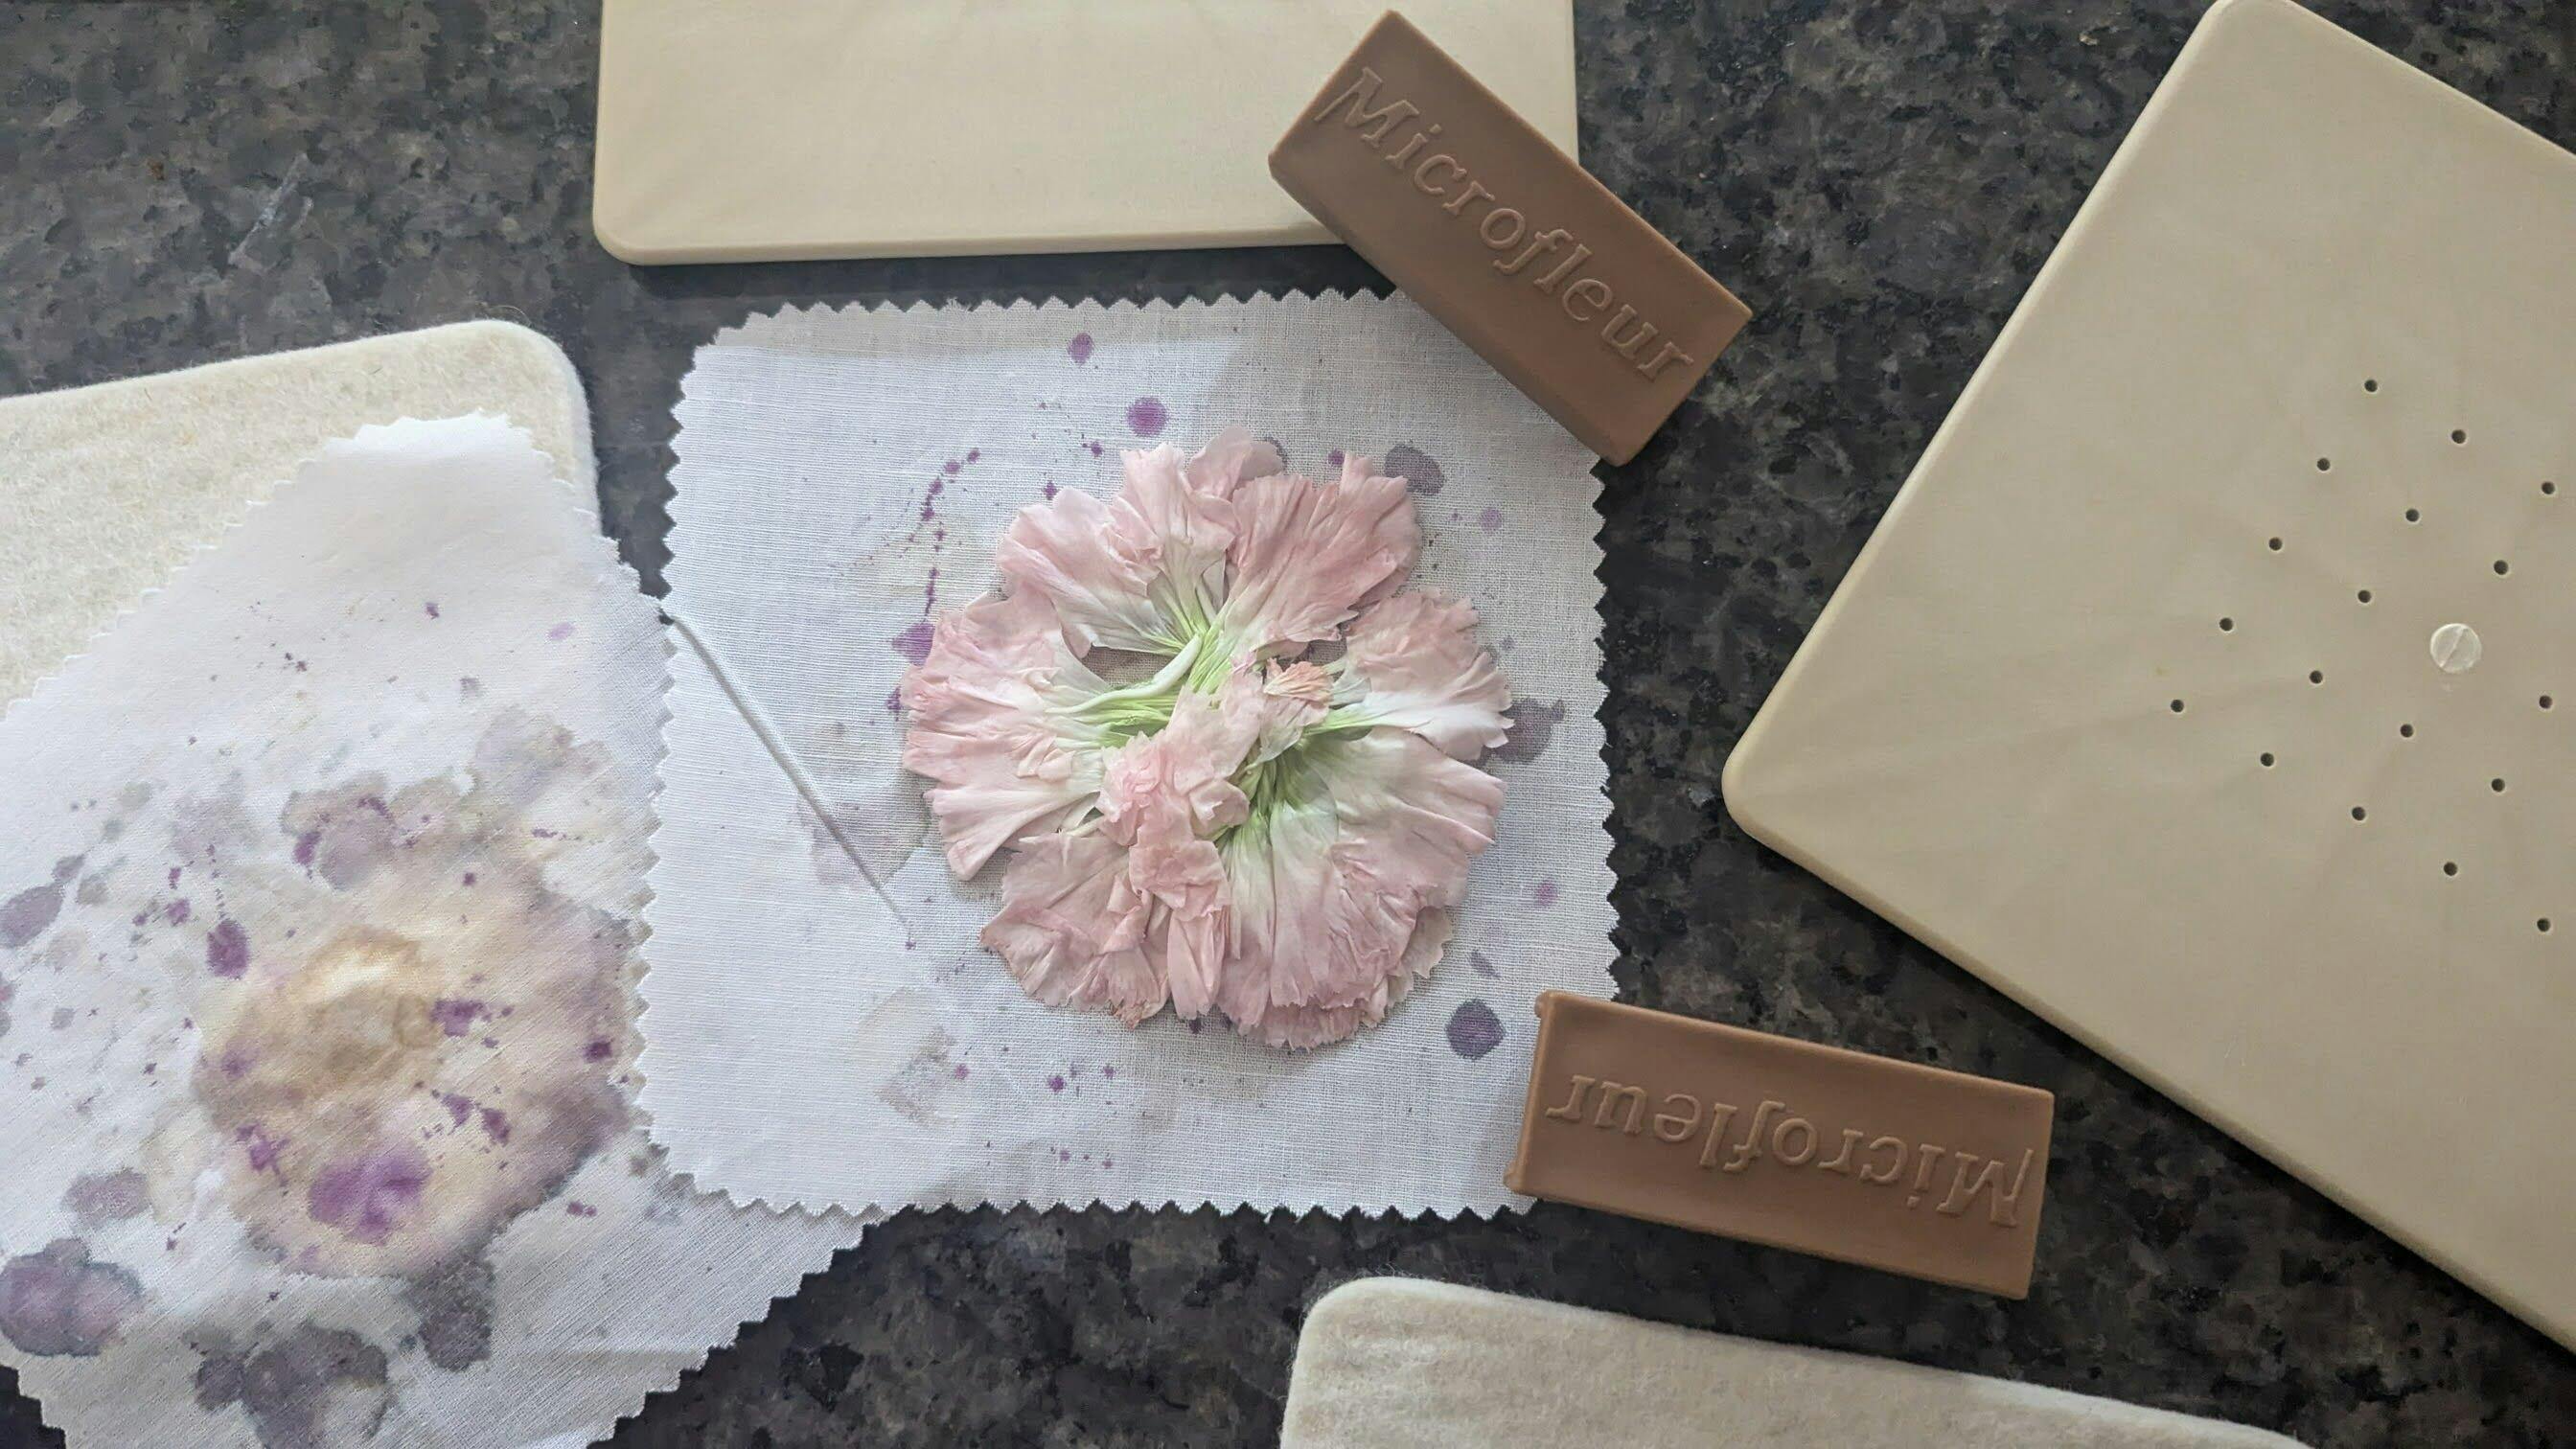
- Microfleur Microwave Flower Press
Flower Preparation:
Phlox and verbena have long tails on them. These add bulk and tend to stick out on one side of the flower. They aren't necessary for the stickers. So before pressing them, use scissors or your fingers to remove the end close to the petals, but not too close that the petals fall apart.
Do the same for violas, pinching or cutting off the little tails and some of the green leaves on the back to help make them press thinner for the stickers.
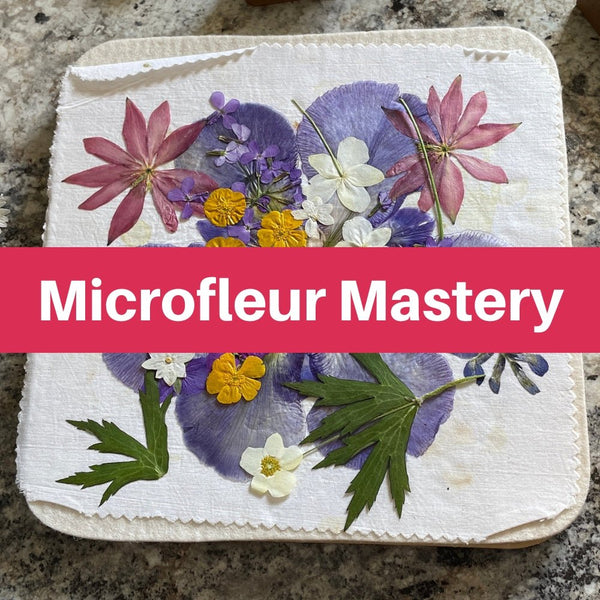
Now you are ready to press your flowers following the instructions for your flower press. Here is a tutorial and video on how to press flowers with your Microfleur.
Creating pressed flower stickers:
There are two kinds of stickers you can make. If you are going to use the sticker as soon as you make it, it will only take one clear dot. If you want to make a peel and stick sticker, you will need two clear dots. The idea is the same either way.
Peel one clear dot and place it sticky side up on the table. Handle the clear dot carefully and try to touch the sticky side as little as possible to keep finger prints, etc. from marking the sticker.

Using your tweezers, take a pressed flower and place it face down in the center of the sticky clear dot. Gently press it down so it doesn't come off the clear dot. Be careful not to touch the sticky stuff.

Next, carefully pick up the pressed flower sticker with your tweezers. This is where you can stick it where you want to use it right away. If you want to be able to peel and stick it later, proceed to the next step.

Very slowly and carefully stick the pressed flower stickers top of another clear dot that is still stuck to the backing it came on. Start with one side, taking care to line up the edges of both clear dots. Slowly lower the flower sticker down, adjusting to keep the sides aligned. When you are happy with the placement, finish lowering and sticking.


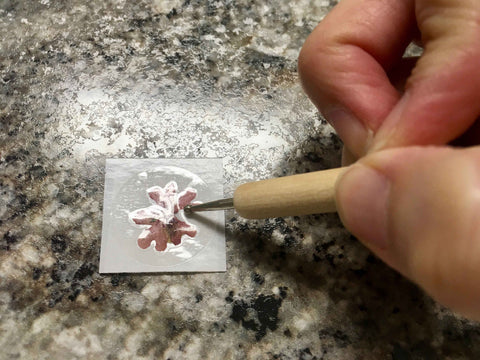
Using your dotting tool, tooth pick, or whatever you are using to press the air out of the sticker, and rub the sticker from the center in a circular motion working your way to the outer edges. You will find that the flower shows through the clear dot better and it secures the two dots together.

When you are happy with the result, you are done!
These sticker are great for sealing cards, sending as gifts, or just decoration for journals, letters, etc. Get creative and have fun with your pressed flower stickers!