


A summary of various pressing methods.
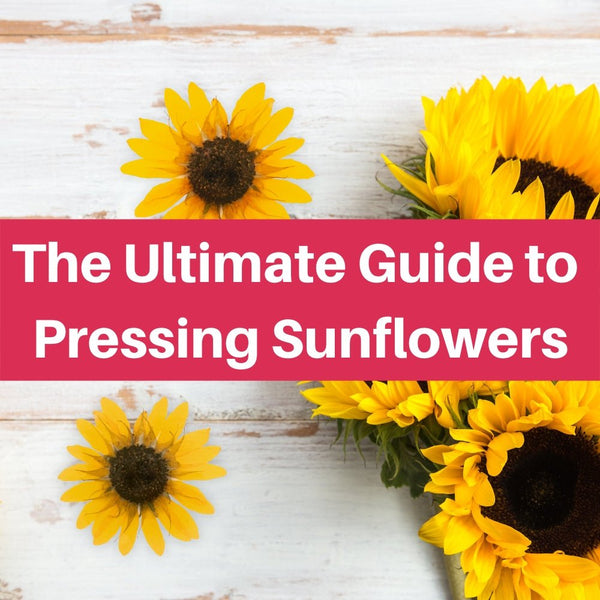
Pressing flowers is an age-old form for drying and flattening flowers and foliage to preserve them. Once pressed, or dried, the flowers can be stored for later use or used right away in fine art, crafts, jewelry, scrapbooking, home decor, or whatever your imagination can produce. It is also a way of preserving edible flowers, herbs, and other plants without using chemicals.
There are different ways to press flowers. Some flowers may lend themselves better to one way than other, but it more depends on personal preference. The following are various methods for pressing flowers.
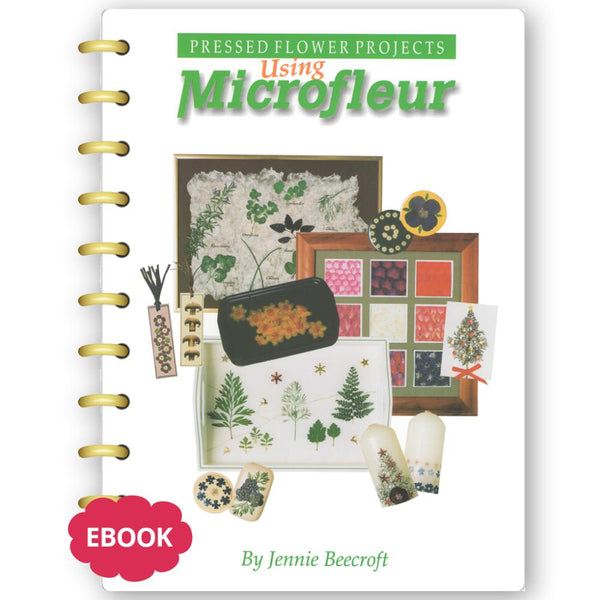
Using Microfleur
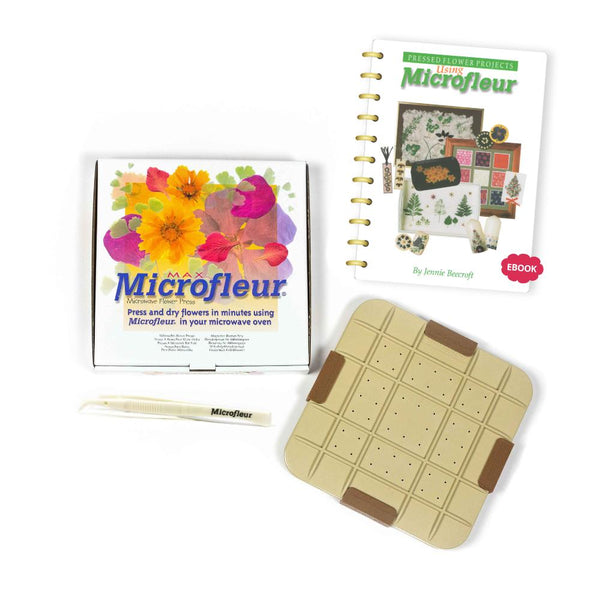
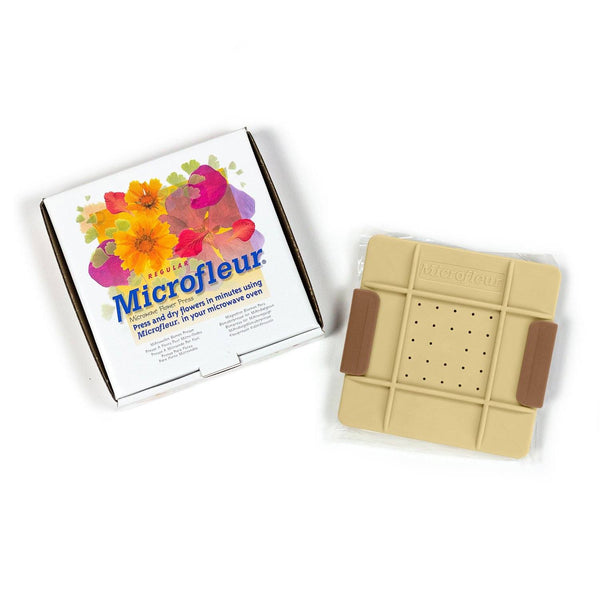
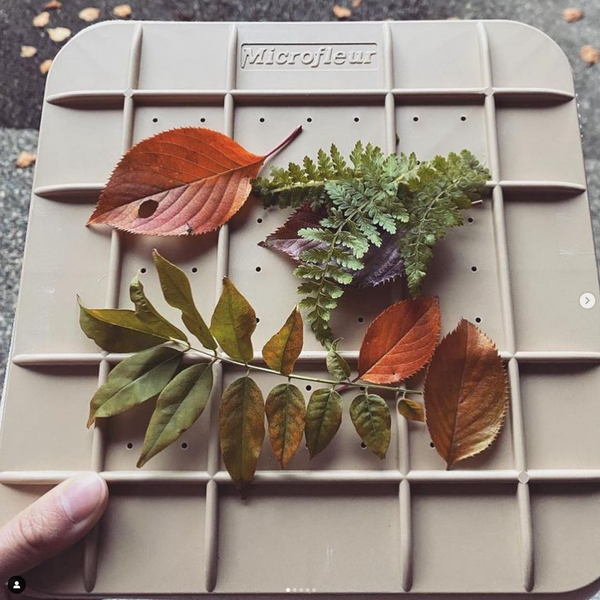
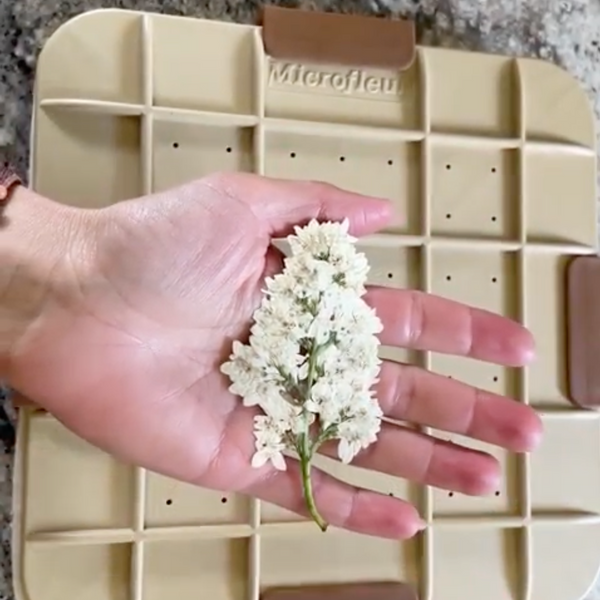
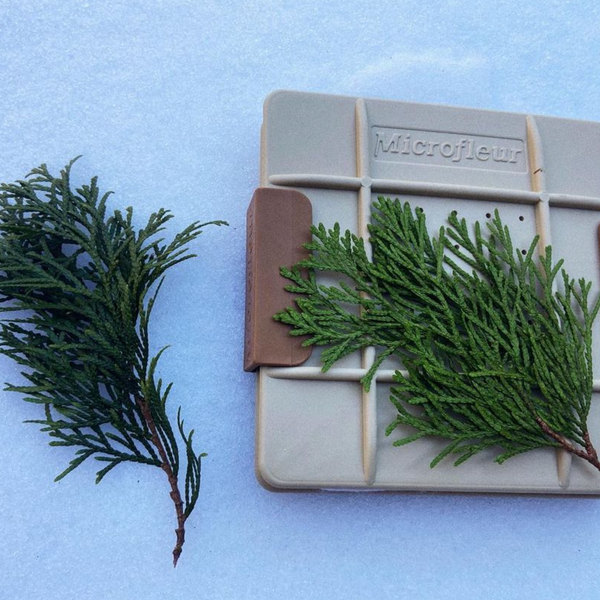
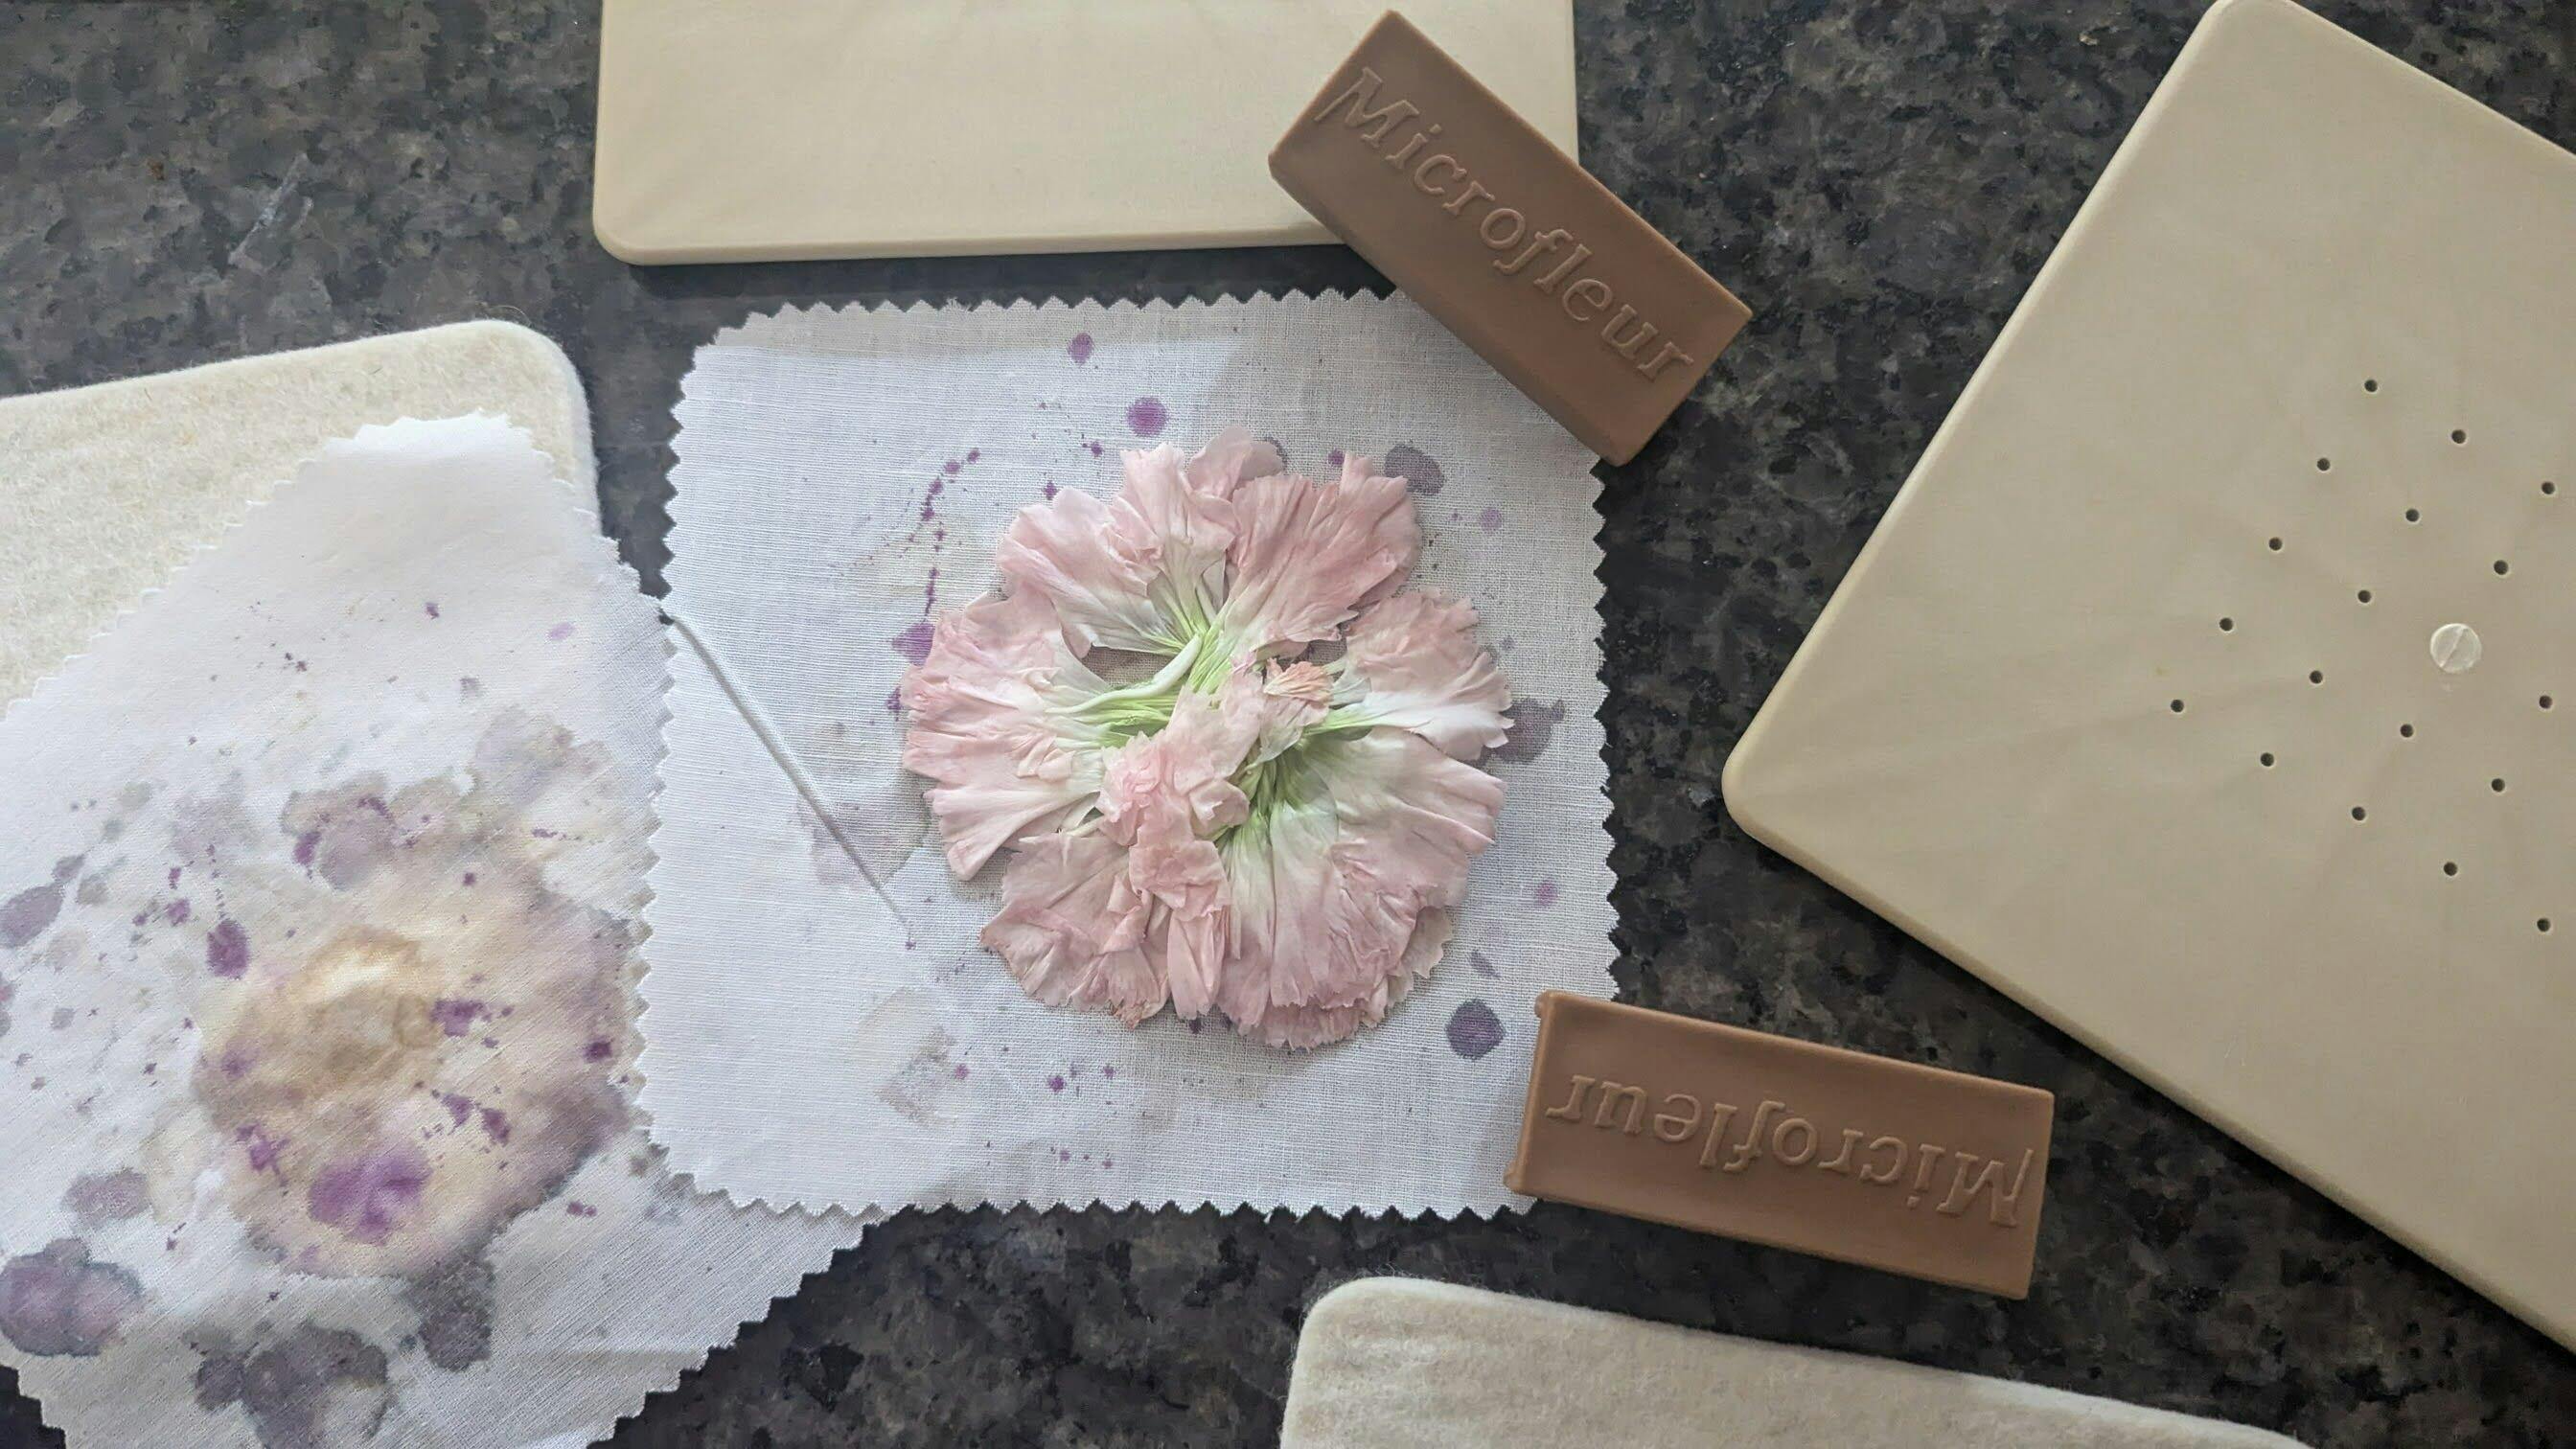
Microfleur flower presses are specifically designed to be used in a microwave oven. It is a very quick method so although you only do one layer at a time, a lot of flowers can be pressed in a short time. It consists of two platens, two pieces of heavy felt and two pieces of cotton lawn, held together with slide-on clips.
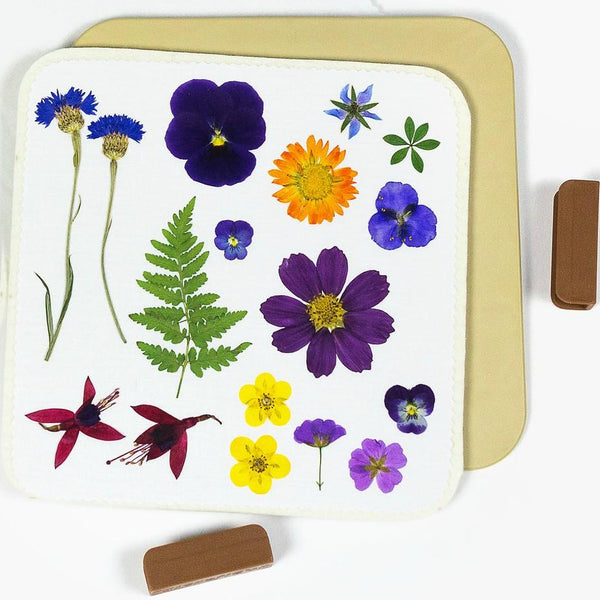
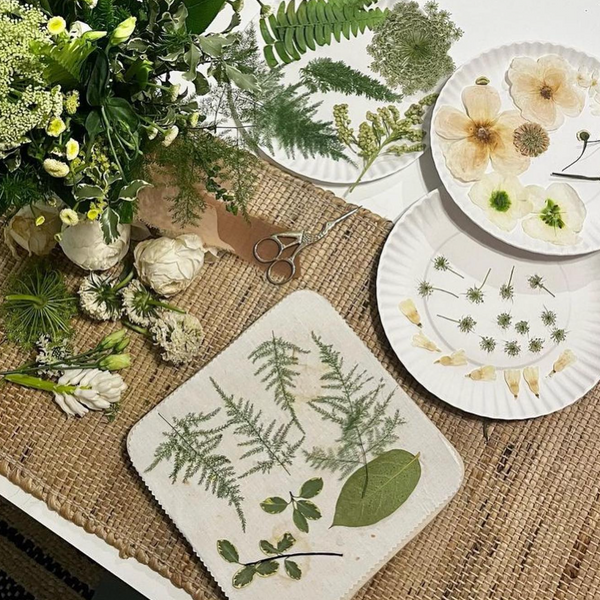
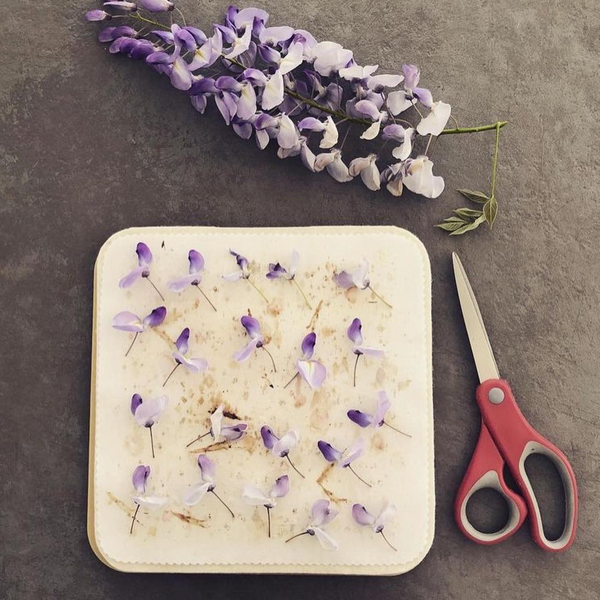
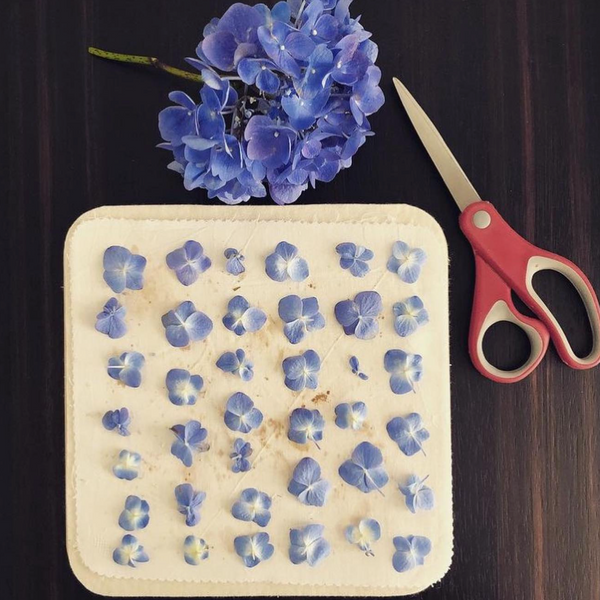
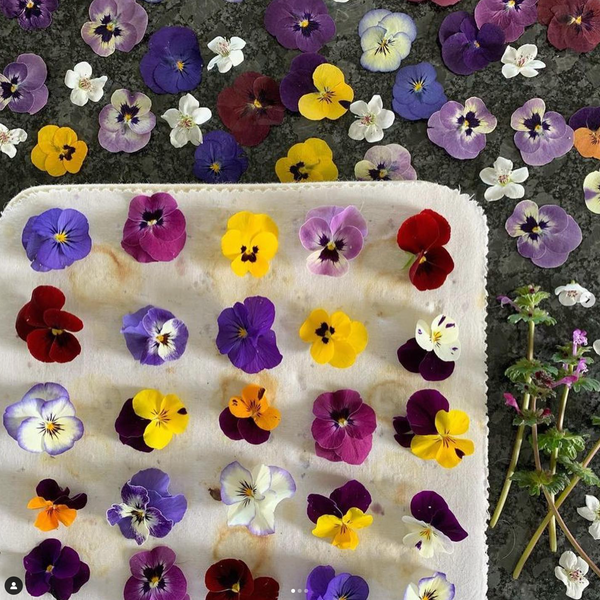
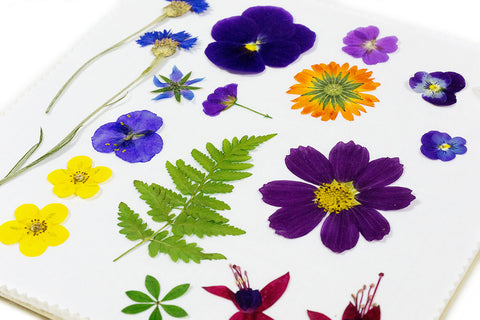
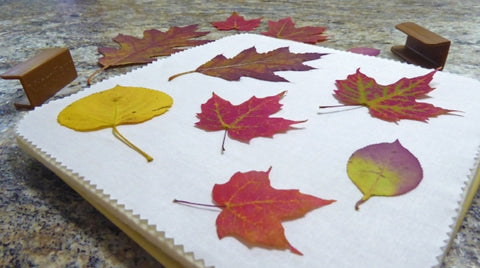
To use it - place 1 platen, ribbed side down on the bench, place one felt pad on top and then one piece of fabric on top of the pad. Place the specimens to be pressed on the fabric, making sure they sit flat and do not overlap or touch each other as they may stick together in the press. It is not important whether the flowers are placed face up or down, it is really a matter of what is the easiest. As pressing times vary, it is advisable to press similar specimens together. Also if you have a thick flower in with a thin one you may find the thin one will not press successfully. You can press one specimen or as many specimens as will fit on the fabric. Carefully place the second fabric sheet, pad and platen (ribbed side up) on top of these. Apply a little pressure to the top platen while you slide the clips into place on opposite sides of the platens, so that the whole assembly is held firmly together.
Your Microfleur is now ready to put in the microwave oven. Pressing times will vary depending on the power of your microwave and the amount of fluid in the flowers. Lower powered ovens (500 watts) will require longer times than higher powered models (1000 watts). Fleshly or moist flowers will take longer than dry flowers and leaves. Specimens should be dried in stages, starting with an initial burst, followed by as many shorter bursts as are needed to completely dry the specimen. As a guideline, initial bursts should be about 45 seconds for a 600W oven, 30 seconds for a 750 W and 20 seconds for a 900W. Secondary bursts should be about half to one third of the initial burst. Specimens may partially dry after they are picked, or if they are picked after lengthy periods of exposure to strong winds, sun or low humidity. Under these circumstances, or when pressing any specimen for the first time, it is advisable to reduce the suggested initial burst time by half.
Unfortunately, some flowers, such as carnations, have a tendency to burn during the Microfleur pressing process. This may be avoided by reducing the number of seconds for each burst in the microwave.
There are a number of advantages in using short bursts of drying instead of a single continuous period:
— this method gives better control over the final product
— where the specimens have thick and thin portions (e.g. calyx and petals) the thicker parts can be dried progressively without destroying the thinner portions
— some rearrangement of petals and other parts is possible while the specimen still retains some moisture.
After the initial burst open the press and test for dryness. Flowers with long thin petals, such as gerberas, have a tendency to curl up when the press is first opened. For this reason it is advisable to allow the press to cool slightly before opening. If the flowers stick to the fabric, gently stretching the fabric should aid in their release. If more drying is required, close the press and give it another short burst. Check again and repeat as necessary until fully dry. Allowing the flower to get cold can help decide if it is fully dry, as if it is still damp it will feel cold and a bit ‘squashy’. The aim is to obtain a reasonably stiff specimen which resists drooping and has a dry or ‘papery’ feel when touched. You may think that the flower is dry and then when you go to use it in the next day or so it feels damp, put it back in the press and give it a 5 to 10 second burst. Repeat if necessary. This can also be done if the flower has twisted or warped due to being left out in the air after drying.
Excessive drying will result in brittleness, particularly for thin specimens such as leaves and petals, and eventually the parts will scorch if the exposure time is too long. Freshly picked specimens will take longer to dry than specimens which have been cut and allowed to stand. Fresh specimens are less prone to burning except when they have been exposed to lengthy periods of strong winds and sun.
With practice it is possible to press quite large and succulent flowers with Microfleur including such things as whole roses, chrysanthemums, gerberas and camellias. Because of the amount of moisture in these, it can take many minutes to dry them successfully, but this should be done in stages. “Resting” the specimen by opening the Microfleur and allowing to stand for 20-30 seconds between bursts, assists the process by allowing excess vapors to be ventilated naturally. Exposure times should be shortened to 10, or even 5 seconds, as the specimen approaches the final stages of drying. When dry, your flower is ready to use or store until required.
Some microwave manufacturers’ recommend that a container of water is placed in the microwave when in use. If this applies to the microwave you are using the pressing times will be almost doubled. If you are using a container of water the ‘burst times could be increased by 50%.
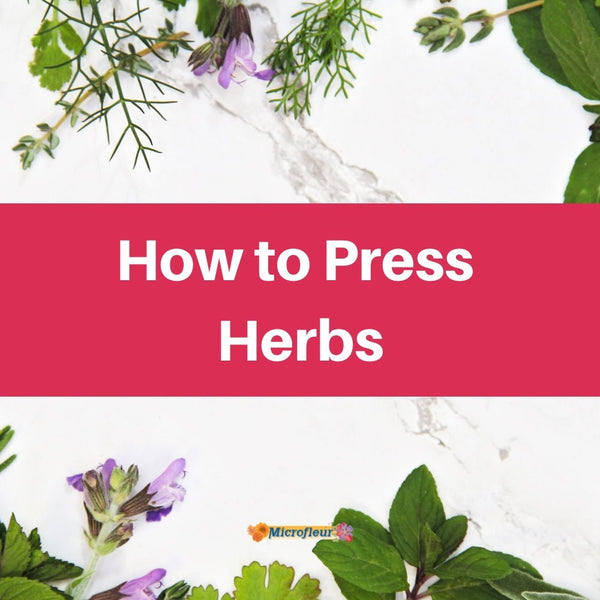
Using a Traditional Flower Press
These presses are usually made of wood with layers of corrugated cardboard and blotting paper held tight with long bolts and wing nuts. To use the press place the base of the press, with bolts upright, on the bench then a layer of cardboard and blotting paper. Specimens to be pressed are carefully placed on the blotting paper, making sure there is plenty of room around them as they tend to spread a bit in the pressing process. Flowers that touch during the process may stick together. Better results are obtained if only one type of flower is put on each sheet. Cover with a piece of blotting paper then cardboard, another piece of blotting paper, flowers, blotting paper, cardboard, etc. Keep adding layers until you have used all the flowers to be pressed, finishing with blotting paper and cardboard. Put the top on, and tighten the wing nuts as tightly as possible. Place the press in a dry, airy position and check every couple of days and if necessary tighten the wing nuts. Try to resist the urge to open the press in the first few days. The drying time will vary, but about 4 - 6 weeks is required. It is possible to reduce the drying time by replacing the blotting paper every few days.
Using a Book
Placing the flowers inside a telephone or heavy book with weights on top is another way to dry them. The drying time will vary, but about 4 - 6 weeks is required. You may wish to put blotting paper or something between the book pages and the flowers as some flowers may bleed their color onto the book pages. It is also a good idea to write the name of the flowers and the pressing date on the blotting paper, so that you will have a record of what you pressed and when.