Decorate Easter Eggs with Pressed Flowers.
Decorating Easter eggs is a tradition in many households. It comes with the decorating of the season, much like Halloween, Thanksgiving, Christmas, (or pick your favorite day). All have their own unique home decor involved. After a long winter in northern Wisconsin, Easter brings along with it, thoughts and sometimes the weather of spring. There are many ways to decorate eggs, but nothing says spring like flowers, so today we're going to decorate Easter eggs with pressed flowers.
[Disclosure: Keep in mind that some of the links in this post are Amazon affiliate links which mean we earn a commission if you click through and purchase something. However, we only recommend products that we have used ourselves and the decision is yours whether or not to purchase an item.]
To prepare your eggs, you will want to first blow them out. Martha Stewart has a great tutorial for blowing out eggs shells. Some people just make a hole on each end and put their mouths on the egg, blowing the contents out the bottom hole, but you can also use a one hole egg blower tool. There are different kinds of egg blowers out there.

Once the eggs are blown out and dry, seal them on the inside with some glue. If you used a 2-hole technique, then you need to seal one of the holes in your egg with tape to keep the glue from coming out as fast as you squirt it in.


Mix some glue with a little water to thin it and make it easier to squirt in the egg using a precision tip applicator bottle. It doesn't take much glue. Put your finger over the open hole and give the egg a good shake to spread the glue mixture around the inside and let it dry. Now your eggs are ready to decorate.
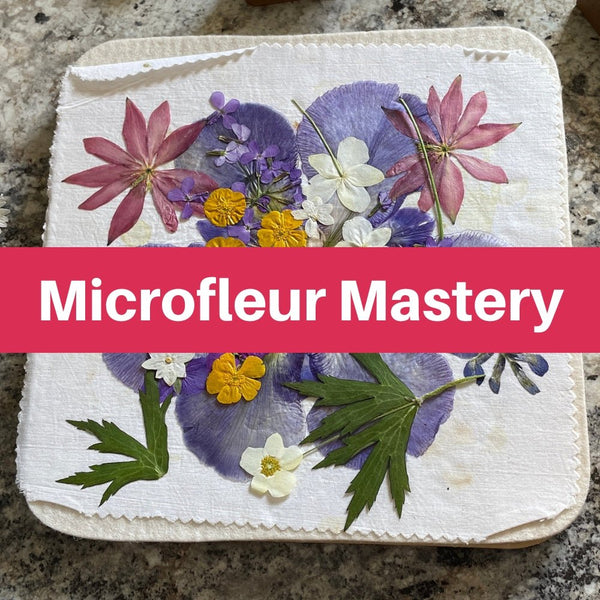
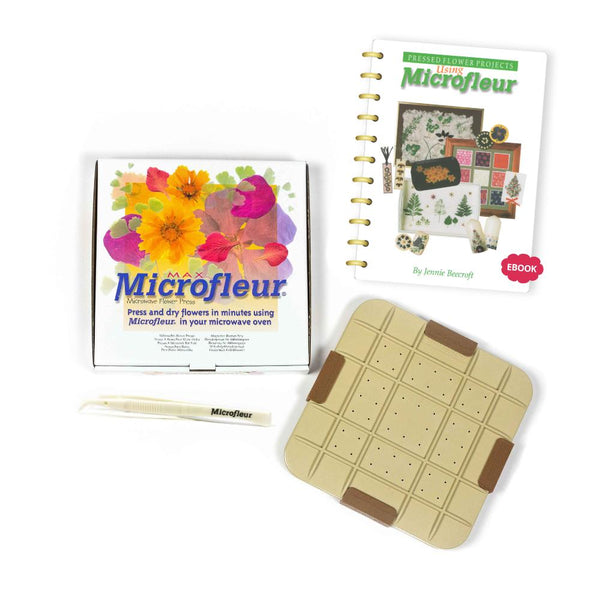
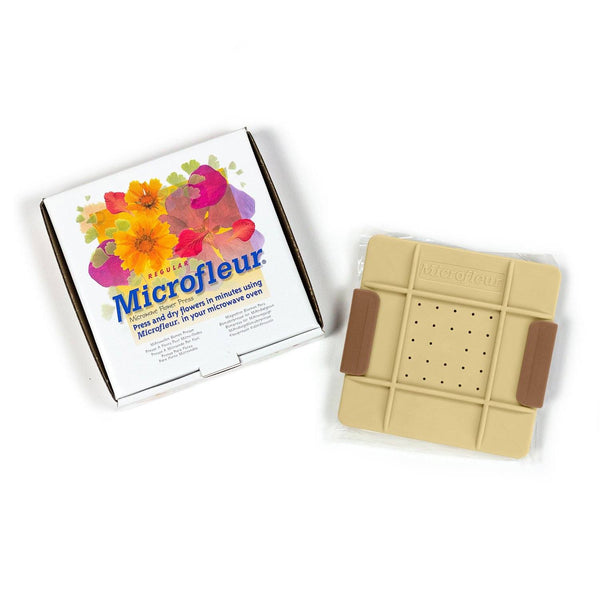
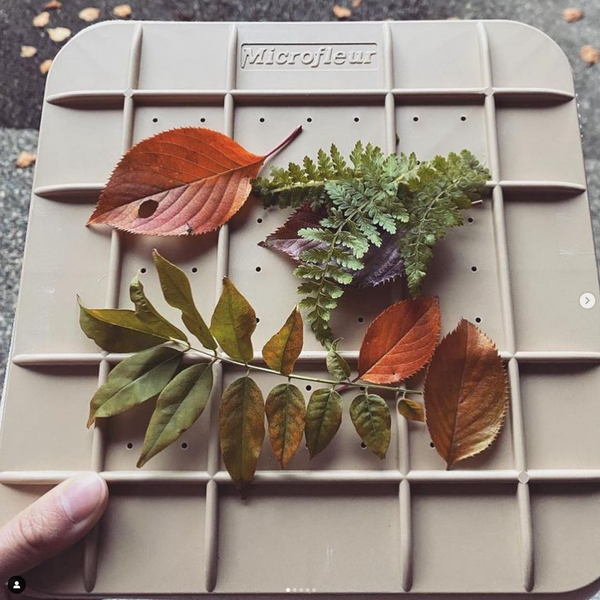
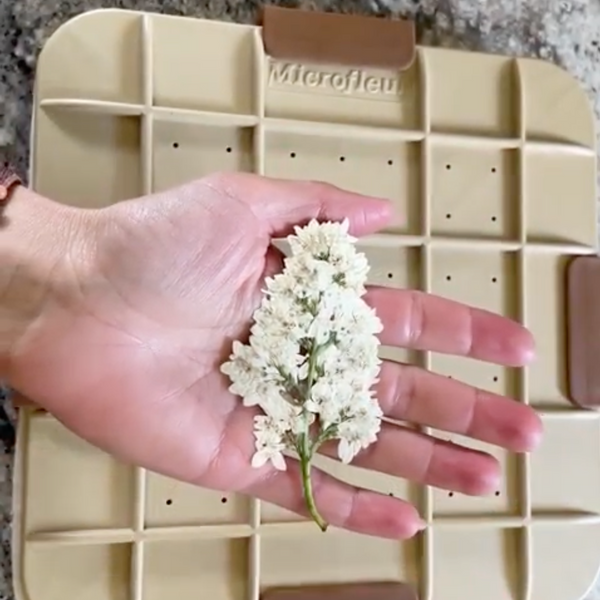
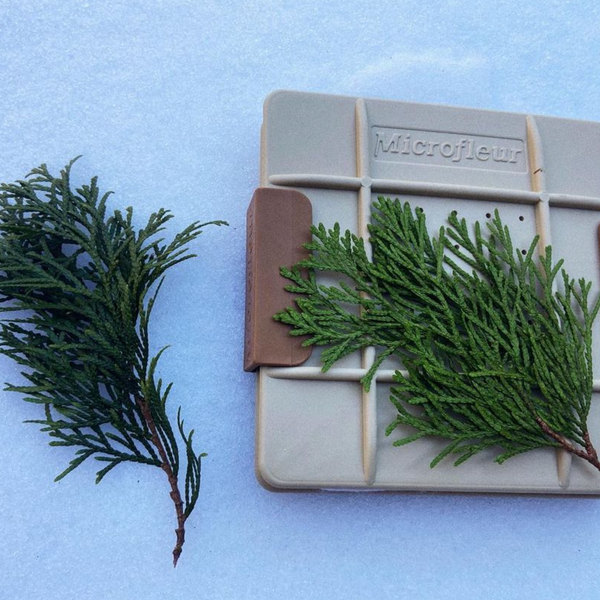
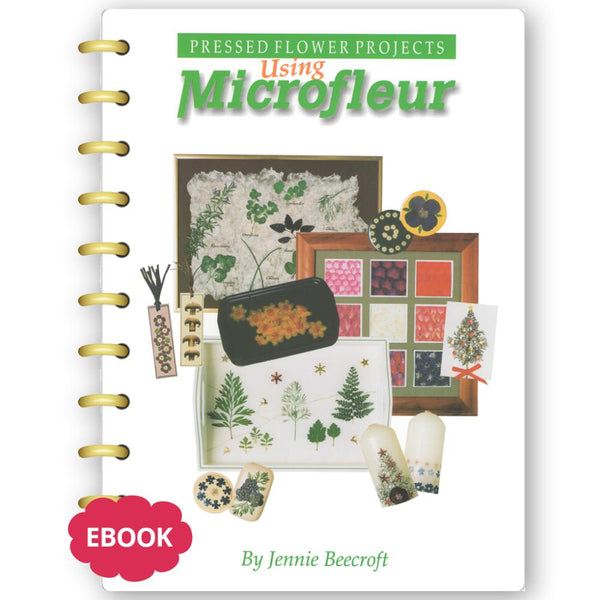
If you are new the using the Microfleur microwave flower press, you can check out our tutorial video page or our post about flower pressing methods so you can have your pressed flowers ready to go.
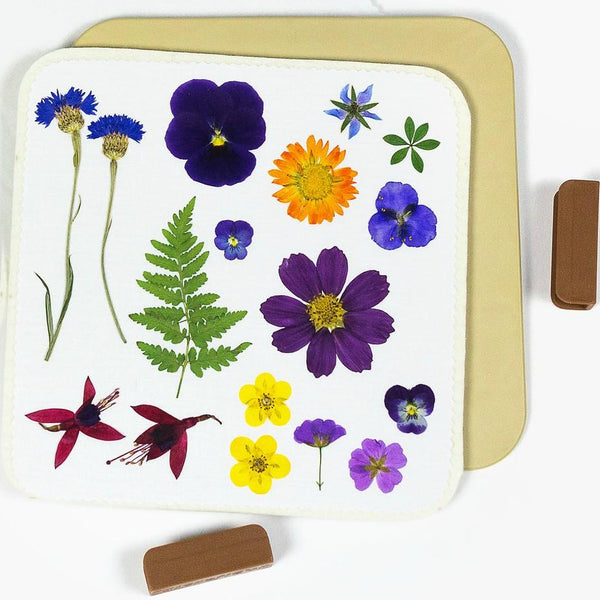
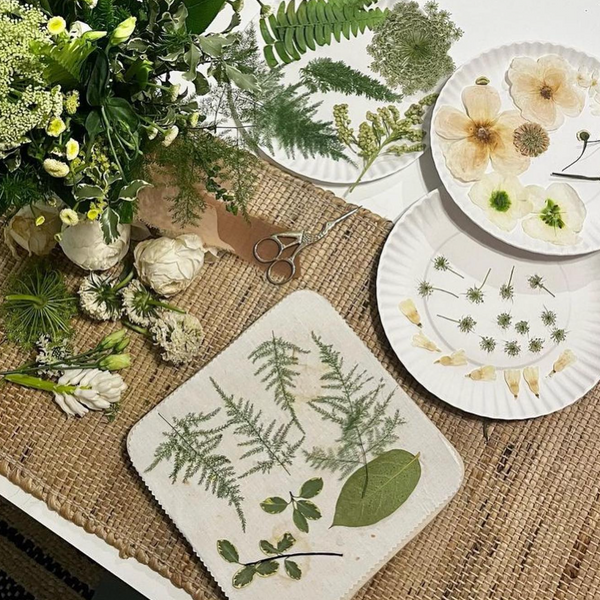
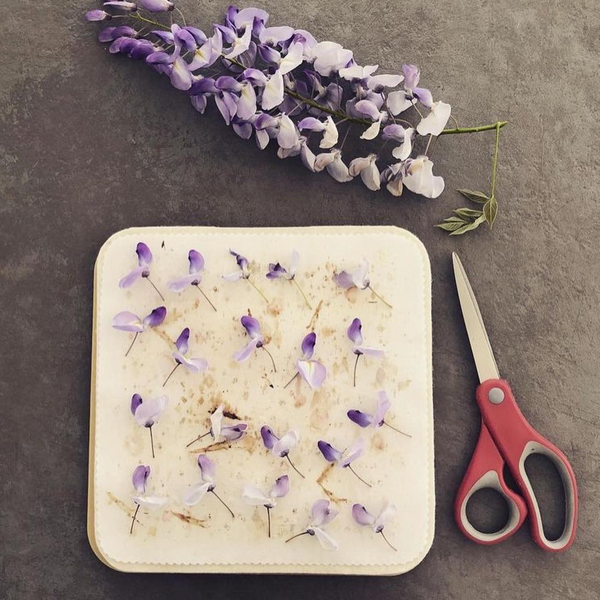
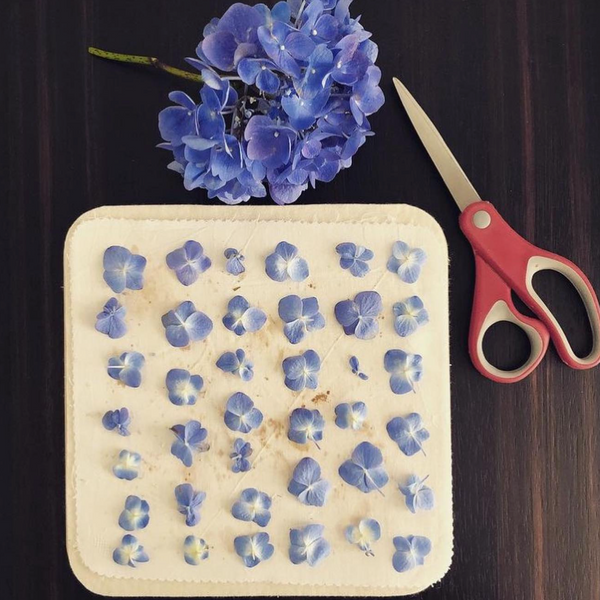
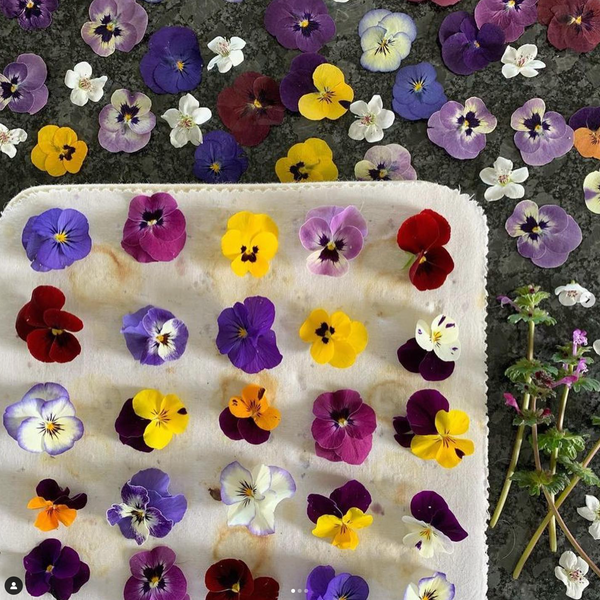
Select and lay out flowers that I may want to use for my projects. You may not use all of them, but choose whatever you're in the mood for and ones that will suit themselves better for any given project. Since eggs are curved and not flat, flowers with thick, very stiff parts or greens with thick stems or veins will not stay well on the egg or may break when trying to glue it down. Flowers that have very small centers, such as pansies or violas, work well or you can just use the petals from any flower.

Using an acid free glue and a small paint brush, paint the underside of the flower. Where the petals overlap, there will not be glue yet and this is ok because the petals will move when pressing the flower around the egg. Petals that stick up can be glued down once the flower is on the egg.

Place your glue covered flower in the desired position on the egg. (This is where our crafting tweezers come in very useful.) Use your fingers to gently pressed down the flower petals and smooth out air bubbles. Use your paint brush to put glue on the underside of any petal that is still sticking up and press it down.

You can glue as many or as few flowers as you would like. You can make a bouquet or decoupage the entire egg. Let your creativity flow!

Once you're finished gluing on the flowers, allow them to dry. When the flowers are no longer tacky, using glue, paint a thin coat over the flowers and the entire egg. This will help to protect the flowers by sealing them from any humidity. Allow to dry. Another coat can be added if desired.

Once dry, your pressed flower Easter eggs are ready and will make great springtime Easter decor around your house.


