
I seal pressed flowers with Mod Podge by using fully dry flowers, a thin adhesive layer, and light top coats. I allow about 20–30 minutes for the adhesive to dry, checking that it’s fully dry before sealing.
My checklist is simple:
- Test a spare petal first. Check for changes in color, texture, and shine after it dries.
- Plan before gluing. Place flowers gently, secure loose edges, and avoid heavy brush pressure.
- Keep each coat thin. Let it dry before adding another, following the label’s timing.
- Wait for the full cure. <u>Touch-dry does not mean fully cured.</u>
One limit I keep in mind: Mod Podge does not waterproof flowers or prevent fading. Once the finish has cured, I keep the piece indoors, away from sunlight and moisture. This protection is especially important when making a pressed flower card or other paper crafts.
How to Seal Pressed Flowers With Mod Podge
Step 1: Prepare Supplies and Test Spare Petals
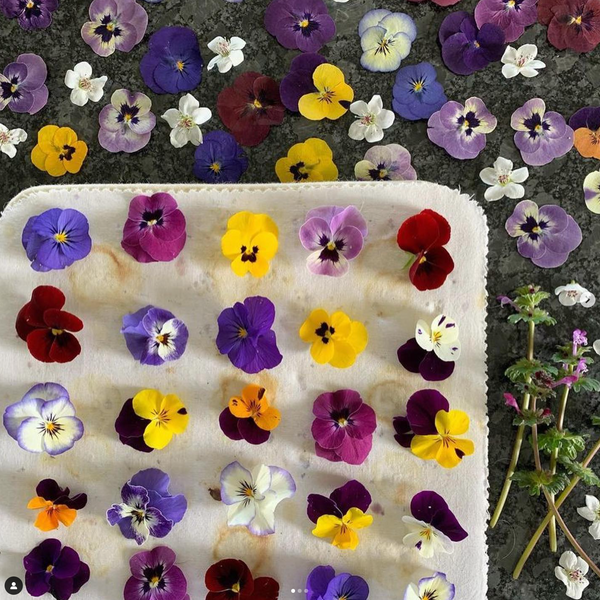
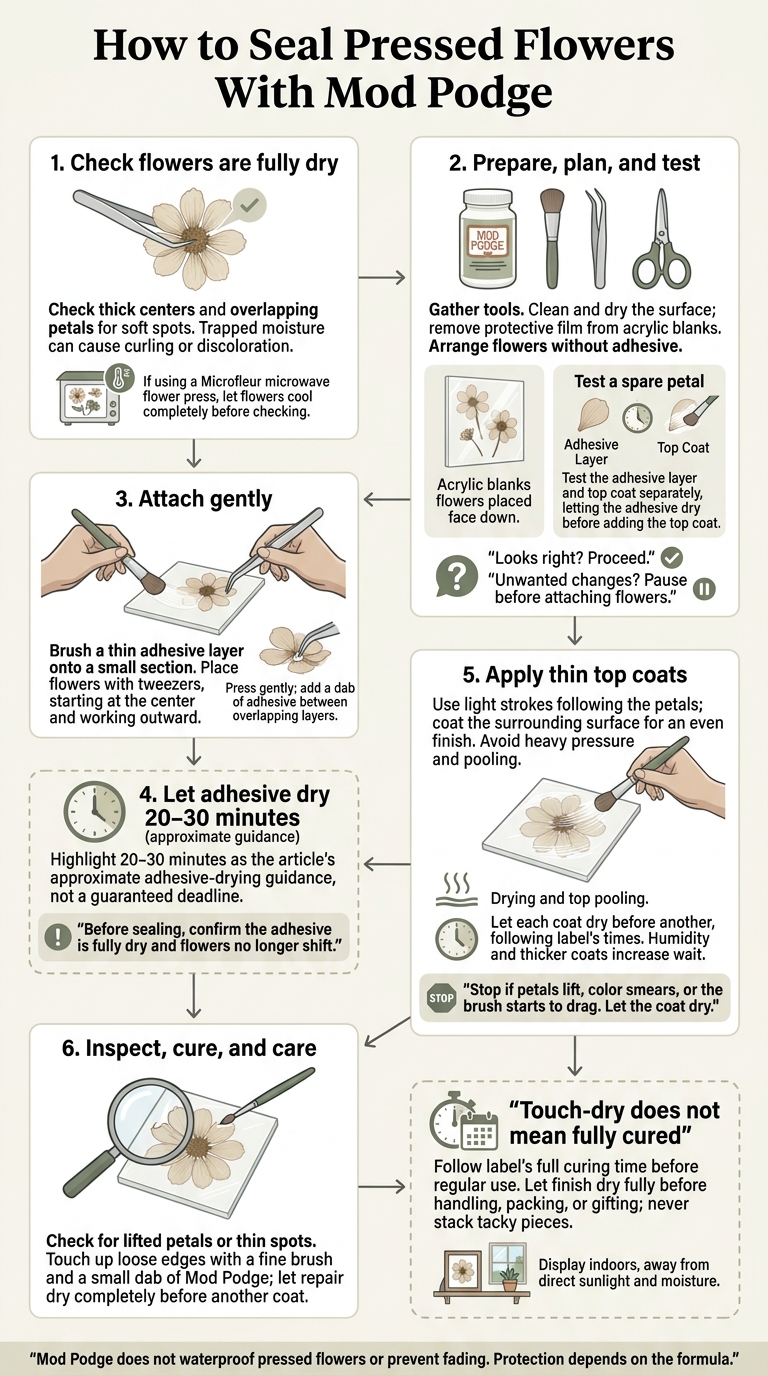
Check That Flowers Are Completely Dry
Gently check thick centers and overlapping petals for soft spots. Trapped moisture can cause curling or discoloration and ruin the finish.
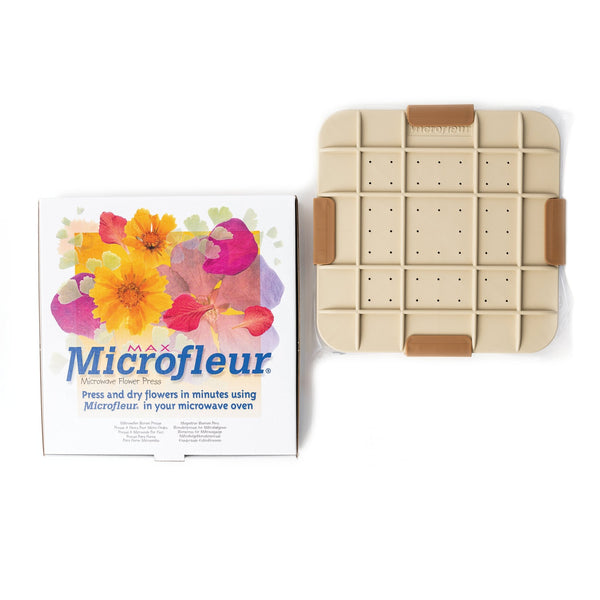
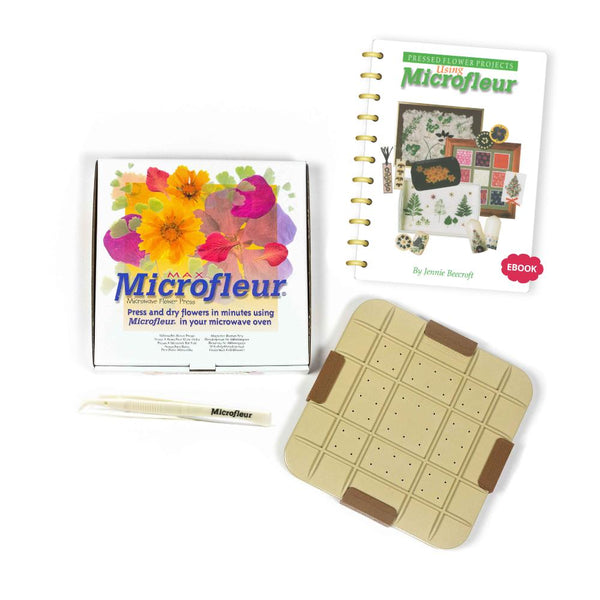
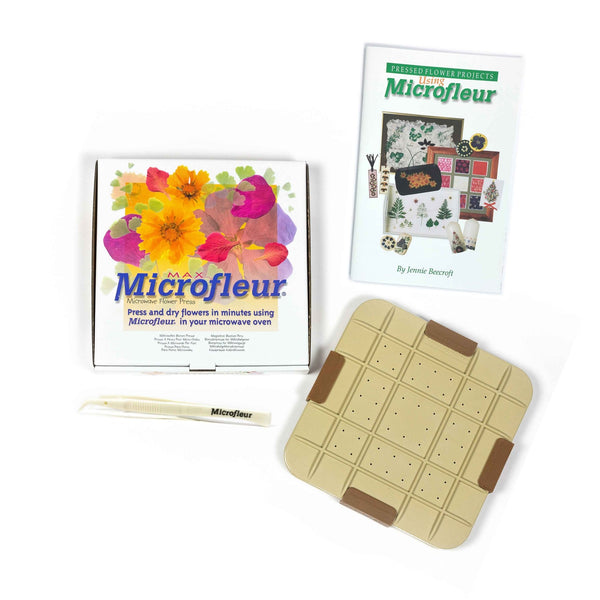
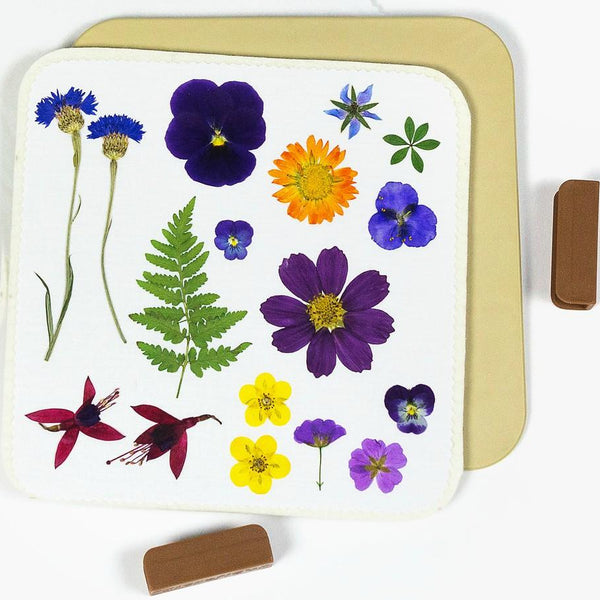
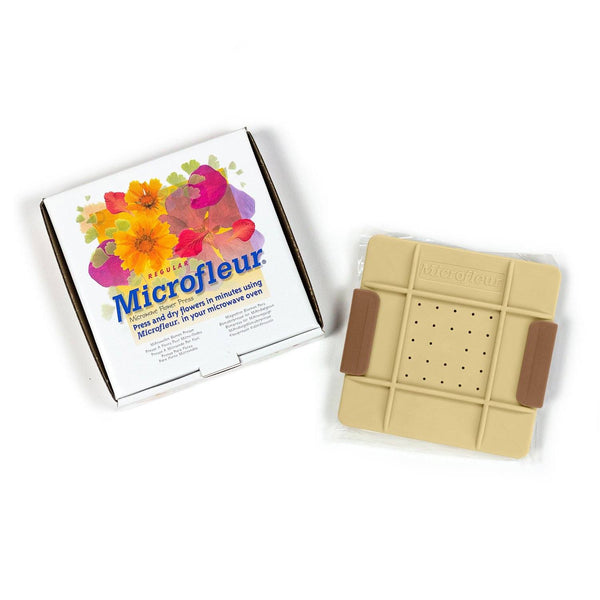
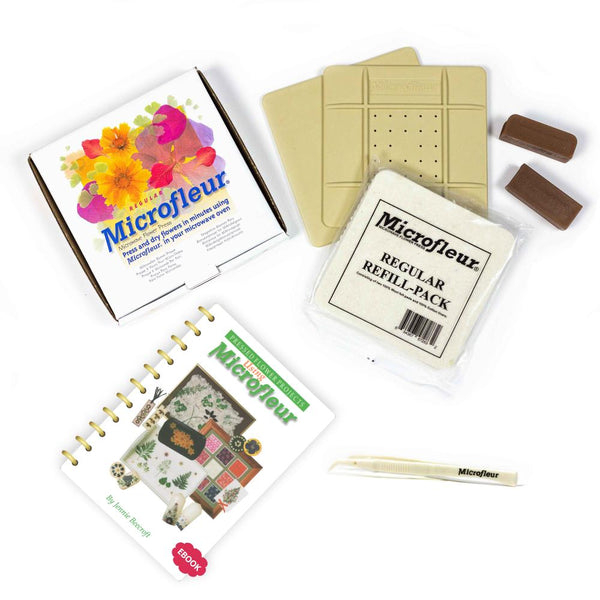
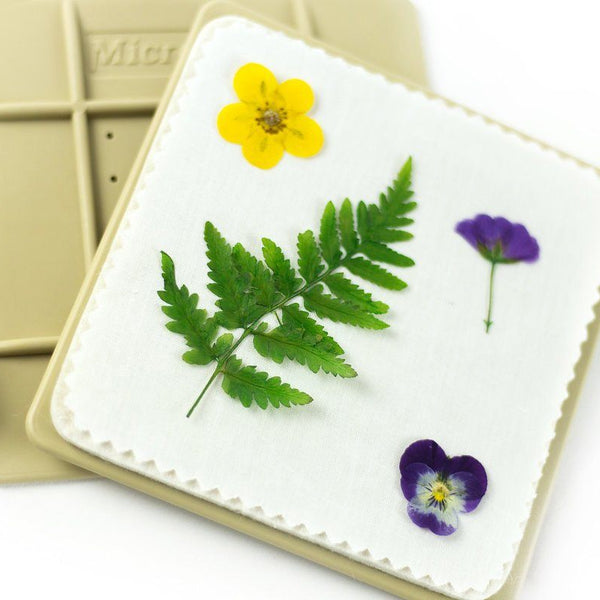
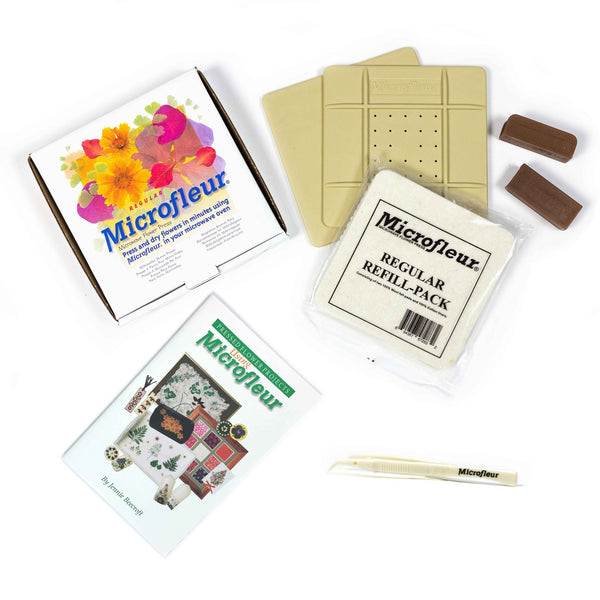
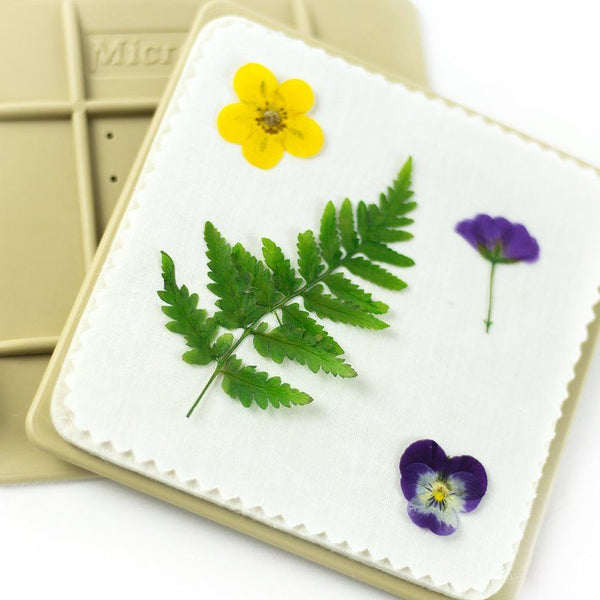
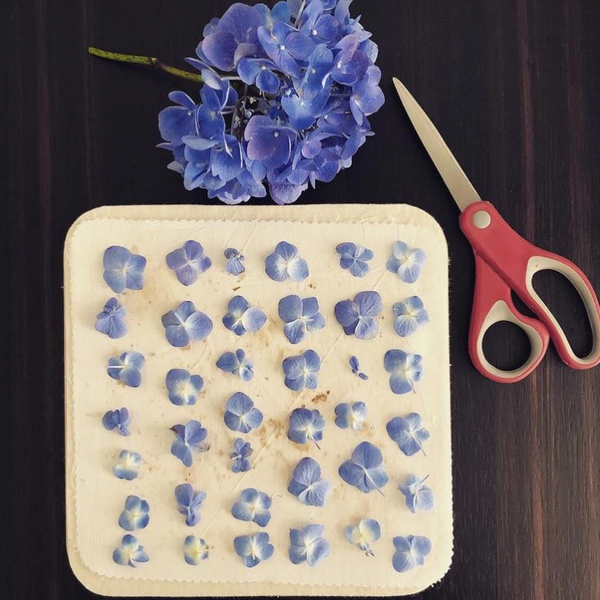
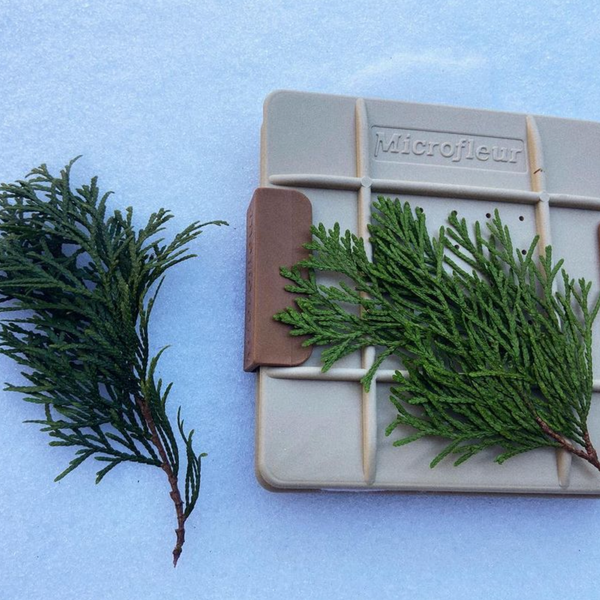
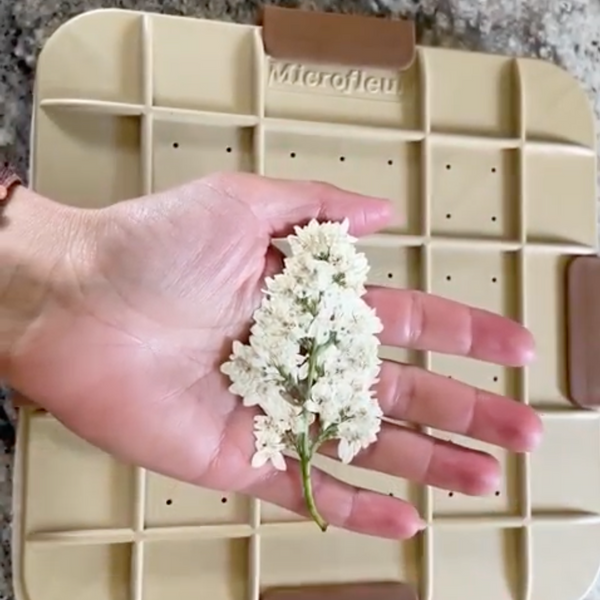
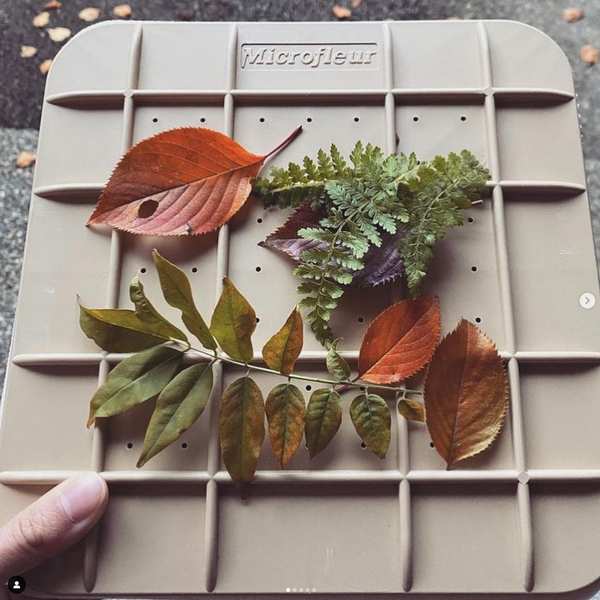
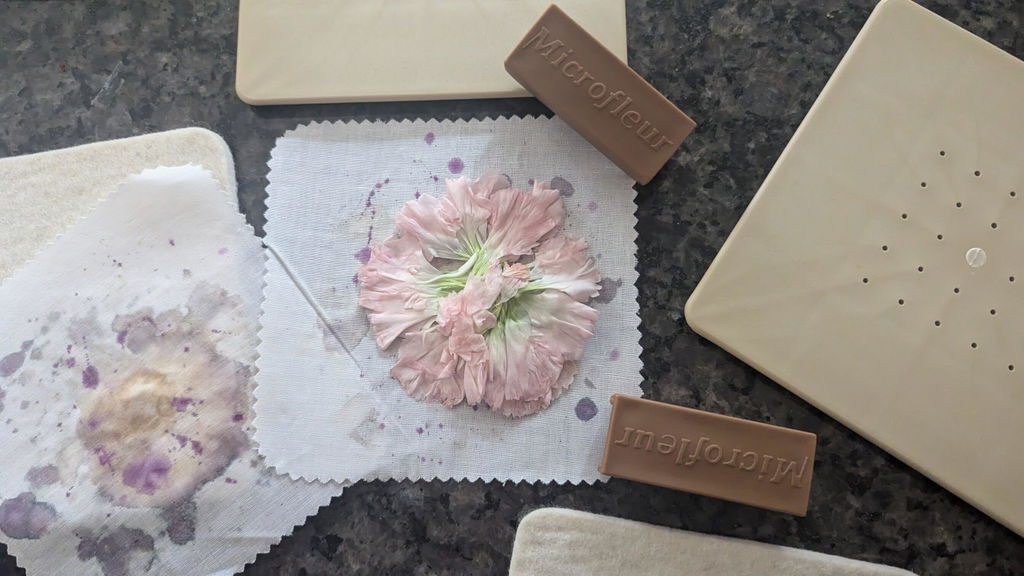
If you’re using a Microfleur microwave flower press, let the flowers cool completely before checking. Heat can mask moisture that’s still inside. Use tweezers to handle the flowers gently.
Once they’re fully dry, lay them out and test the finish before attaching anything.
Gather Supplies and Plan the Layout
Set out your Mod Podge, a soft brush, tweezers, and scissors. Clean and dry your craft surface, and remove any protective film from acrylic blanks.
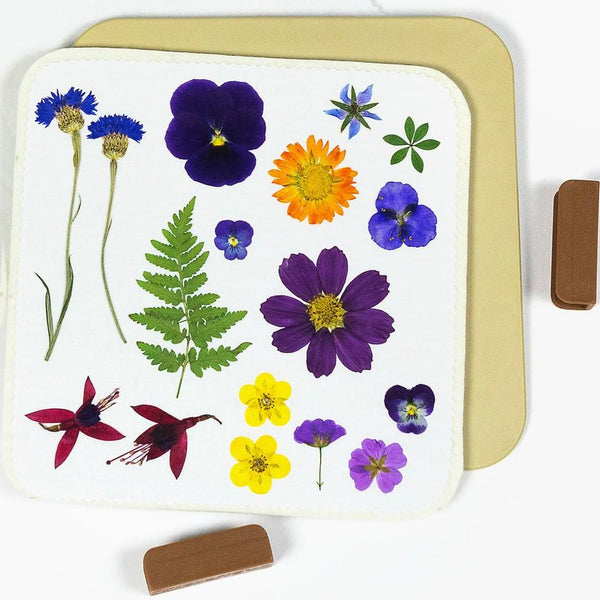
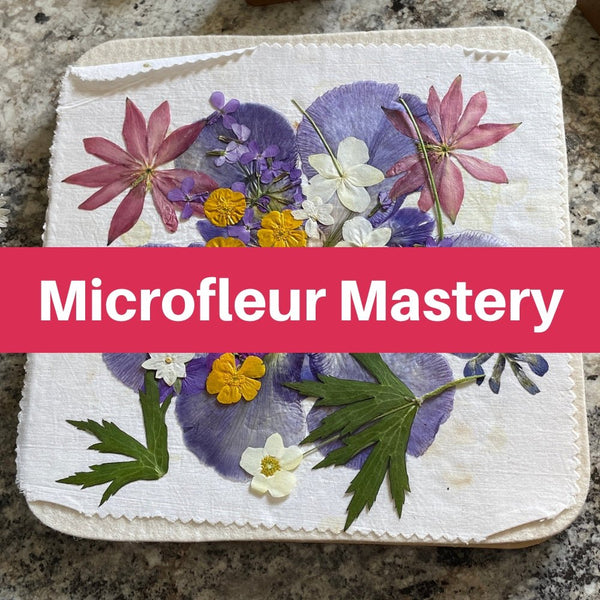
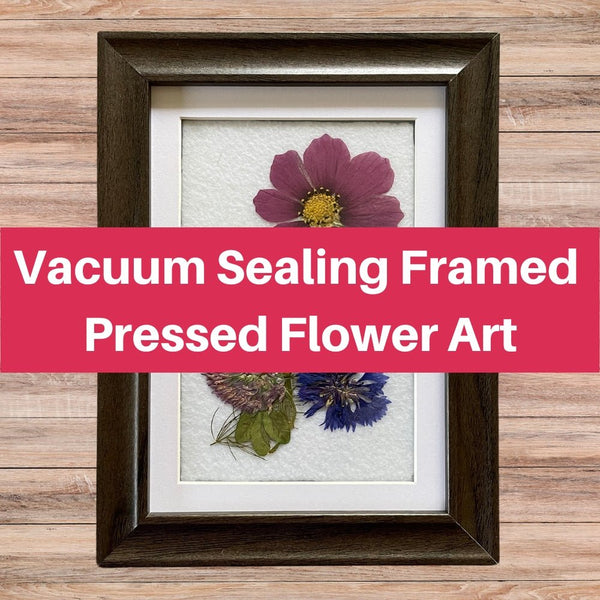
Arrange the flowers without adhesive first. This lets you plan the layout without having to move delicate petals after gluing. Work in small sections. This technique is perfect for creating pressed flower framed art. On clear acrylic, place flowers face down so their best side shows through.
Before attaching them, use a spare petal to see how sealing will affect the flower’s appearance.
Test for Color and Texture Changes
Use a spare petal from the same flower and test it on the surface you’ll use for the project. Check the adhesive layer and top coat separately, letting the adhesive dry before adding the top coat.
Let the test dry completely, then check for darkening, bleeding, curling, brittleness, or shine. If the surface is transparent, inspect the petal from the viewing side, too.
Use the test to decide whether to proceed. If it looks right, you can start attaching the flowers in the next step.
sbb-itb-80d8183
Step 2: Attach Flowers Gently
Apply Adhesive and Place the Flowers
With your layout planned, brush Mod Podge onto a small section. Use tweezers to place each pressed flower on the adhesive, starting at the center and working outward. Gently press each flower with your fingertip or a brush handle, matching the light pressure and drying behavior from your test results. Where flowers overlap, add a dab of adhesive between the layers.
Secure Loose Edges and Let the Adhesive Dry
Check the edges as you work. If a petal or edge lifts, use a small brush to slip a little Mod Podge underneath, then press it gently back into place. Let the adhesive dry for 20 to 30 minutes. Before sealing, make sure the flowers no longer shift and the adhesive layer is fully dry.
Step 3: Seal With Thin Protective Coats
Brush Gently Over the Flowers
Once the adhesive layer is dry, seal the flowers with a light top coat. Keep coats thin to protect the flowers without flattening their color or texture.
Use light strokes that follow the petals, spreading the sealer in a thin, even layer. Don’t press into the flowers or let sealer pool around the centers and stems. Coat the surrounding surface, too, for an even finish.
Stop if petals lift, color smears, or the brush starts to drag. Let the coat dry instead of brushing over it again. Repeated strokes can disturb delicate petals.
Let Each Coat Dry Before Adding Another
Follow the label’s drying and recoating times. Humidity and thicker coats can mean a longer wait. Once the first coat is dry, add another thin coat only where coverage is thin.
Cloudiness usually clears as the sealer dries, but touch-dry is not fully cured. Wait for the full curing time listed on the label before regular use.
Conclusion: Check, Cure, and Care for Your Flower Art
Once the final coat dries, check your piece in good light for lifted petals or thin spots. Use a fine brush and a small dab of Mod Podge to touch up loose edges. Let the repair dry completely before applying another coat.
Let the finish dry fully before handling, packing, or gifting your art. Never stack pieces that still feel tacky.
Display finished art indoors, away from direct sunlight and moisture, to help preserve its color over time. For more tips on maintaining vibrancy, see our guide on how to preserve flower color. Mod Podge does not waterproof pressed flowers or prevent fading, and the level of protection depends on the formula.
FAQs
Which Mod Podge finish works best for pressed flowers?
Matte-finish Mod Podge is a common choice for pressed flowers, but the best finish depends on the look you want and what your project needs. Choose matte or gloss, or try specialty formulas like Mod Podge Multi, Extreme Glitter, or Sparkle for added effects on projects such as bookmarks.
Before sealing your finished piece, always test on a spare, fully dried petal to check texture, clarity, and color.
How can I tell if my flowers are fully dry?
Check the whole flower, not just how it looks. Fully dried flowers feel stiff, brittle, and papery. The centers and stems often dry last, so check those closely. If any spot feels soft, bendy, springy, moist, or cool, give it more drying time.
Moisture trapped under sealant can cause browning, mold, or rot. Always test the sealant on spare petals before applying it to keepsake flowers.
Why is my Mod Podge still cloudy after drying?
Mod Podge can stay cloudy if the flowers - especially their centers - aren’t completely dry or the previous coat hasn’t fully cured. Trapped moisture scatters light and can cause discoloration.
Apply thin coats and let each one cure according to the product instructions. Dry to the touch doesn’t mean fully cured. If the cloudiness sticks around, allow more time before recoating or start over with flowers that feel papery, thin, and brittle throughout.