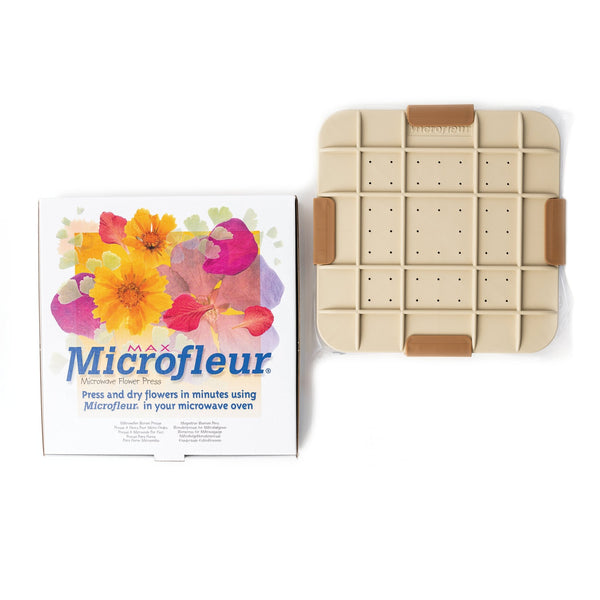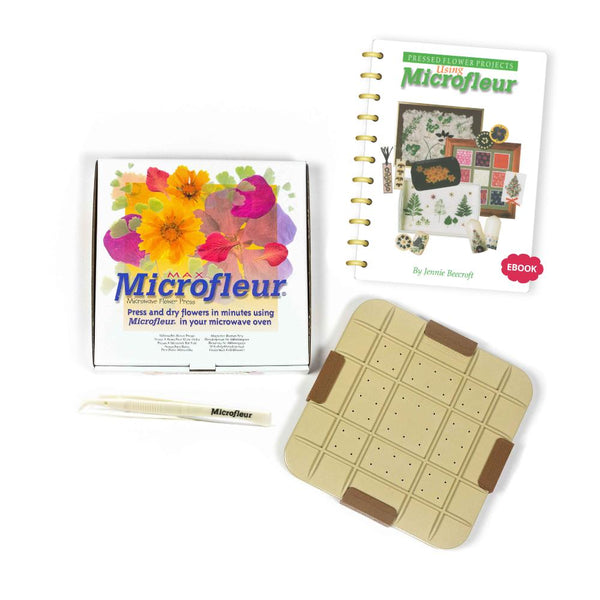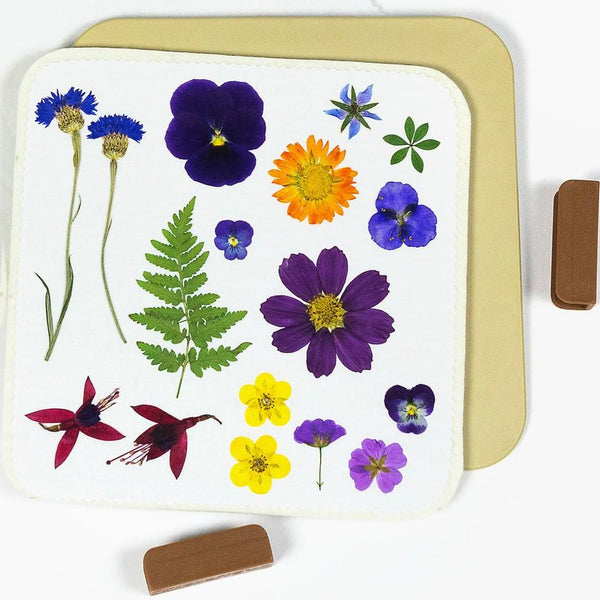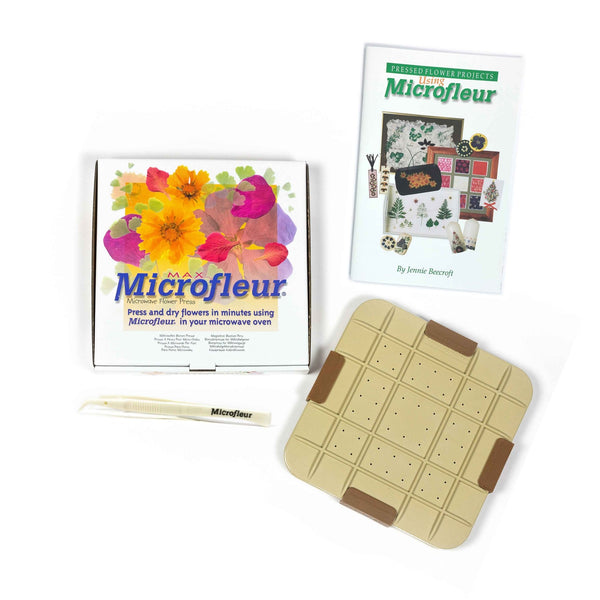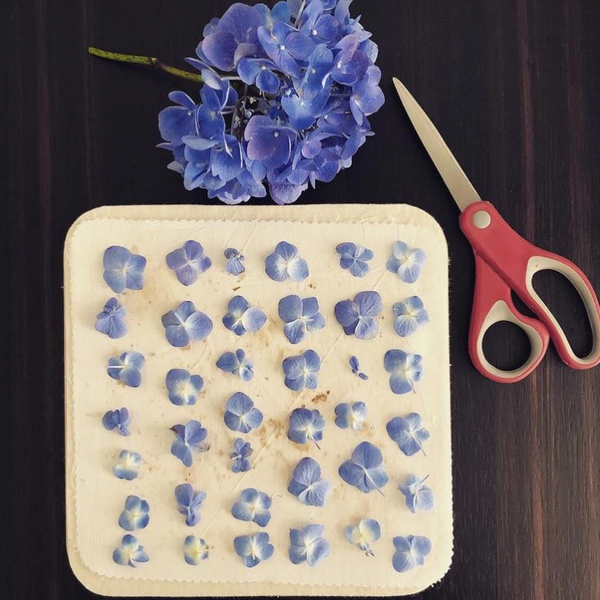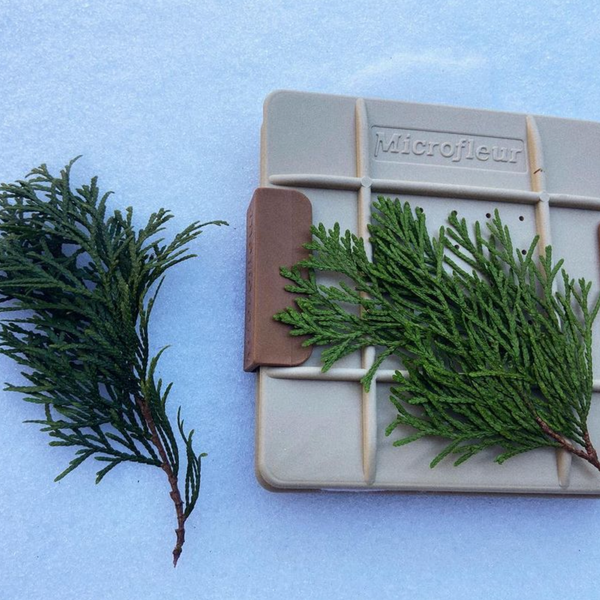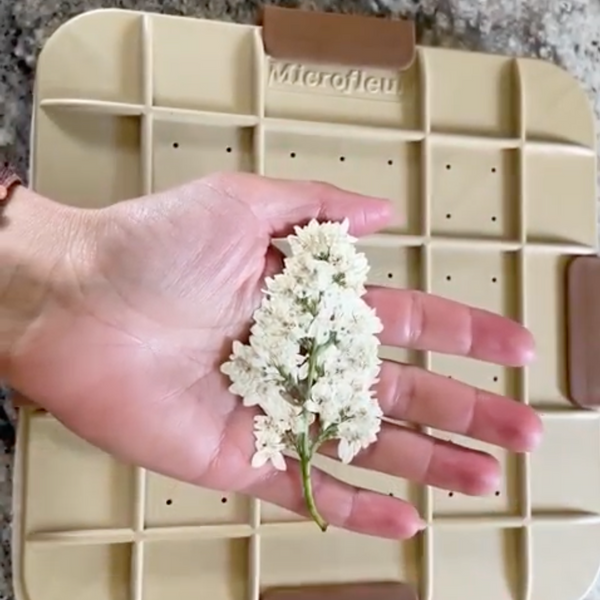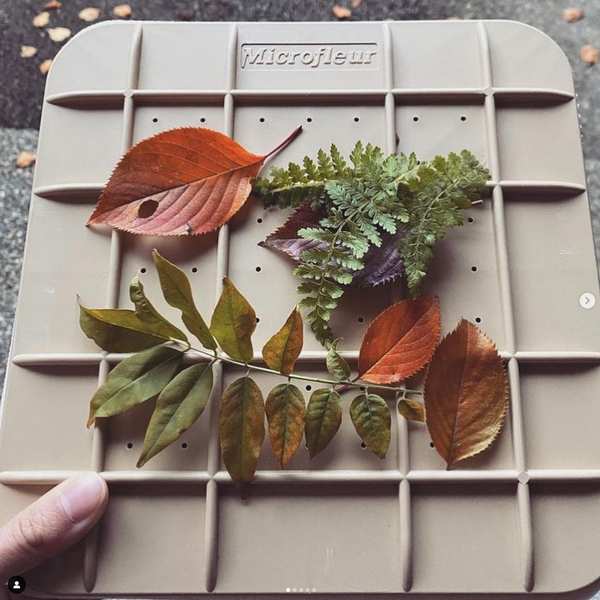





The first fix for scorched flowers is less heat, not more time. Thin petals dry before thick centers, so follow the microwave flower pressing instructions and shorten later bursts to one-half or one-third of the first, then 5–10 seconds near the end.
Also check the setup before heating again:
- Uneven drying: Space blooms apart, smooth liners, and thin bulky centers when possible.
- Trapped moisture: Let the press cool enough to handle, release steam, and wipe plates dry.
- Damaged materials: Replace charred liners or pads, check plates and clips, and use parts that fit the press.
- Dry or scorched petals: Stop heating. A burning smell means stop the microwave immediately.
The rule: check before adding heat. Stay beside the microwave, stop when flowers feel papery and hold their shape, and test one change at a time on small batches.
How to Press Flowers in Minutes (Microwavable Flower Press Tutorial - Microfleur)
sbb-itb-80d8183
Spot Heat Damage and Uneven Drying
Color alone doesn’t confirm scorching. Check texture, moisture, and smell together. Drying time depends on wattage, flower thickness, starting moisture, and the condition of the press. Use these signs to decide whether to shorten the next burst or stop heating that bloom.
High Power and Long Bursts Can Scorch Petals
Higher-wattage microwaves heat faster, so the same timing won’t work for every microwave. Moisture helps cool the flower at first. As it dries out, the risk of scorching increases. Repeated long bursts also build heat in the pads and liners. Shorten later bursts to one-half or one-third of the first cycle, then to 5–10 seconds near the end to limit heat buildup.
| Symptom | Possible cause | Correction |
|---|---|---|
| Browned edges | Too much heat or over-drying | Stop heating affected flowers; shorten bursts for the next batch. |
| Dark spots | Moisture moving from the center or heat damage | Check texture and smell before heating again. |
| Brittle petals | Moisture already depleted | Apply no more heat. |
| Dampness despite steam | Active evaporation or trapped condensation | Wipe plates dry and briefly open the press to release steam, then check again. |
Steam is normal. A burning smell means stop immediately. If shorter bursts don’t fix uneven drying, check the press materials next.
Thick Centers and Poor Contact Cause Uneven Drying
Bulky centers hold moisture longer. Overlapping petals and crowded blooms also trap moisture between layers. When the flower’s shape allows, thin bulky centers or remove inner petals.
Poor contact is another common cause of uneven drying, often linked to the press itself. If the flower looks sound but dries unevenly, check for bunched liners that prevent even contact. Separate blooms, smooth the liners, and keep flowers within the instructed pressing area.
| Condition | What to check | Adjustment before another cycle |
|---|---|---|
| Uneven moisture | Soft center with dry edges | Open the press for 20–30 seconds to release steam; check again before a shorter burst. |
| Poor contact | Overlapping petals or bunched liners | Separate petals, smooth liners, and check that clips are tight. |
| Scorching in one spot | Repeated long bursts or high power | Stop heating that specimen; shorten bursts for later batches. |
Let the flower cool enough to handle safely before checking it. A cold or squishy center suggests moisture remains, while cracked or crumbling petals are already over-dried. Condensation on the plates slows drying, and dry wool pads can scorch. Lightly mist the pads before the next batch.
Adjust Heating and Save Undamaged Flowers
Test Small Batches and Shorten Later Bursts
Once scorching starts, make smaller adjustments rather than heating longer. Follow your press instructions, including Microfleur’s, for the first burst and power setting. Record the wattage, flower type, bloom thickness, moisture level, and burst length. Timing varies with moisture, thickness, and humidity.
Treat the first interval as a test. Shorten later bursts, especially for delicate or nearly dry flowers. Check the time on your microwave before you press start. It’s easy to hit an extra zero, and a 20-second burst that accidentally becomes 200 seconds will burn your flowers and your press. Small adjustments help prevent heat from building up and scorching flowers in later cycles.
Between bursts, let the press cool until it’s safe to handle. Wipe the platens dry, then lift a corner of the liner to check progress. Flowers are ready when they feel papery, hold their shape, and don’t droop. Little or no moisture on the platens usually means they’re nearly dry, though thick centers can still cause petals to discolor.
Stop Heating Scorched or Brittle Flowers
Stop the microwave immediately if you smell burning. Let the press cool, then separate undamaged flowers from blackened or severely brittle pieces. Don’t heat scorched or brittle flowers again. If scorching happens again, inspect the liners, pads, and plates before starting another batch.
Inspect Press Materials for Damage
If shorter bursts still scorch blooms, check the press materials next. Look for damp platens and stuck plant residue. Dampness slows drying, while residue can stain newly added flowers. Repeated heating can also damage the press and make uneven drying worse.
Check, Dry, or Replace Liners and Pads
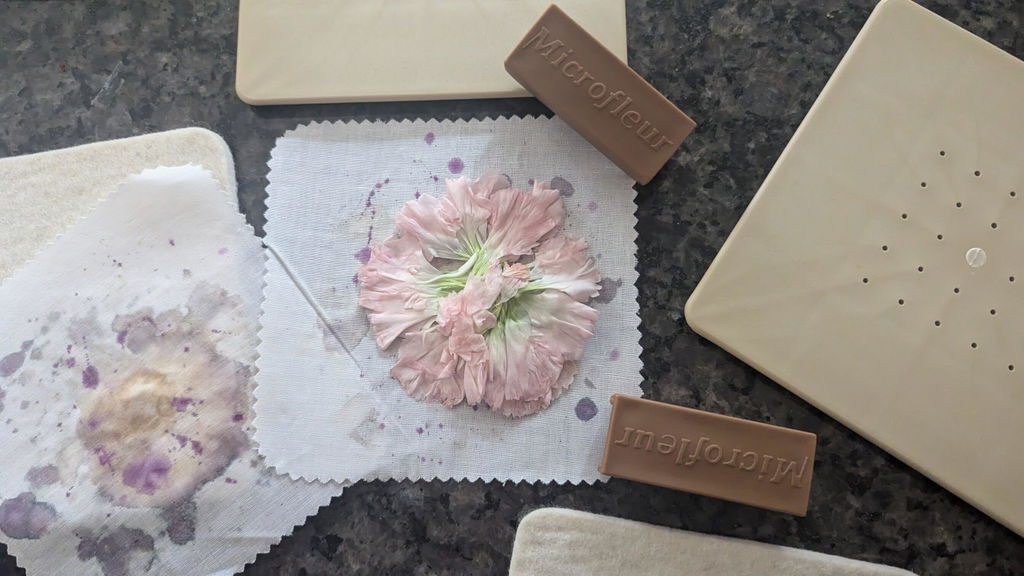
Check liners and pads for dark marks, a burnt smell, scorch marks, or charring. Damaged materials can create uneven contact and transfer residue to flowers.
Gently hand-wash reusable cotton liners to remove residue, even if some stains remain. Air-dry them flat, then press them flat again to restore their shape. Replace charred or permanently damaged liners and pads.
Liners and pads usually show damage first, though plates and clips can wear out too.
Check Plates, Clips, and Replacement Fit
Replace worn or damaged plates, replacement clips, and hardware. Wear or a poor fit can cause uneven pressure and localized overheating. Match replacement parts to the exact press size and model.
After replacing damaged parts, retest with one small batch.
Conclusion: Test One Change at a Time
For the next batch, combine these heat fixes: Space flowers evenly to reduce hot spots and scorched petals. Start with clean, dry liners, and reset the wool pads so they’re lightly damp. Make later bursts shorter than the first. Between bursts, open the press and wipe the press plates dry.
Stop heating when the petals feel papery and hold their shape without drooping. Never leave the microwave unattended. If a flower still scorches, change just one variable in the next practice batch: burst length, flower thickness, or batch size.
Record the flower type, starting condition, power setting, burst length, and result. Practice with imperfect flowers before pressing keepsakes, testing one heat change at a time.
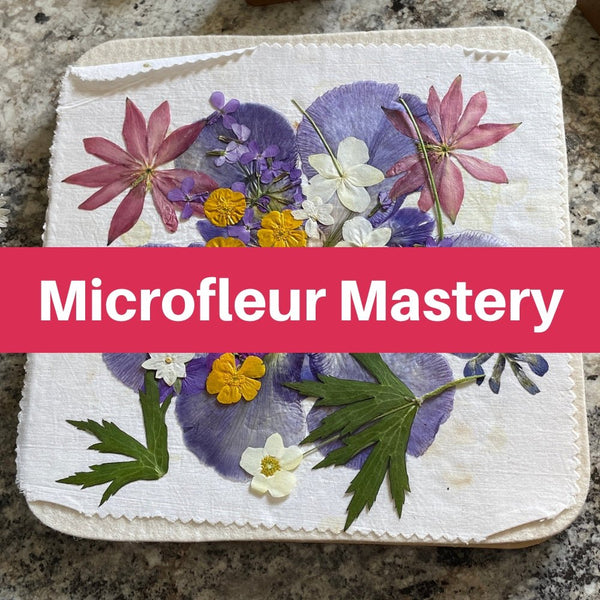
New to microwave pressing? The free Microfleur Mastery course walks you through timing and checking your flowers step by step.
FAQs
Can I press thick and thin flowers together?
No. Group flowers by thickness and press each group separately for even results. Thick centers hold more moisture than thin petals. If you press them together, the thin parts can overheat and scorch while the centers stay damp.
For a bulky bloom, remove extra inner petals or cut the flower in half vertically to make pieces with a more even thickness.
Can scorched flowers still be used in crafts?
No. Flowers scorched by too much microwave heat can’t be repaired or used in crafts.
For future batches, heat in shorter intervals, let moisture escape between cycles, and check the flowers closely. Stop if you see browning, smell burning, or find that the flowers feel papery and dry. Replace scorched pressing materials so they don’t damage the next batch.
How can I distinguish stained liners from heat-damaged ones?
Permanent stains from pollen or natural flower pigments are normal. They won’t affect future batches or weaken the material.
Heat damage is different. It usually happens when microwave time is too long and shows up as scorching, sometimes with a toasted odor or signs of burning. If you smell burning or see charred areas, replace the liners. You can get replacements through the Microfleur website.
Related Blog Posts
- Why Pressed Flowers Feel Damp After Drying
- Flower Pressing vs. Air Drying: Shape and Uses
- The Complete Beginner’s Guide to Microfleur