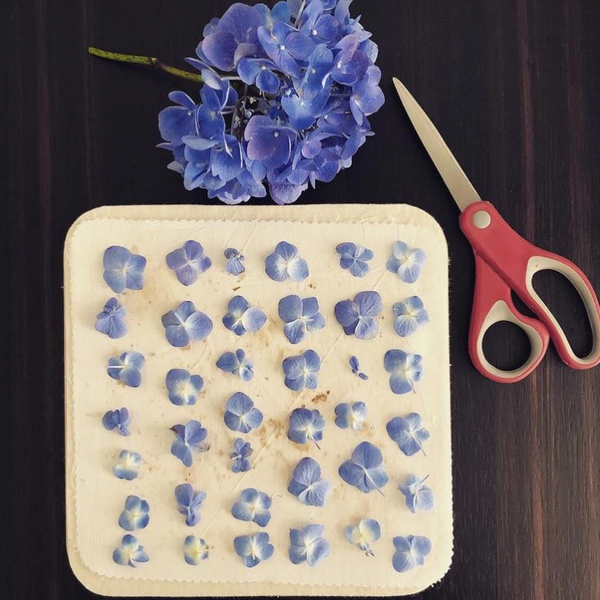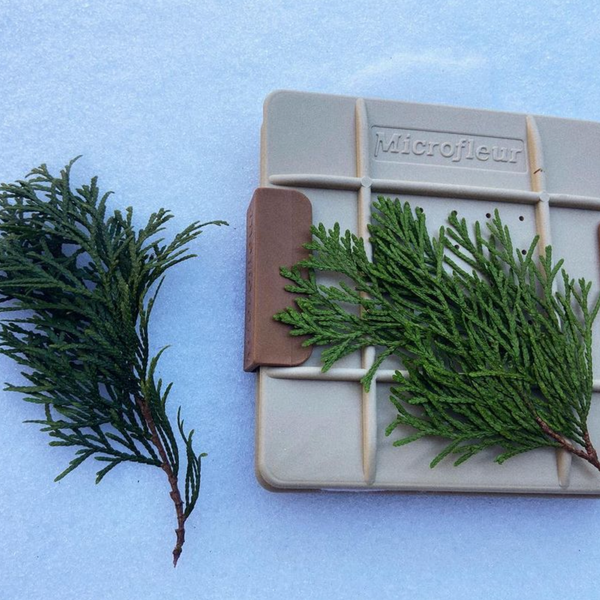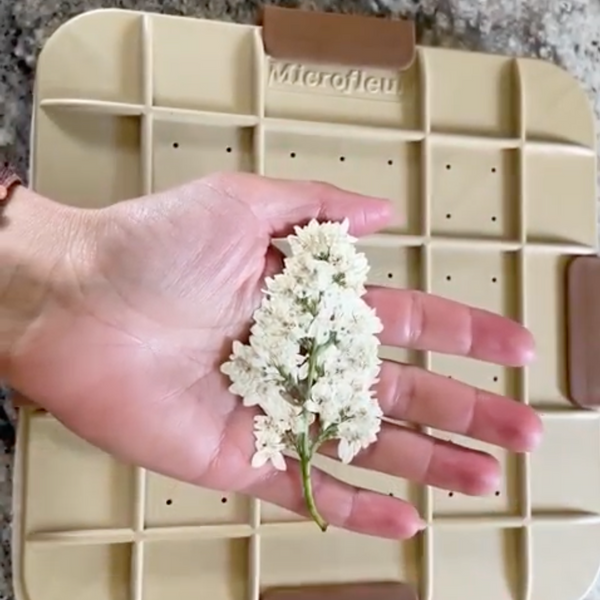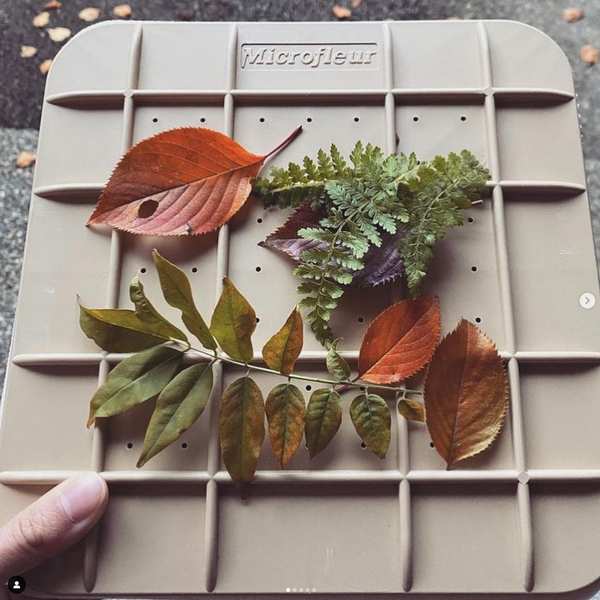


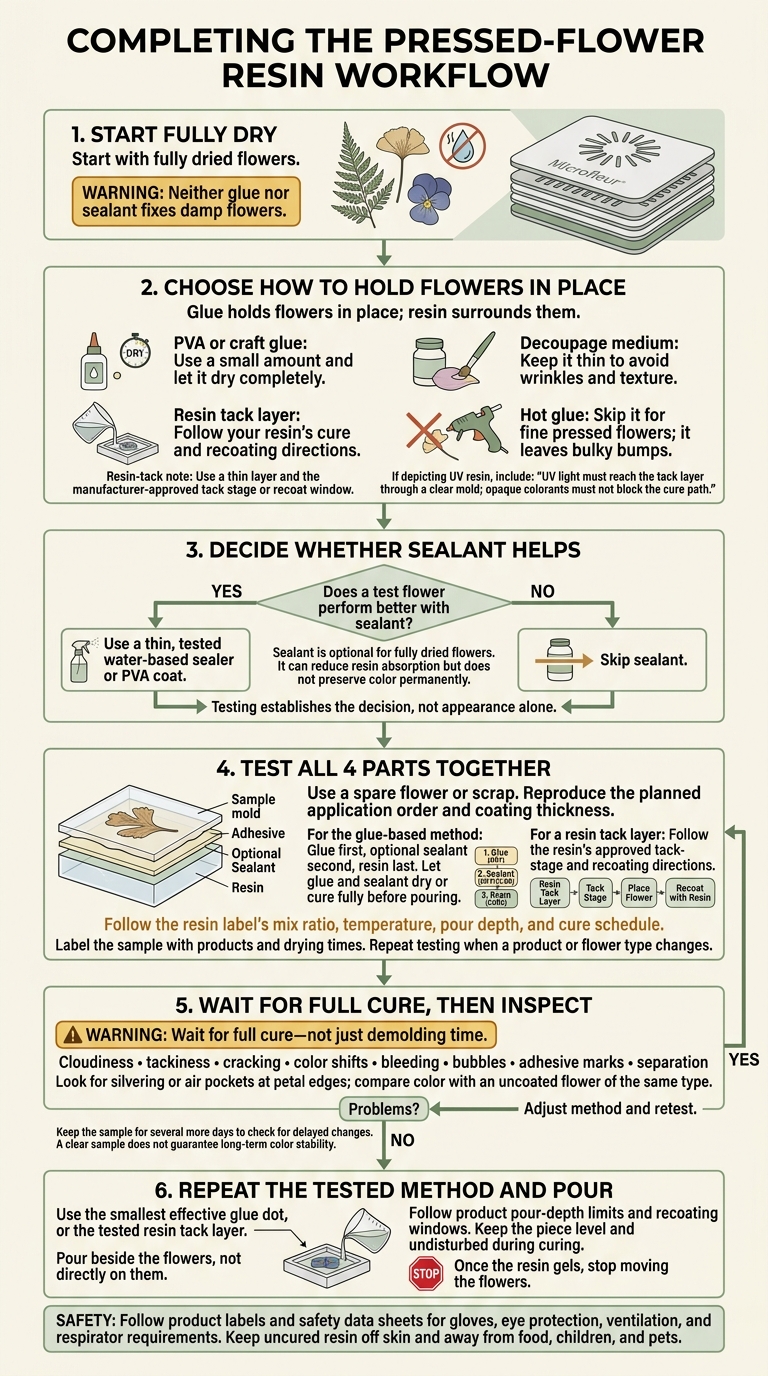
I’d start with fully dried flowers and a tiny dot of clear-drying glue - or a tested resin tack layer. Glue holds flowers in place; sealant can reduce resin absorption. Neither fixes damp flowers.
Here’s how I’d choose:
- PVA or craft glue: Use a small amount and let it dry completely.
- Decoupage medium: Keep it thin to avoid wrinkles and texture.
- Resin tack layer: Follow your resin’s cure and recoating directions.
- Hot glue: Skip it for fine pressed flowers; it leaves bulky bumps.
- Optional sealant: Use a thin, tested water-based sealer or PVA coat only if the flower looks better with it.
Before using your best flowers, I’d test all 4 parts together: flower, glue, optional sealant, and resin. <u>Wait for full cure - not just demolding time</u> - then check for bubbles, cloudiness, glue marks, and color changes.
For the final pour, follow the product’s safety directions, pour beside the flowers, and stay within its layer-depth limits. Once the resin gels, stop moving the flowers.
Pressed Flower Resin Art: Dry, Test, and Pour
5 Ways to Seal Dried Petals Ready for Embedding in Resin
sbb-itb-80d8183
Choose an Adhesive to Hold Flowers in Place
Glue holds the flower in place; resin surrounds it. A sealant can help limit resin penetration, wet spots, and color shifts. Pick your glue first, then test whether the flower also needs a sealant before adding resin.
Apply the smallest amount under a sturdy part of the flower or directly to the project surface. Keep it thin: even clear-drying glue can leave a shadow, and it may not work with your resin.
Compare Glue Options and Resin Tack Layers
Match the positioning material to your base and resin system. The options below are for holding flowers in place, not coating the whole flower.
| Positioning material | Best use | Advantages | Risks | Drying/cure requirement |
|---|---|---|---|---|
| Clear-drying PVA or craft glue | General positioning on flat surfaces | Easy to apply in tiny amounts | May stay visible or be incompatible with resin | Must dry completely throughout before pouring |
| Decoupage medium | Flat floral arrangements | Holds the flower and adds light surface protection | Heavy coats may wrinkle petals or leave texture | Must dry completely before adding resin |
| Shallow resin tack layer | Securing flowers in molds or on resin bases | Helps prevent floating | Flowers may drift in a thick layer. For UV resin, light must reach the tack layer through a clear mold, with no opaque colorants blocking the cure path before the main pour. | Place the flower in a thin first layer. Add the main pour when the resin reaches the tack stage or its approved recoat window. |
| Hot glue | Avoid for fine pressed-flower work | Fast set time | Adds bulk, visible bumps, and limited contact area | Sets quickly, but is not recommended |
Drying time depends on the product and layer thickness. Follow the product’s drying or curing directions before adding resin.
If the flower still needs moisture protection, test a sealant on a spare bloom before the final pour.
Decide Whether Flowers Need Sealant
Once you’ve chosen a placement adhesive, decide whether the flower itself needs sealing. Sealant is optional for fully dried flowers. Use it only if a test flower performs better in resin. A thin sealant layer can make flowers less fragile and reduce resin absorption, but it won’t preserve their color permanently.
Choose Flowers for Sealant Testing
Test delicate flowers, ferns, and other fragile botanicals. Check for darkening, curling, or spots after applying sealant or exposing them to resin. Watch for damage from handling, too.
Apply Thin Coats and Allow Full Drying or Cure
Use only a tested water-based sealer or thin white PVA glue. Apply thin coats without soaking the petals, and use a soft brush on fragile areas. Follow the product’s directions for application, ventilation, and recoating. Let the sealant dry or cure fully before it touches resin.
Check the cured sample to confirm that the sealant works with your resin before placing the flowers and pouring.
Test the Glue, Sealant, and Resin Together
Once you’ve chosen your glue and decided whether to use a sealant, test the whole combination: flower, adhesive, sealant, and resin. This check helps you see whether the flower stays put and the resin stays clear. Repeat it whenever you change a product or flower type.
Test Your Planned Steps on a Spare Flower
Place a spare flower or flower scrap in a small silicone mold. Follow your planned application order and coating thickness: glue first, optional sealant second, and resin last. Let the glue and sealant dry or cure as directed before pouring.
Follow the resin label’s mix ratio, temperature, pour depth, and cure schedule. Run the test in the room where the finished piece will cure. Label the sample with the products and drying times used so you can compare results later.
Check the Sample After Full Cure
Wait for full cure - not just demolding time - before judging the result. Look for cloudiness, tackiness, cracking, color shifts, bleeding, bubbles, adhesive marks, or separation. Check petal edges for silvering or air pockets, and compare the color with an uncoated flower of the same type. If you spot any of these problems, retest before using your best flowers.
Keep the sample for several more days to check for delayed changes. Even a clear, fully cured sample doesn’t guarantee that the flower’s color will stay stable over time.
Follow Resin and Sealant Safety Directions
Wear the gloves and eye protection specified on the product label and safety data sheet (SDS). Follow the ventilation and respirator requirements, too. Keep uncured resin off your skin, and keep food, children, and pets away from the workspace.
If the sample cures cleanly, follow the same tested method when working with your final flowers.
Secure the Flowers and Pour the Resin
Stick with the method that worked in your test sample.
Position Flowers With a Small Amount of Glue
Start with a level mold or bezel. Use a toothpick to apply a tiny dot of clear-drying glue to the back of each flower. Place it with tweezers, then press gently without crushing the petals.
Make sure the flowers are fully dried, and allow the adhesive’s full drying time before pouring. Appearance alone won’t tell you whether it’s dry. Once the flowers are secure, pour the first resin layer.
Another option is to place the flowers in a thin resin anchor layer at the manufacturer-approved tack stage - but only if your test sample cured cleanly. Guide delicate petals and stems with a toothpick, using as little pressure as possible.
After each layer, keep the piece level until the resin reaches its next approved stage.
Follow Pour-Depth Limits and Recoating Times
Pour beside the flowers, not directly on them. Keep each layer within the resin’s pour-depth limit, and follow its recoating window before adding the next layer.
Keep the piece level and undisturbed throughout curing. Avoid direct heat unless the product label allows it.
Fix Floating Flowers, Cloudiness, and Other Problems
If flowers shift or the resin turns cloudy, make corrections only while the resin is still workable. Once it gels, stop moving the flowers.
| Problem | Likely cause | Prevention | Practical correction |
|---|---|---|---|
| Floating flowers | Poor anchoring, trapped air, or a fast pour | Let glue dry fully, or use an approved tack-stage base; pour slowly | While the resin is workable, gently reposition flowers with a clean tool and release trapped bubbles with a toothpick. Once gelled, leave it alone. |
| Cloudy resin | Moisture, trapped air, poor mixing, or incorrect temperature | Use fully dried materials and follow the mixing and temperature directions | Lift accessible bubbles while the resin is still workable. Cured cloudiness usually requires a remake. |
| Brown or dark petals | Resin absorption, natural color changes, or incompatibility | Test a spare flower first, then seal with a thin PVA coat if needed | Discoloration usually cannot be reversed. Adjust the coating method when remaking the piece. |
| Visible glue | Excess glue | Use the smallest effective dot of clear-drying glue | Wipe away excess while wet. After pouring, it cannot be fixed. |
| Surface tackiness | Incorrect ratio, improper mixing, unsuitable temperature, or curing conditions | Follow the correct ratio, mix thoroughly, and cure at the right temperature | Allow the full specified cure time. Persistent tackiness may require a remake. |
Conclusion: Dry Fully, Test First, and Use Less Glue
Start with fully dried flowers. Use the smallest amount of compatible glue that holds them in place, or use a tested resin tack layer. Add sealant only if the test sample performs better with it. Let all glue and coatings dry or cure fully - looking clear doesn’t mean they’re ready.
Once the test sample passes after a full cure, use the same method on the final flowers. Follow the same pour-depth, recoating, and curing limits for the final piece.
FAQs
How can I tell if my flowers are fully dry?
Check the whole flower: fully dried flowers should feel brittle, crisp, and paper-like, with no soft or flexible spots in the petals, centers, or stems.
If any part feels cool, moist, bendy, or even a little soft, give the flowers more time to dry. Trapped moisture can cause browning, rot, or fading once you add glue or resin.
How do I check glue compatibility with my resin?
Test on a spare, fully dried petal first. Use the same amount of glue - and sealant, if you plan to use it - as you’ll use in your project. Let both dry and cure fully before adding resin to avoid curing problems.
Check the sample in natural light for darkening, changes in texture, visible ridges, unwanted transparency, wrinkling, or tackiness. If you don’t see any of these issues, the combination is likely compatible.
Which flowers benefit most from sealing?
Seal all pressed flowers before using them in resin, especially those with delicate, thin petals or petals prone to fading. Sealing helps stop petals from absorbing resin, which can leave them translucent or cloudy.
Some flowers may still turn clear or fade, so test your chosen sealant on a spare petal first. Before sealing, check that the flowers are completely dry and brittle to avoid rot or problems with curing.