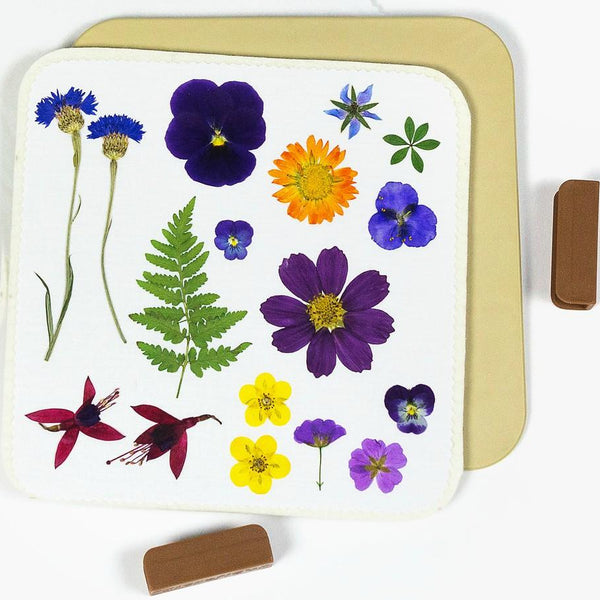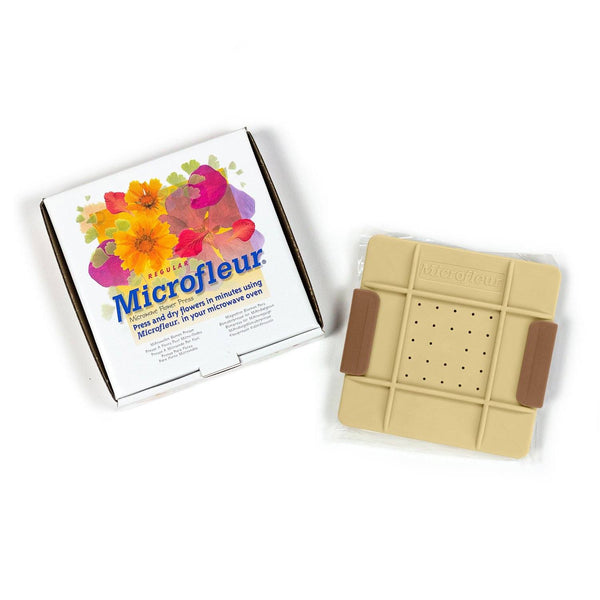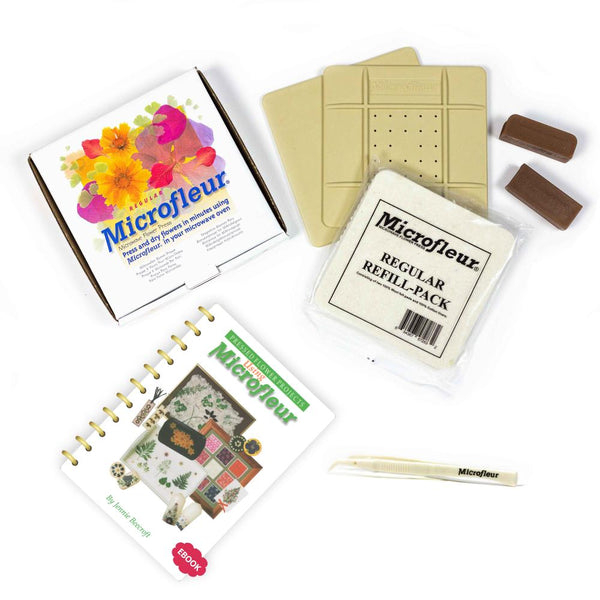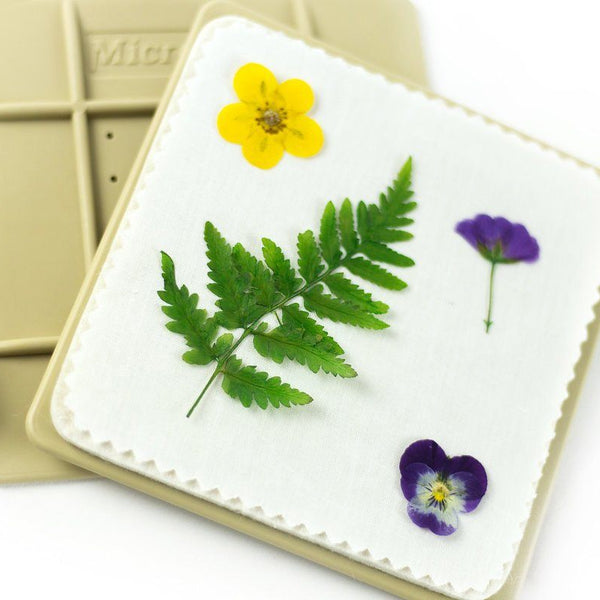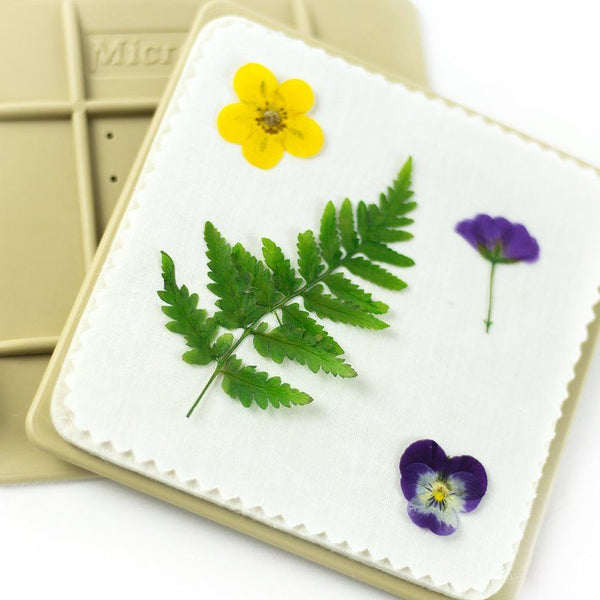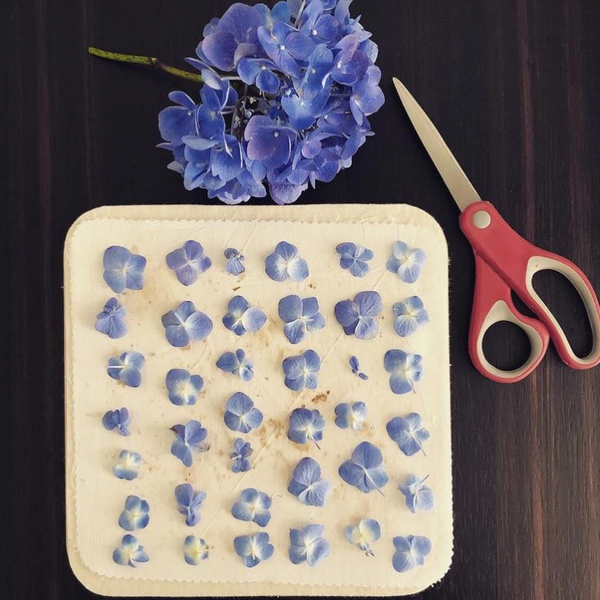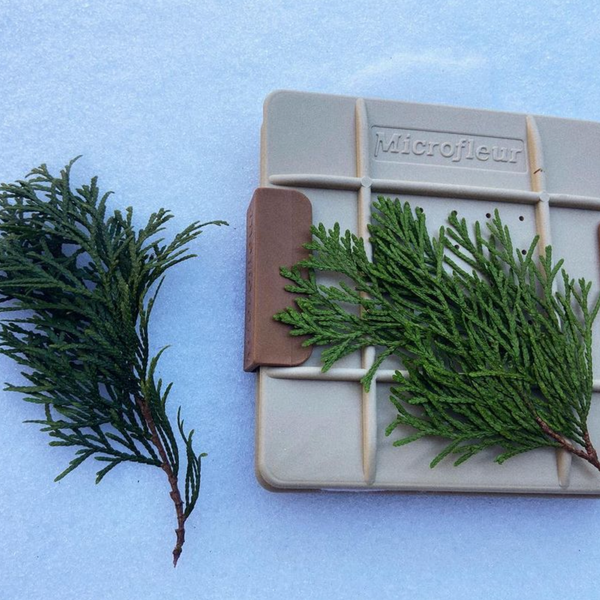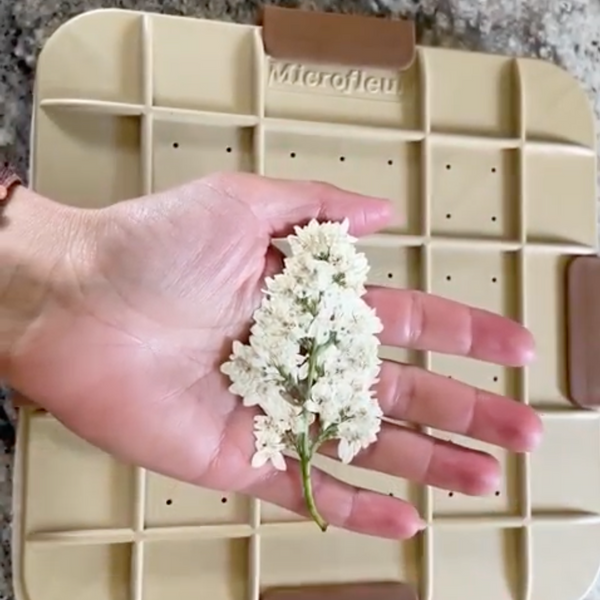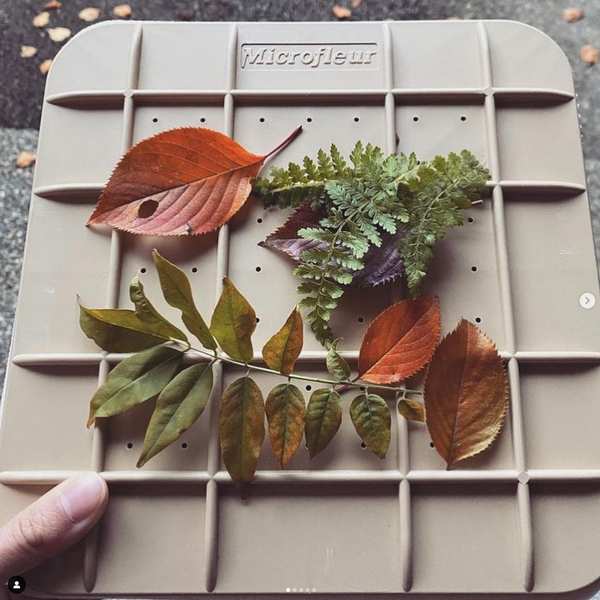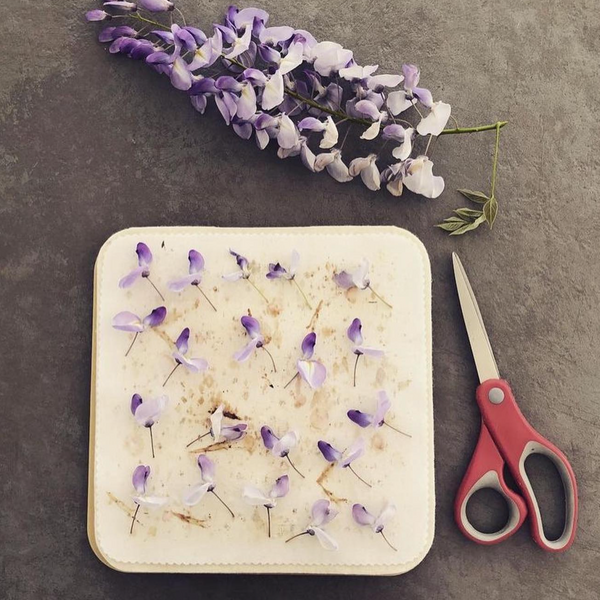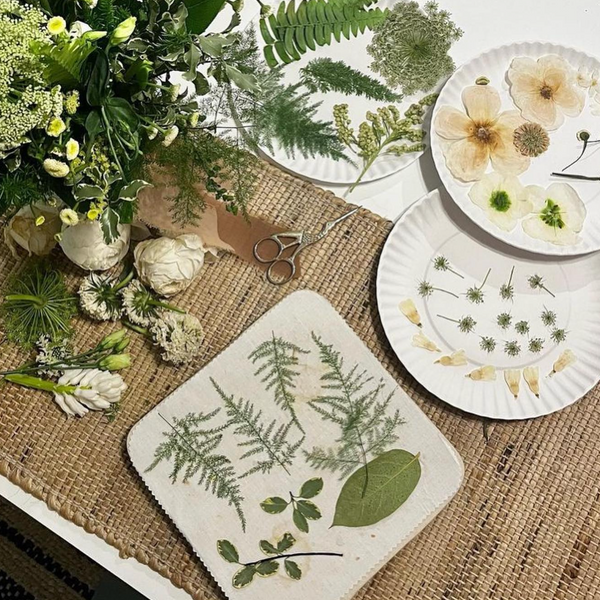

Pressed flowers usually end up in frames, journals, or handmade cards. On brownies, they serve a different purpose: turning a familiar dessert into a small botanical composition.
The video combines a chocolate brownie base with pressed edible flowers, using a thin chocolate coating to hold the decorations in place. Its most useful idea is the separation of baking and decorating. The flowers go on after the brownies cool, so arranging them becomes a calm, hands-on creative project rather than another task to manage around a hot oven.
For gardeners and flower crafters, the technique also introduces an important distinction: flowers preserved for art are not automatically suitable for food. Below are the key lessons from the demonstration, along with planning considerations that make the project easier to approach.
Key Takeaways
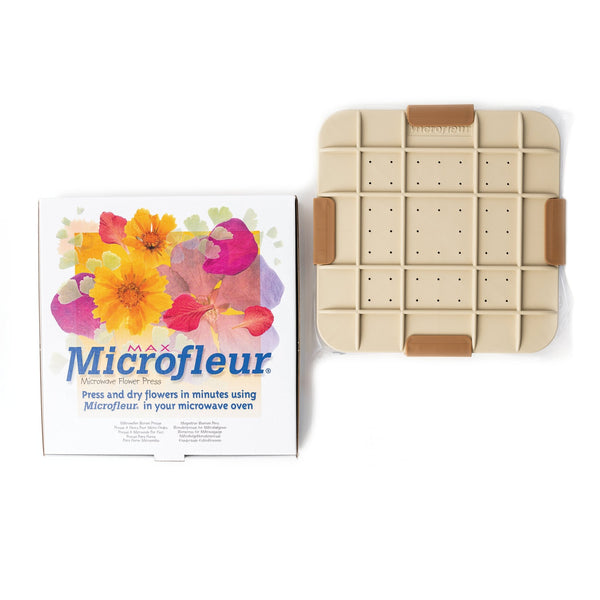
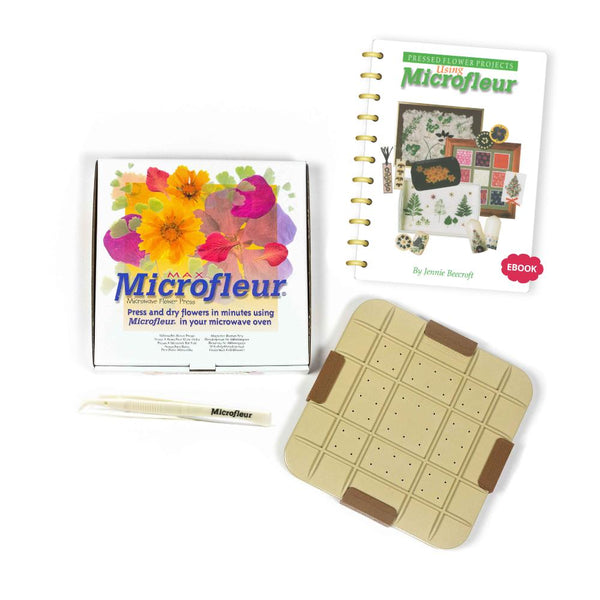
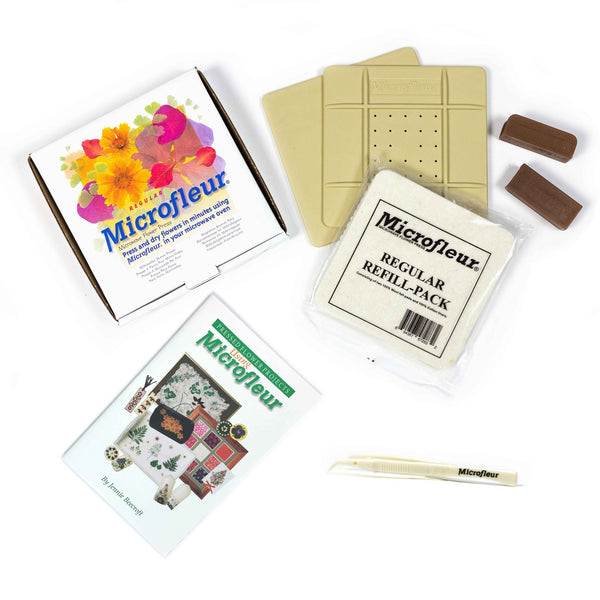
- Treat edible flower pressing as a separate activity from botanical crafting. The video calls for fresh pressing materials that have not contacted inedible flowers.
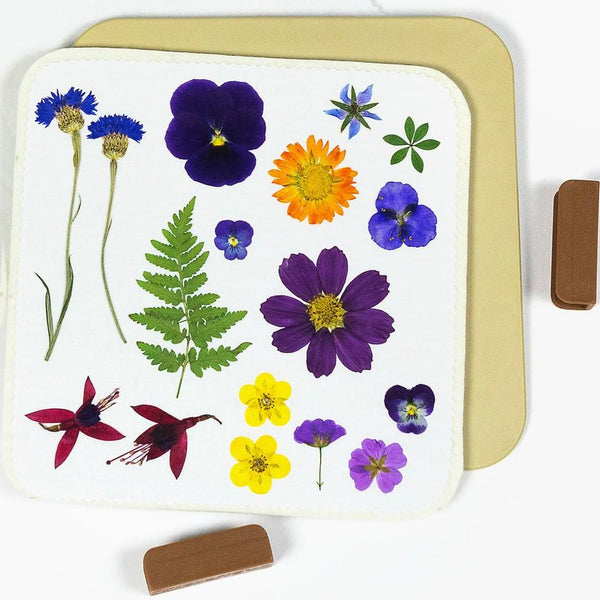
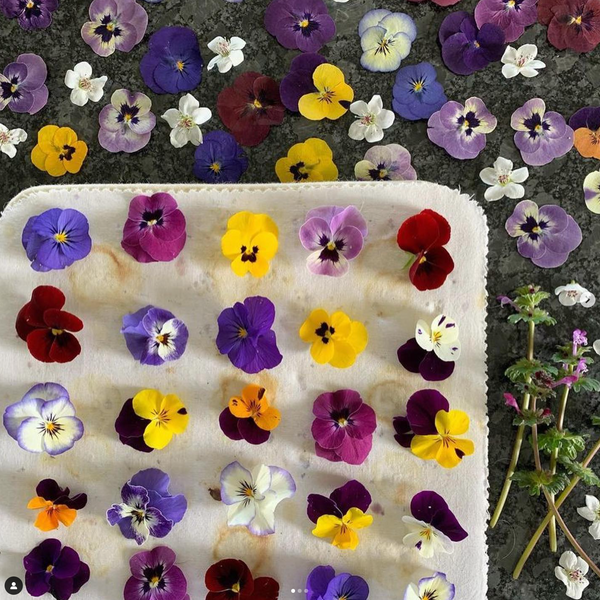
- Confirm that the flowers are safe to eat before using them. The demonstration features violas and identifies pansies as another option.
- Prepare the flower decorations ahead of time; the video does not specify a pressing method or drying duration.
- Let the brownies cool completely before adding the chocolate coating and flowers.
- Plan portions before decorating if you want a complete floral arrangement on each serving.
- Note the recipe’s gaps: the vanilla quantity, flower quantity, and storage guidance are not specified in the video.
sbb-itb-80d8183
Start With the Flowers, Not the Batter
For this project, flower preparation deserves attention before any baking begins.
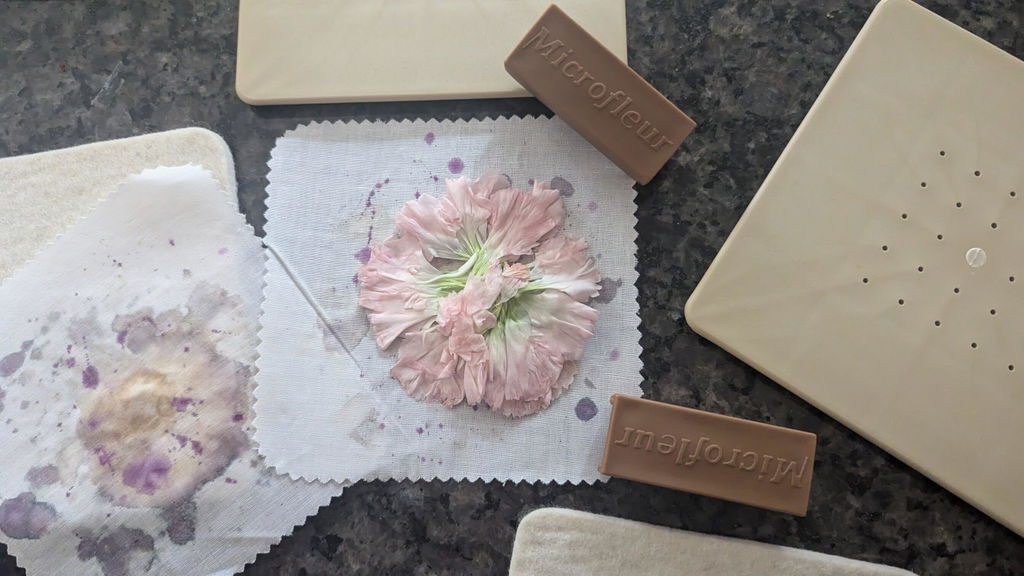
The presenter uses previously pressed violas, stored separately and labeled for edible use. That labeling practice is especially useful for anyone who also keeps flowers for scrapbooking or other crafts: it creates a clear distinction between decorative materials and food ingredients.
The video also emphasizes using a new press or fresh pressing materials that have never been exposed to inedible flowers. Its underlying lesson is straightforward: a craft workspace and a food-preparation workspace should not be treated as interchangeable.
Correct identification and suitable handling are essential. The video names edible flower options, but it does not explain how to verify a flower’s identity, growing conditions, or suitability for consumption. Those details need to be resolved before decorating - not inferred from a flower’s appearance.
What the demonstration leaves open
The flower-pressing technique, preparation procedure, and drying time are not specified in the video. This makes the tutorial more useful as a baking-and-decoration demonstration than as a complete guide to preparing edible pressed flowers.
For sentimental projects, that distinction matters. A bloom saved from a celebration may be meaningful, but its emotional value alone does not establish that it belongs on food.
Understand the Brownie Base
The demonstration uses the following ingredients:
| Ingredient | Amount shown or stated |
|---|---|
| Dark chocolate or dark chocolate chips | 4 ounces |
| Butter | 1 stick, or ½ cup |
| Brown sugar | 1 cup, lightly packed |
| Eggs | 3 |
| Self-rising flour | 1 cup |
| Chopped macadamia nuts | ⅓ cup |
| White chocolate chips | ⅓ cup |
| Vanilla extract | Not specified in the video |
| Pressed edible flowers | Not specified in the video |
| Writing icing | Optional |
The presenter also suggests combining 1 cup of all-purpose flour with 1½ teaspoons of baking powder when self-rising flour is unavailable. This is the substitution given in the demonstration; no additional substitution guidance is provided.
Dark chocolate supplies the base, while white chocolate chips and macadamias add contrasting pieces throughout. Visually, the finished brownie becomes a dark background for the flowers rather than a dessert that needs elaborate piped decoration.
The Baking Workflow - and Why the Order Matters
1. Prepare the pan for easy removal
The presenter uses an 8-inch square pan, lightly greased and lined with parchment.
A useful detail is shaping the parchment around the outside of the pan first. Creasing its corners before placing it inside makes the paper easier to fit neatly.
This preparation serves a decorative purpose as well as a practical one: the cooled brownie slab can be lifted out and decorated without the pan’s sides getting in the way.
2. Melt the chocolate and butter gently
The chocolate and butter are melted together in a microwave-safe bowl, using short heating intervals and stirring between them. A double boiler is offered as another option.
The mixture then cools slightly while the other ingredients are prepared.
3. Mix the batter and reserve some coating
The brown sugar and eggs are beaten together for three to five minutes, with attention to breaking up sugar lumps. Vanilla and flour follow, then most of the melted chocolate mixture.
Approximately 2 tablespoons of that chocolate-and-butter mixture are held back for the surface coating. The chopped nuts and white chocolate chips are mixed into the batter before it goes into the pan.
That reserved coating is an efficient part of the design: one mixture contributes to both the baked dessert and its finishing layer.
4. Bake, check, and cool
The oven temperature shown is 350°F, with an initial baking window of 18–20 minutes. In the demonstration, the brownies need additional time after the first check; the presenter uses a clean toothpick as the endpoint.
The video mentions other square pan sizes but does not give adjusted baking times. Its timing should therefore be read alongside the actual doneness check, not as an exact promise for every pan.
The brownie slab cools completely before removal and decoration.
Design the Surface Around How You Will Serve It
Once cooled, the brownies receive a thin layer of the reserved chocolate mixture. If it has firmed up, the presenter briefly reheats it.
The parchment stays underneath to catch drips. Flowers are positioned while the coating remains soft and pressed gently into place.
There are two useful design approaches:
- Individual arrangements: Place a small flower grouping within each planned portion.
- An all-over composition: Distribute flowers across the entire slab, accepting that some may be divided during cutting.
The first approach suits a carefully presented dessert plate. The second treats the brownie surface more like a single piece of botanical artwork.
Optional writing icing adds another decorative element. Whether to use it is largely a design decision: flowers can be the sole focal point, or icing can introduce additional color and pattern.
A Creative Project With Clear Boundaries
The strongest lesson here is not a particular flower arrangement. It is the workflow: prepare edible decorations separately, bake the base, cool it thoroughly, and use a soft chocolate coating to connect the two.
The demonstration offers an approachable bridge between flower crafting and baking, but it leaves some recipe and food-handling details unresolved. Storage conditions and shelf life are not specified in the video.
With those limits understood, the project becomes easier to plan thoughtfully. Begin with confirmed edible flowers and dedicated pressing materials, then decide how the brownies will be portioned before arranging the final floral design.
Source: "Pressed Flower Brownies | Easy Chocolate Dessert with Edible Flowers" - Flower Pressing with Microfleur, YouTube, Feb 1, 2026 - https://www.youtube.com/watch?v=2IxikPTh39c