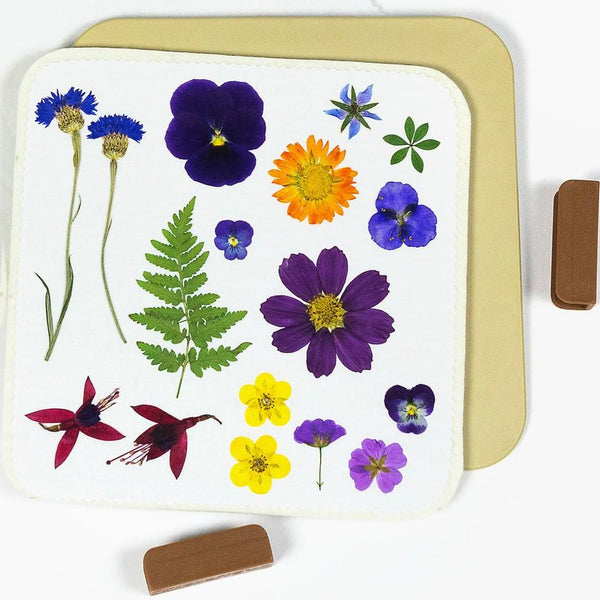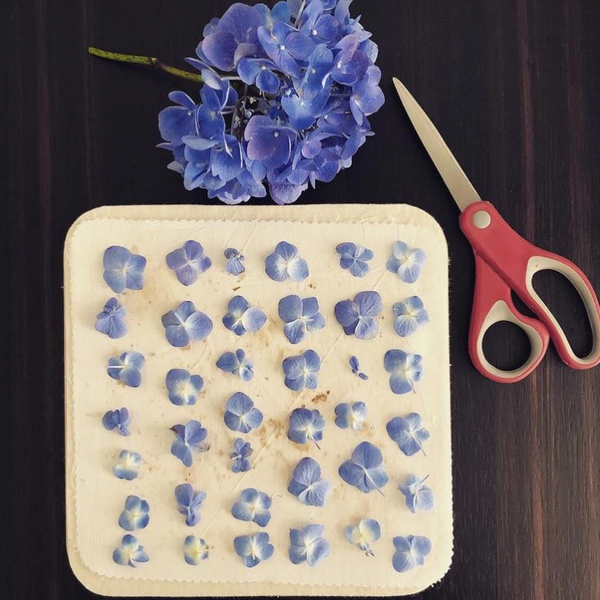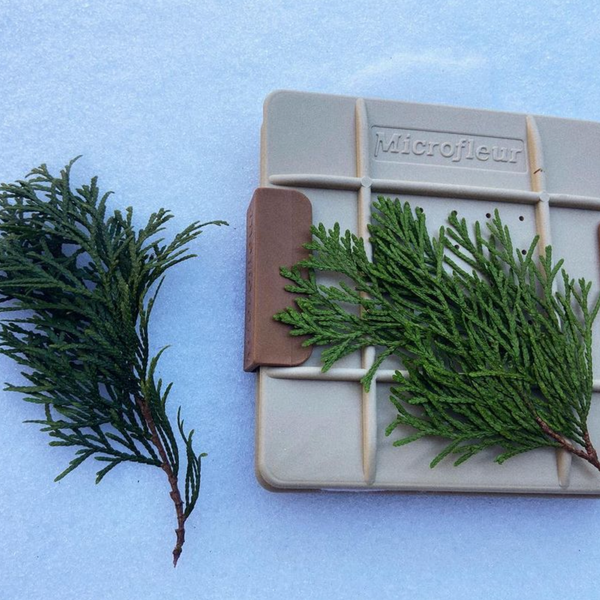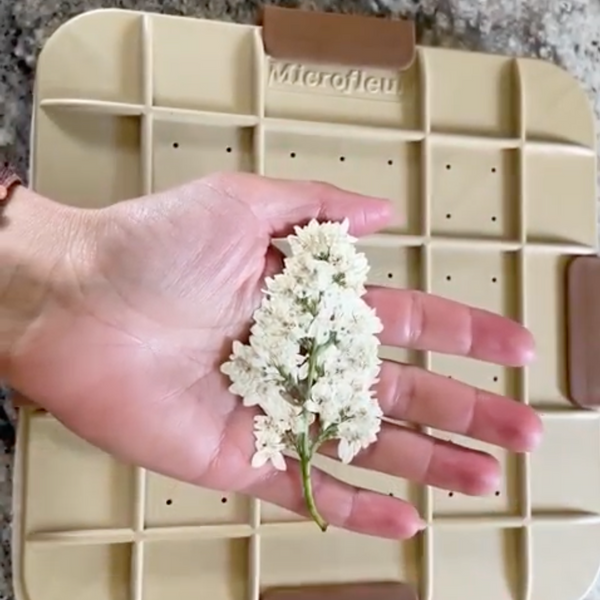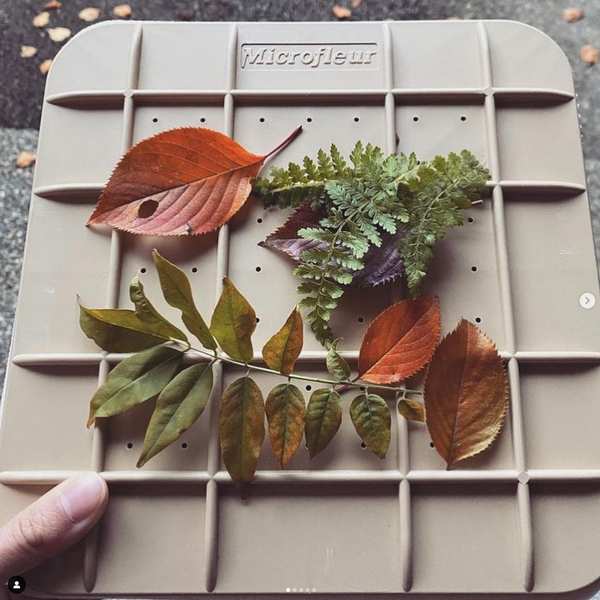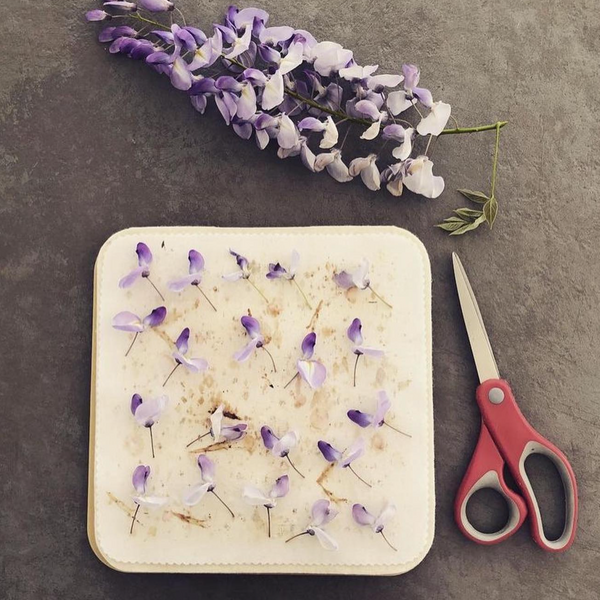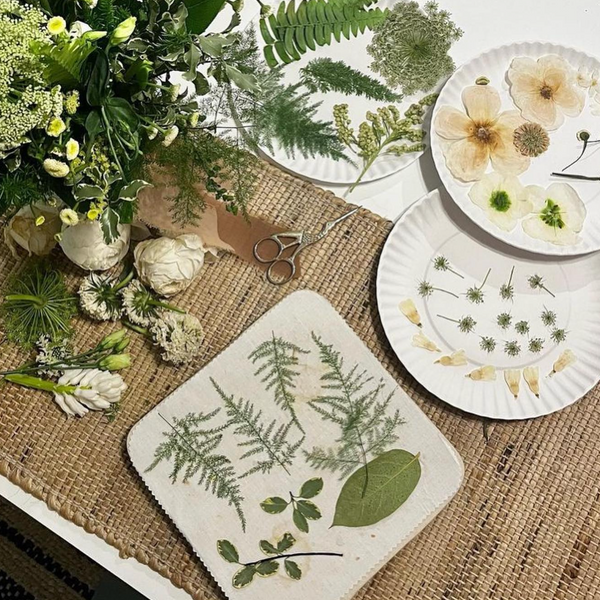

Pressed flowers often end up tucked inside books or stored in envelopes. A suncatcher gives them a different role: instead of viewing the petals against a solid background, you see their shapes and colors with daylight behind them.
The video demonstrates a simple approach using two adhesive laminating sheets, with an optional embroidery hoop as a frame. No heat-sealing machine is involved. But the most useful lesson goes beyond the materials: a successful result depends on flower thickness, thoughtful spacing, and careful assembly - not an elaborate design.
This guide explains those decisions, the technique’s limitations, and how to adapt the project for garden flowers or meaningful keepsakes.
Key Takeaways
- Begin with thin, already-pressed flowers. Bulky centers make it harder for the adhesive layers to meet around the plant material.
- Choose self-adhesive laminating sheets rather than heat-seal pouches. This project joins two sticky surfaces without a machine.
- Plan your arrangement before exposing the adhesive. Fragile petals may break if you try to reposition them.
- Leave clear space between flowers. Those gaps contribute to the light-filled design and provide areas where the sheets can bond.
- Apply the upper sheet gradually. Working from one edge gives you more control over trapped air.
- Treat the hoop as optional. It adds a defined border but also introduces a more demanding fitting step.
- Practice before using irreplaceable blooms. The video does not establish archival performance or long-term color retention.
sbb-itb-80d8183
What This Method Does - and Does Not Do
This is a way to display flowers that have already been pressed, not a shortcut for drying fresh blooms. The video does not specify a pressing method or drying time.
The construction is straightforward: flowers sit between two transparent adhesive sheets. A hoop can frame the resulting panel, or the panel can remain flat and hang on its own.
The distinction matters when choosing supplies. Ordinary laminating pouches intended for a heated machine are not the material demonstrated here. You need sheets with a peel-away backing that exposes an adhesive surface.
The technique’s appeal is accessibility. Its trade-off is that you control the seal by hand. Flower thickness, placement, and pressure all affect the finish.
Gather Materials With the Finished Design in Mind
You will need:
- Thin pressed flowers and foliage
- Two transparent self-adhesive laminating sheets
- An embroidery hoop, if framing the panel
- A paper guide showing the visible opening and an outer cutting boundary
- Scissors
- Tweezers
- A smooth plastic scraper or craft stick
- Small pieces of tape to stabilize the work
- String or a suitable hanging attachment
An optional marker can help transfer the outer cutting boundary. However, the demonstrator found that dry-erase marks did not disappear completely, even after cleaning.
Keep any marks outside the visible opening. Better still, use the paper guide beneath the transparent sheet wherever possible rather than drawing across the display area.
A 6-inch hoop appears in the demonstration, but the important measurement is your own hoop’s opening and how much material it needs to grip.
Step 1: Select Flowers for Flatness, Not Just Color
A flower can look beautifully pressed yet still have a substantial center. That extra thickness forces the transparent layers apart, making a close seal more difficult.
For this project, evaluate each piece from the side as well as from above. Favor:
- Relatively even, thin petals
- Flat foliage without bulky stems
- Small elements that can sit apart from one another
- Pieces that do not require stacking to create the design
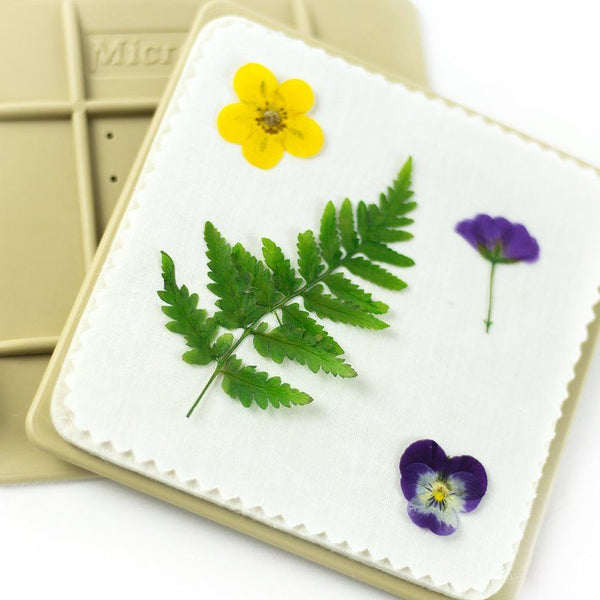
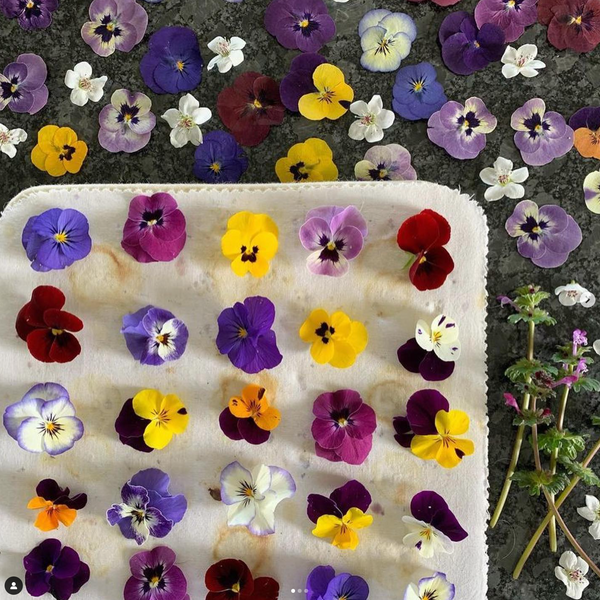
The video highlights violas as a favorite, but the broader principle is more useful than any single flower recommendation: choose material that allows the sheets to meet around it.
This also changes how to approach sentimental flowers. A dense cluster of blooms may carry meaning, but it may not suit this construction. A few representative petals or thin floral elements can create a more workable display than trying to include everything.
Step 2: Plan the Composition Before Committing
The adhesive is both a convenience and a constraint. It holds flowers without separate glue, but it makes trial-and-error arranging risky.
Make a loose layout on paper first. Consider three approaches:
A radial arrangement
Repeat petals or leaves around a central flower. This creates visual order and suits a circular frame. Keep the center from becoming a thick pile of overlapping material.
An open botanical arrangement
Place a few flowers and leaves with generous gaps between them. This gives individual shapes more attention and reduces crowded areas that are harder to press around.
A memory-focused arrangement
Use a small selection from one occasion or growing season. The value comes from the connection between the flowers, not the number included.
In each case, consider the transparent areas part of the design. Empty space is not unfinished space: it lets light through and gives the adhesive layers room to connect.
Step 3: Prepare a Stable Working Surface
Place your paper guide beneath the first sheet. The guide should distinguish between:
- The visible opening, where the floral design belongs
- The outer allowance, which will be trimmed or held inside the hoop
Initially, leave the sheet roughly square rather than cutting the final circle. The extra corners provide places to handle and secure it without touching the display area.
Remove the backing and position the sheet adhesive-side up. Tape the sacrificial corners to the work surface if needed.
This small setup step has an outsized benefit: a stable base makes both delicate placement and controlled sealing easier.
Step 4: Transfer the Flowers With Minimal Handling
Use tweezers to lower the flowers into place. Start with the largest element, then add smaller flowers and foliage.
Press gently enough to hold each piece without crushing it. The flat portion of a tool distributes contact better than a sharp tip.
Keep the arrangement within the visible opening. A petal that looks well positioned on the flat sheet may disappear beneath the frame later.
If a piece lands slightly off-center, pause before lifting it. With fragile pressed material, a minor compositional imperfection may be preferable to a torn flower.
Step 5: Seal Slowly, Working From One Edge
Peel the backing from the second sheet and align it above the arrangement. Keep most of it lifted while attaching one edge.
Then lower it incrementally, using the scraper to press the two sheets together as you go.
Focus on three things:
- Smooth the clear areas between flowers. These are the easiest places to establish a close bond.
- Use broad, gentle contact over petals. Avoid concentrating force on a delicate point.
- Check each section before moving forward. Once a large area is attached, correcting trapped air becomes more difficult.
A narrow halo around a flower is not necessarily a major defect. The demonstration shows small gaps where the layers bridge the plant material.
The video also mentions puncturing one layer from the back to release a stubborn bubble. That is best understood as a repair with a trade-off: it introduces a hole into the sheet. Careful application is preferable to relying on that fix.
Step 6: Choose a Framed or Unframed Finish
The two finishing options serve different priorities.
Use an embroidery hoop for a defined border
A hoop visually separates the flowers from the window behind them. It also hides the outer cutting allowance.
The challenge is mechanical: the laminated panel is stiffer than fabric. Small radial cuts in the outer allowance help that edge bend as the hoop closes.
In the demonstration, these cuts are spaced roughly half an inch apart. Exact spacing is less important than keeping them outside the visible opening.
Fit the panel gradually. If it resists, check alignment and deepen the existing cuts only a little at a time. Cutting too far cannot be reversed.
Leave the panel flat for simpler assembly
An unframed panel avoids the hoop-fitting step and creates a lighter visual effect.
Trim away marked edges while preserving a clear border around the flowers. If adding a hanging hole, place it in an area where the two sheets are bonded together rather than through plant material.
The video does not specify a minimum border width or tested hanging strength, so avoid treating the finished panel as a load-bearing material.
Troubleshooting: Fix the Cause, Not Just the Appearance
| Issue | Likely cause | Better approach |
|---|---|---|
| Large pockets around flowers | Bulky centers or overlapping layers | Choose flatter pieces and reduce stacking |
| Petals tear during arranging | Repositioning after adhesive contact | Test the layout before exposing the sheet |
| Marks remain visible | Marker used within the display area | Keep marks on the hidden allowance |
| Hoop will not close easily | Stiff edge or insufficient relief cuts | Adjust gradually instead of forcing the frame |
| Flowers disappear beneath the rim | Design extends beyond the opening | Use the visible-opening guide throughout placement |
Display Expectations and Keepsake Value
The video suggests several hanging options, including string and window-mounted hooks. The best choice depends on the hoop style, panel shape, and attachment point.
However, long-term durability is not specified in the video. Neither are UV resistance, waterproofing, adhesive lifespan, or how well flower colors will hold in sustained sunlight.
That uncertainty matters most for wedding flowers, memorial blooms, or other irreplaceable material. This project is demonstrated as a decorative craft, not a verified archival preservation method. Practicing with less precious flowers lets you assess both the assembly process and the appearance before committing meaningful specimens.
A Simple Craft Where Restraint Helps
The strongest version of this project is not necessarily the most intricate. Thin flowers, open spacing, and patient sealing do much of the work.
A hoop adds structure; an unframed panel keeps the construction simpler. Either way, the goal is to give pressed flowers enough room to be seen - not to fill every available inch. With that approach, even a modest selection of petals and leaves can become a personal, light-filled display.
Source: "Pressed Flower Sun Catchers DIY | Brighten Your Space with Real Blooms" - Flower Pressing with Microfleur, YouTube, Jan 19, 2026 - https://www.youtube.com/watch?v=sxDc-gFOn2c