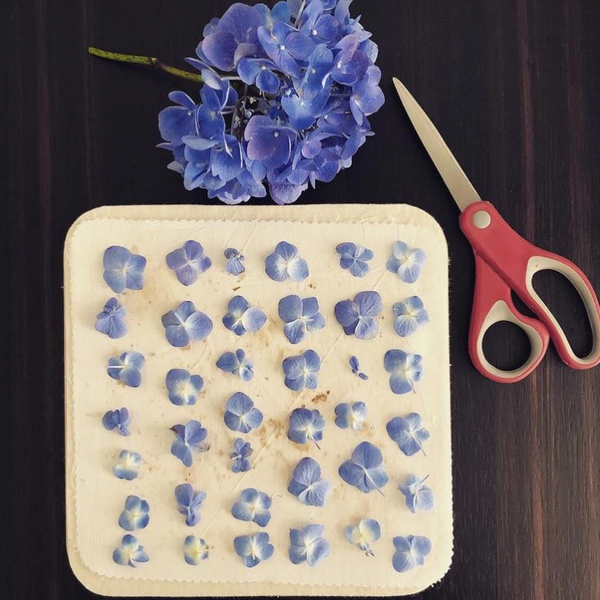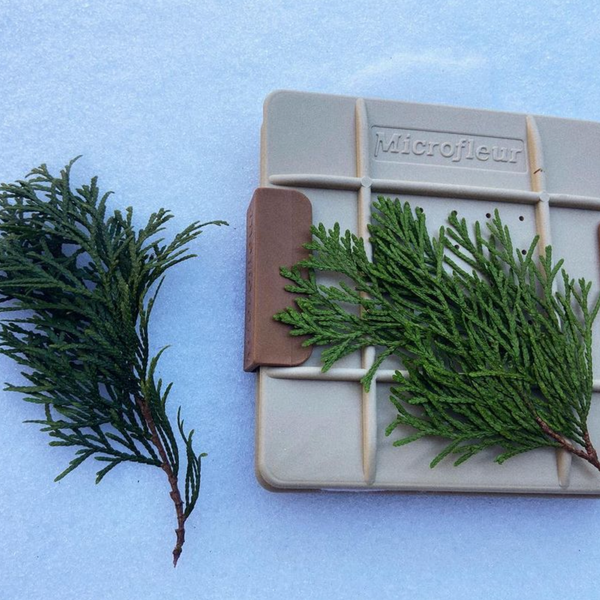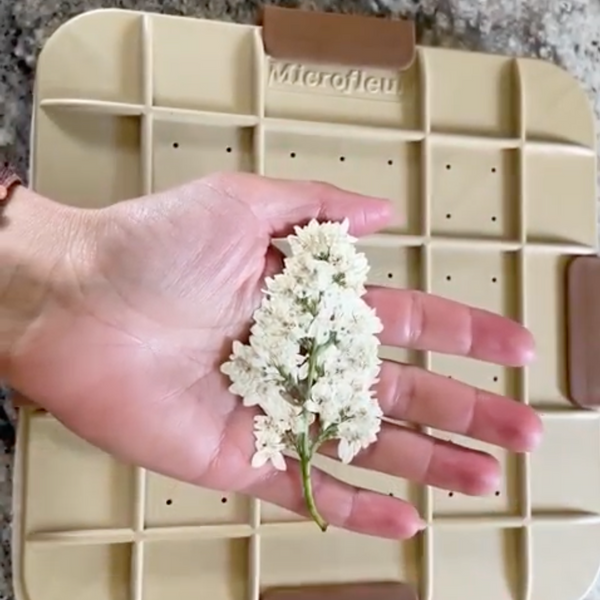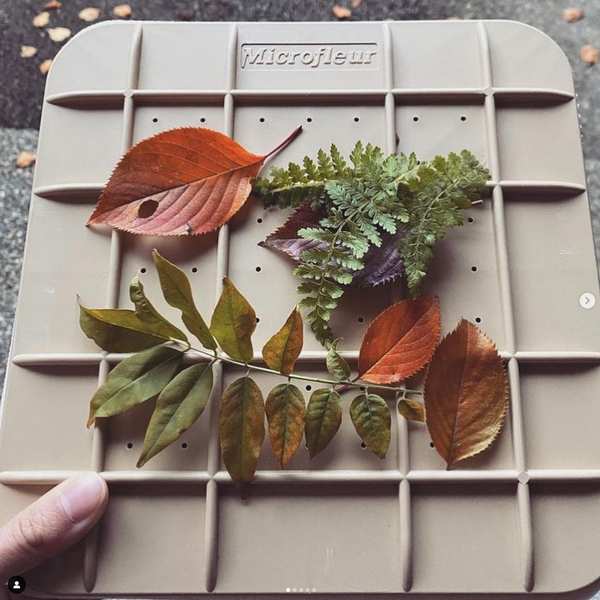



I make glass pressed flower ornaments by placing fully dried flowers between two matching glass pieces and securing them in a fitted frame. My main rule: <u>never seal in damp flowers</u> - trapped moisture can cause fogging, browning, or mold.
Here’s the six-step process:
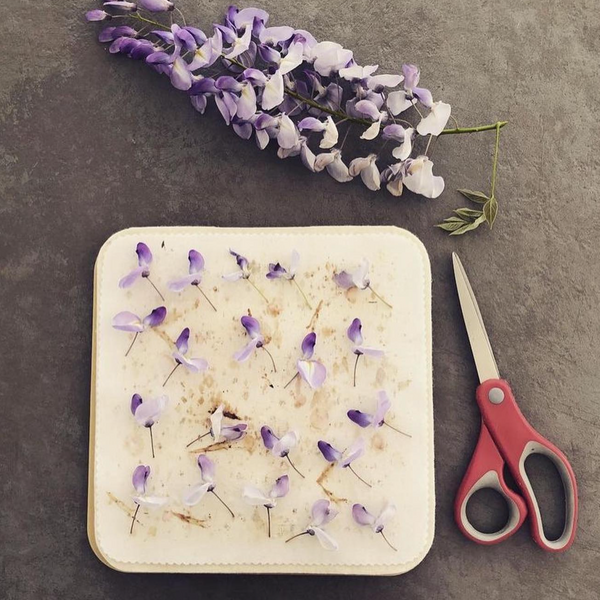
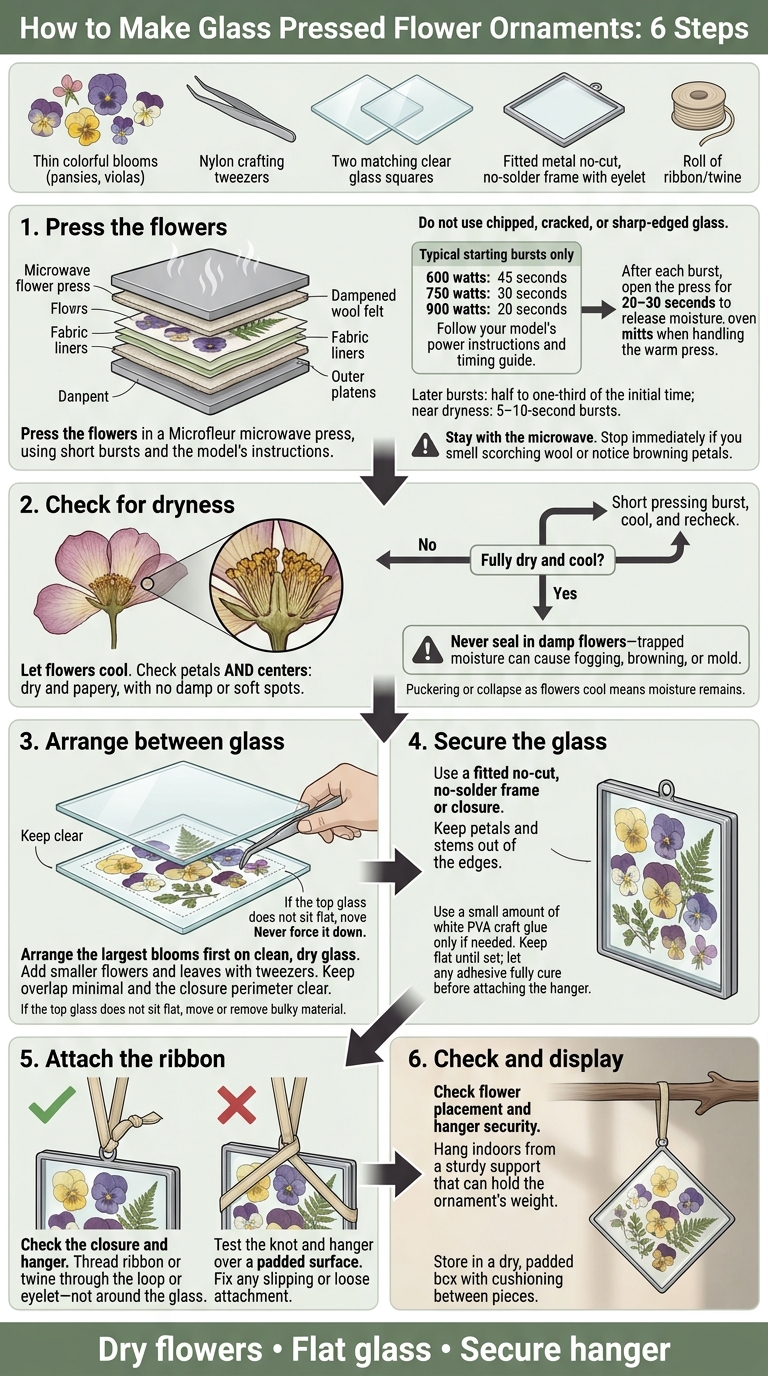
- Press the flowers in a Microfleur microwave press, using short bursts and the model’s instructions.
- Check for dryness after cooling, including the flower centers.
- Arrange the flowers on clean glass, keeping the edges clear.
- Secure the glass with a no-cut, no-solder closure that fits.
- Attach the ribbon through the hanger loop, not around the glass.
- Check and display indoors, away from sunlight and moisture.
I start with thin blooms, such as pansies, and work on a padded surface with safety glasses. The goal is simple: dry flowers, flat glass, and a secure hanger.
How to Make Glass Pressed Flower Ornaments: 6 Steps
Supplies, Flower Prep, and Glass Safety
Gather Your Press and Ornament Supplies
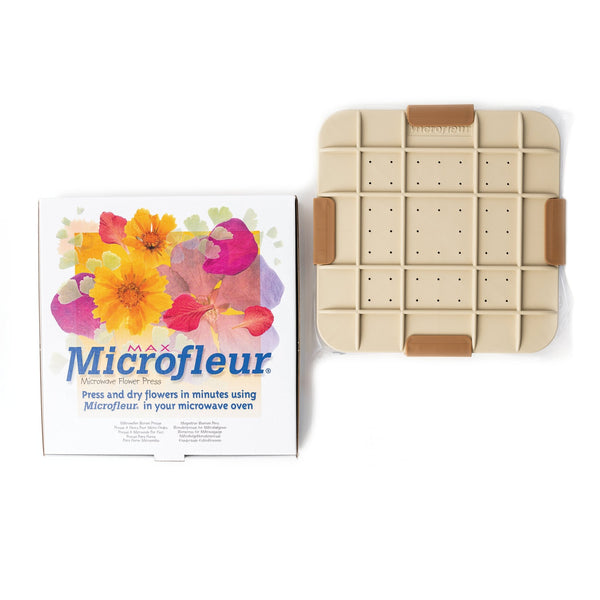
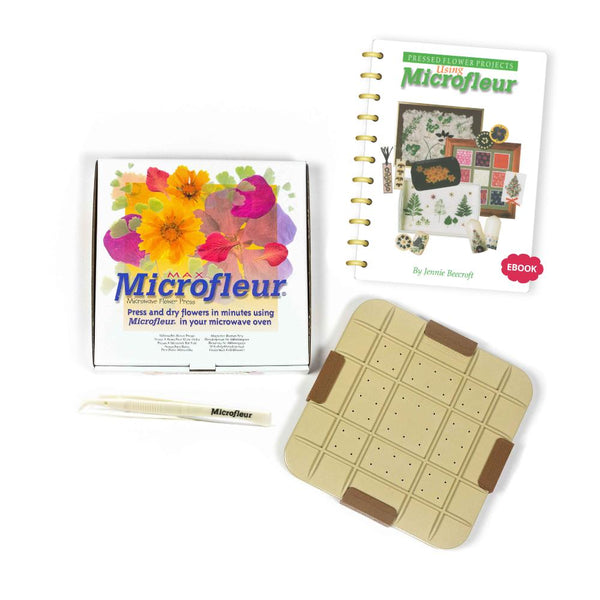
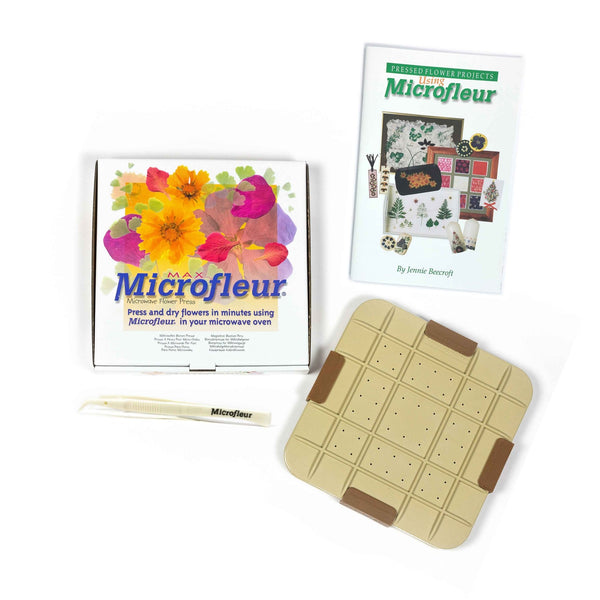
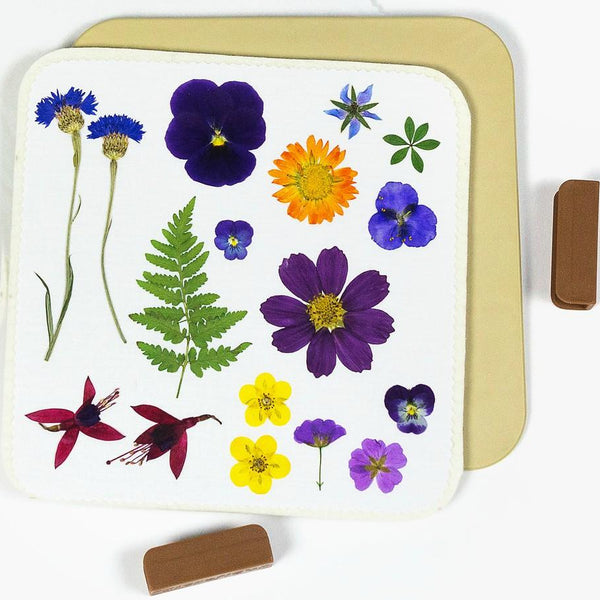
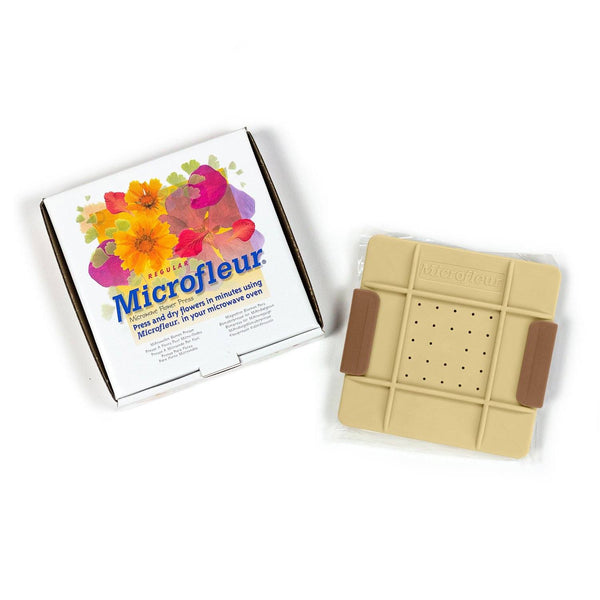
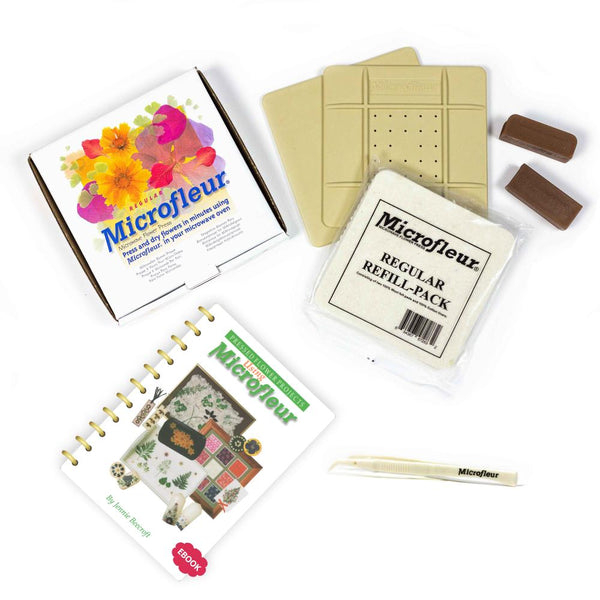
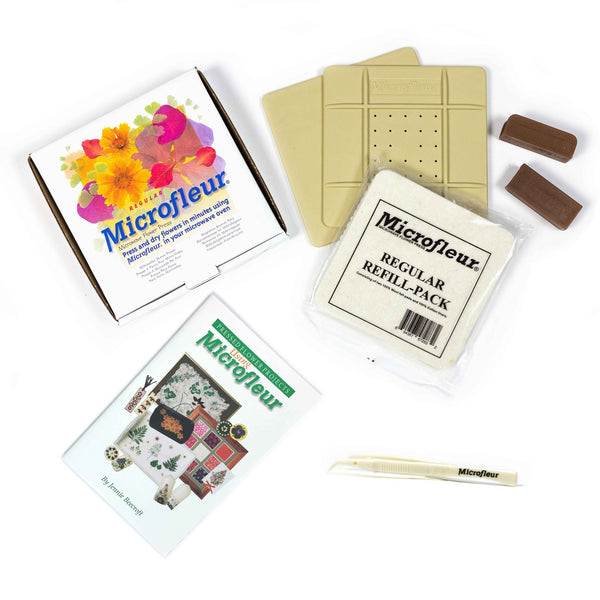
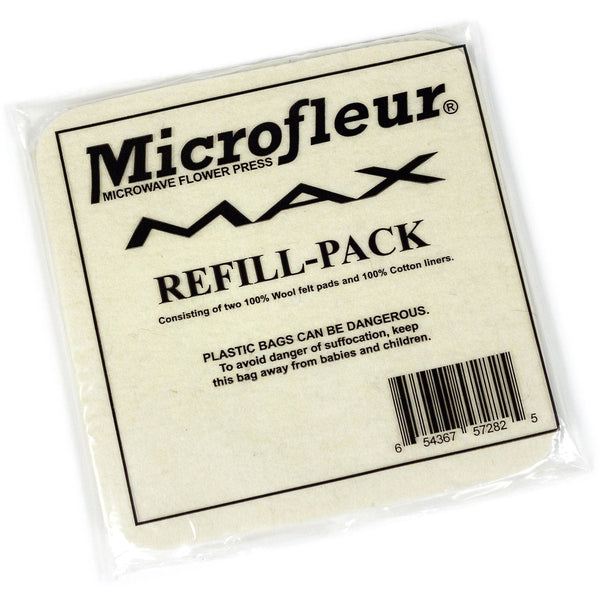
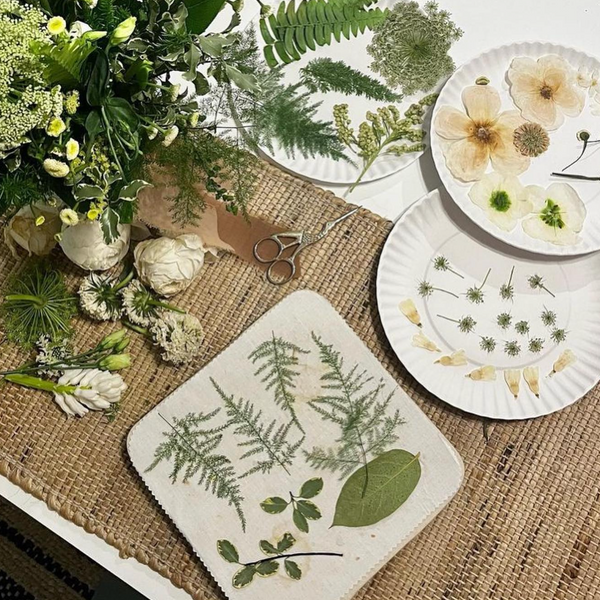
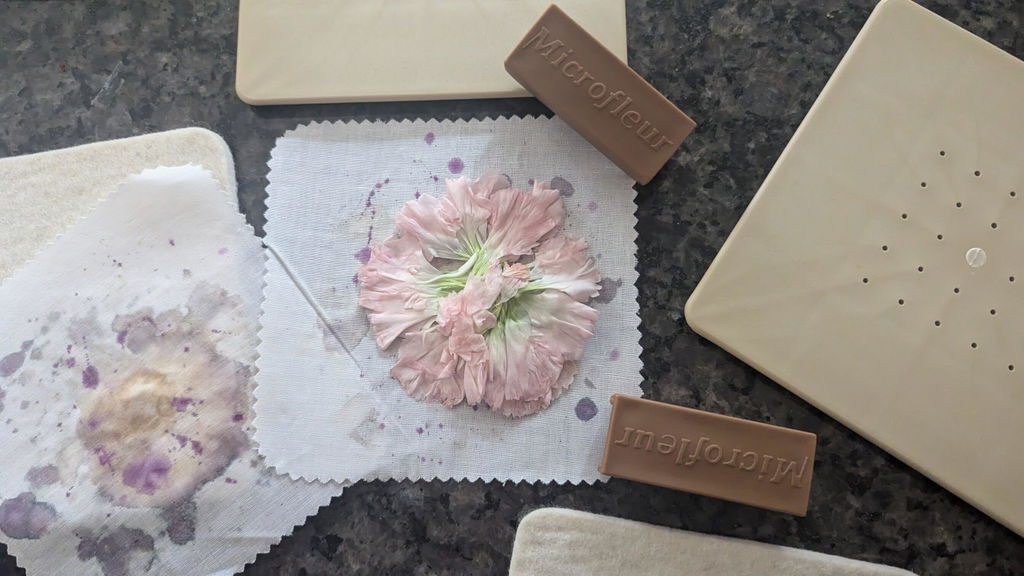
Start with a Microfleur Regular (5-inch) or Max (9-inch) microwave flower press. Check for two platens, two wool felt pads, two fabric liners, and clips - two clips for Regular or four for Max. Set out your flowers, leaves, fine-tip tweezers, small scissors, a soft brush, a clean towel, safety glasses, oven mitts, and a small spray bottle of water.
Choose two matching glass pieces and a no-cut, no-solder frame or closure that fits them. You'll also need ribbon or twine for hanging. Use white PVA craft glue only if the assembly needs adhesive.
### Choose and Prepare Flowers for Pressing
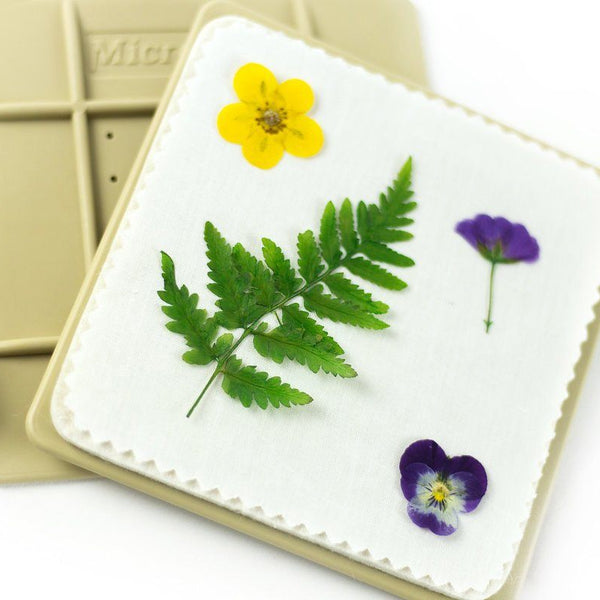
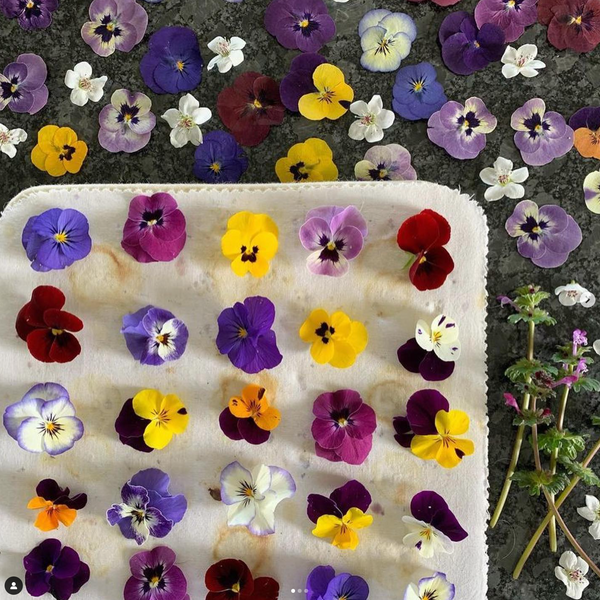
If blooms were just picked, let them sit briefly before pressing. Trim bulky stems, calyxes, and thick flower centers so each flower lies flat. Arrange flowers on the liner without touching or overlapping, and group blooms of similar thickness together.
Check the Glass and Pad Your Work Surface
Wear safety glasses, and don't use glass with chips, cracks, or sharp edges. Cover a stable work surface with a clean towel, then brush dust off the glass before assembly.
Once your flowers and glass are ready, move to Step 1. When handling a warm press, wear oven mitts and let it cool slightly before opening.
sbb-itb-80d8183
Step 1: Microwave-Press the Flowers
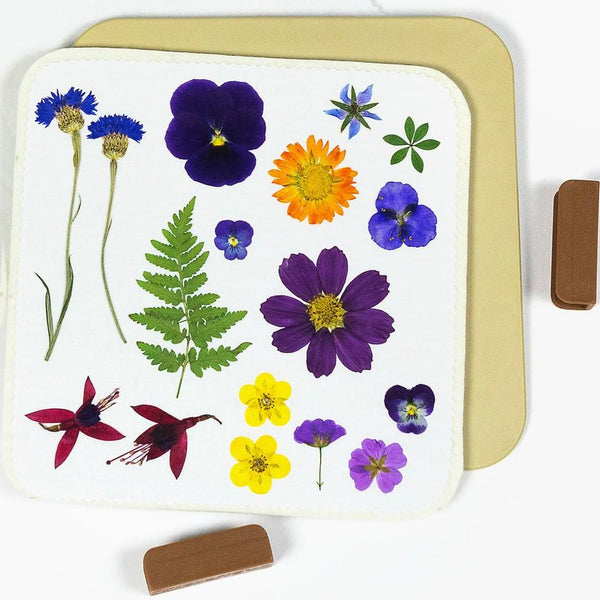
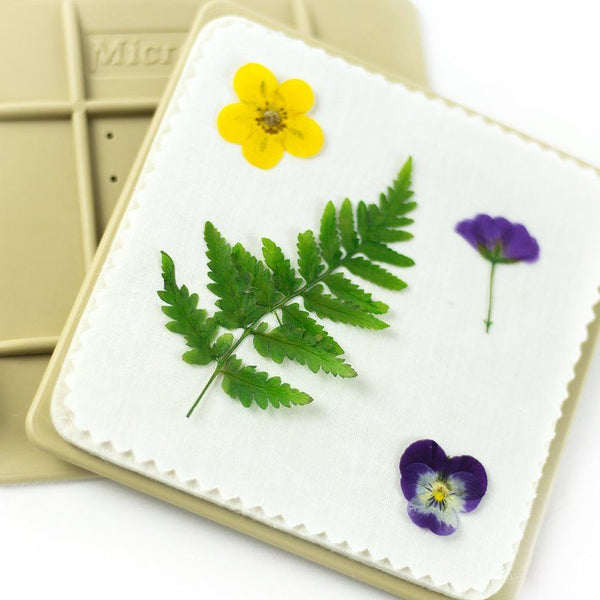
Before assembling the press, lightly dampen the wool felt pads to help prevent scorching. Lay the flowers face down on the bottom fabric liner, keeping them flat with no overlap. Add the second fabric liner, the second wool felt pad, and the top platen. Keep the stack aligned and snug, then secure the clips as directed for your Microfleur model.
Use short bursts, not one long cycle. Follow your model’s power instructions and timing guide for different flowers. Typical starting bursts are 45 seconds at 600 watts, 30 seconds at 750 watts, or 20 seconds at 900 watts - but treat these as starting points only.
After each burst, open the press for 20–30 seconds to release moisture. Wipe condensation from the platens and let the liners cool briefly. After the first burst, gently loosen the flowers from the liner so they don’t stick.
For later bursts, use half to one-third of the initial time. As the flowers approach dryness, switch to 5–10-second bursts. Total drying time depends on microwave wattage, flower thickness, and moisture level.
Stay with the microwave while it runs. Stop immediately if you smell scorching wool or notice browning petals. If petals start to brown, shorten the bursts or reduce the power before continuing. Once the flowers feel dry and the smell stays neutral, move to moisture checks. For more detailed troubleshooting, review these flower pressing tips.
Step 2: Check That the Flowers Are Dry
Let the flowers cool before checking the petals and centers. They should feel dry and papery, without damp or soft spots. If they pucker or collapse as they cool, moisture remains.
A dry flower should feel stiff and hold its shape when lifted. Check the center closely, even if the petals seem ready. Moisture left there can spread into the petals later, causing discoloration or deterioration. Dry platens help confirm dryness, but the flower itself is the main check.
If you find a damp spot, press the flower again in a short burst, let it cool, and recheck. Once it’s completely dry and cool, lift it with nylon crafting tweezers to keep finger oils and moisture off the petals before glass assembly. Use only fully dry flowers - trapped moisture can fog the glass or cause browning and mold. Set the dry flowers aside for assembly.
Step 3: Arrange the Flowers Between Glass
Once the flowers are fully dry, place the clean, dry bottom glass piece on your work surface.
Arrange the largest blooms first to set the layout. Leave some open glass around them rather than filling every gap.
Use nylon tweezers to place smaller flowers, fine stems, and leaves around the larger blooms. Keep overlap to a minimum. Tuck a few leaves under petal edges to add depth without adding bulk.
Keep the closure perimeter clear. Gently lower the top glass to check the fit. If it doesn’t sit flat, lift it off and move or remove any bulky material. Don’t force the glass down or crush the flowers to make them fit. Leaving the edge clear helps the closure sit flat in Step 4.
Step 4: Close the Glass and Secure the Edges
Check that the glass sits flat, then carefully close the ornament on the padded surface. Keep petals and stems clear of the edges. If adhesive is needed, apply a small amount of white PVA craft glue.
Keep the ornament flat until it has set completely. Then move to Step 5 to attach the hanger. Display the finished ornament indoors only, away from moisture and water.
Step 5: Attach the Hanger and Ribbon
Once the glass closure has set and any adhesive has fully cured, check that the edge closure is secure.
Attach the hanger, or tighten the existing one if it feels loose. Thread ribbon or twine through the loop or eyelet - not around the glass. Tie it so it doesn’t press against the glass.
Support the ornament over a padded surface while you test the knot and hanger. If either slips or feels loose, set the ornament down and fix the attachment. Once the hanger stays secure, move to Step 6.
Step 6: Check and Display the Ornament
After assembly, make sure the flowers are in place and the hanger is secure. If you are new to the craft, review these flower pressing tips for beginners to ensure your blooms stay vibrant. Set the ornament aside until you’ve fixed any problems.
Hang it from a sturdy support that can hold its weight. Keep it away from direct sunlight and moisture to help the flowers hold their color longer. When it’s not on display, store it in a dry, padded box with cushioning between pieces.
Conclusion: Keep Flowers Dry and Glass Secure
Before closing the ornament, check that the flowers are fully dry. If they pucker or curl as they cool, they need more drying time. Before displaying it, make sure the edges are sealed and the hanger is firmly attached.
FAQs
What frame size fits my glass and flowers?
Match your glass panes and frame to your Microfleur flower press size: 5 inches for the Regular or 9 inches for the Max. The pressed flowers should fit neatly between the panes without forcing the edges.
For a floating-style ornament with two glass panes, do a dry fit first. Check that the panes line up and close properly around the flowers.
How can I keep flowers from shifting inside the glass?
Apply small adhesive dots to the flower centers and stems to hold them against the glass. This helps keep delicate pieces and complex layouts in place.
Prefer a cleaner, floating look? Skip the adhesive if you’re using sturdy, flat blooms that are less likely to shift. Use tweezers to position each flower precisely as you assemble the display.
What should I do if my ornament fogs up?
Fogging points to trapped condensation or humidity inside the glass. Keep your ornament in a dry, climate-controlled spot with indirect light. Avoid bathrooms, heating vents, and direct sunlight, where conditions can cause moisture in the trapped air to condense. Check the glass regularly for new moisture to help protect the flowers from deterioration.