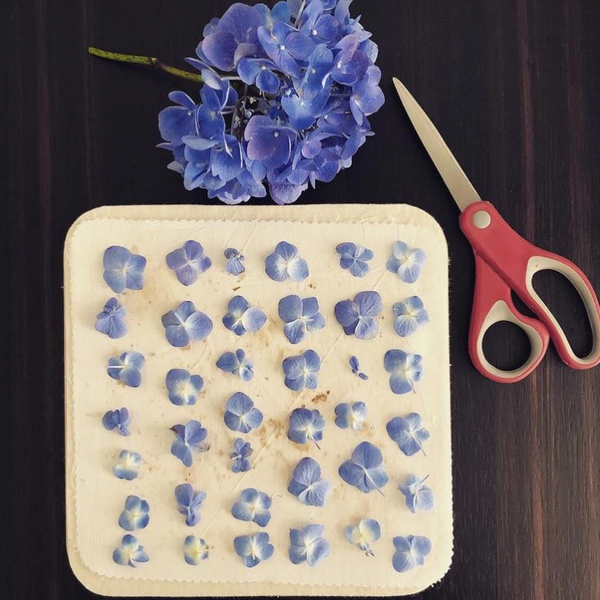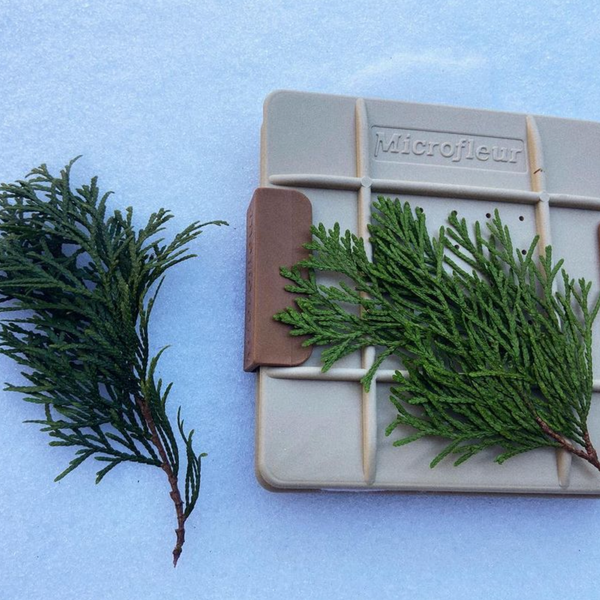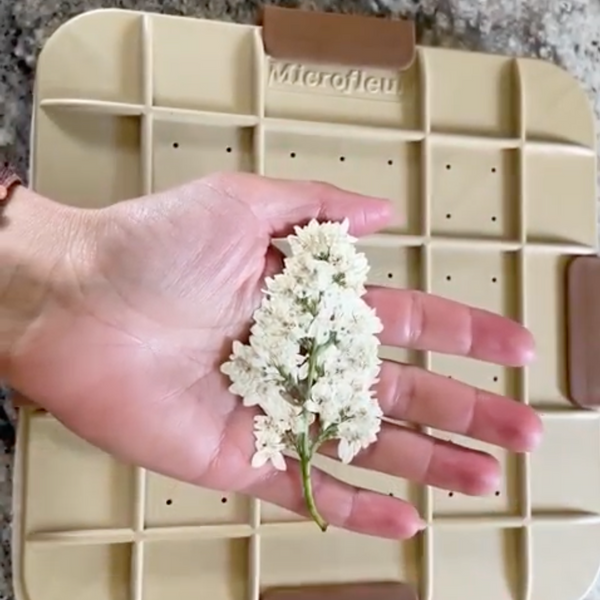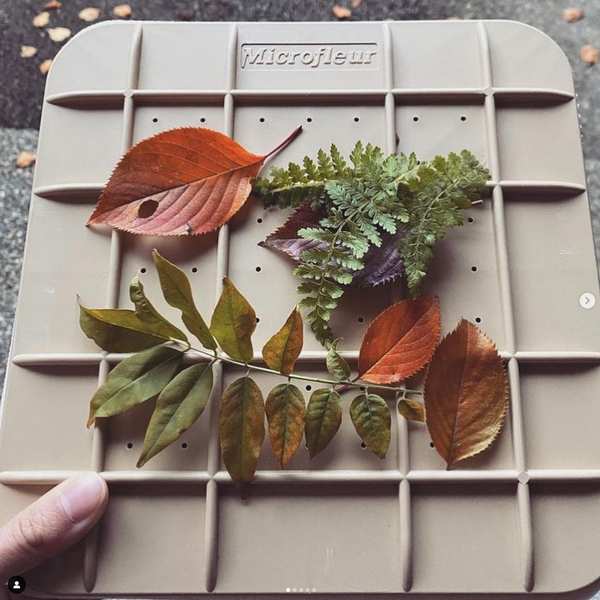



I can make a flower bracelet gift with small pressed blooms and a closed keepsake locket - no resin or liquid glue needed. The key: <u>let the flowers cool and dry fully</u> before assembly.
Here’s the process I follow:
- Check the fit: Measure the locket’s inside opening and depth, then choose suitable flowers and petals or leaves.
- Press and dry: Follow the microwave press instructions, check between short heating intervals, and keep all metal jewelry out of the microwave.
- Arrange and close: Use tweezers to place the papery, dry flowers. Never force the cover shut.
- Inspect and package: Check for moisture, flower movement, and a secure clasp before boxing the bracelet.
I’d include a care card, too: the locket is not waterproof. Keep it away from water, steam, and direct light, and expect natural flower colors to fade over time.
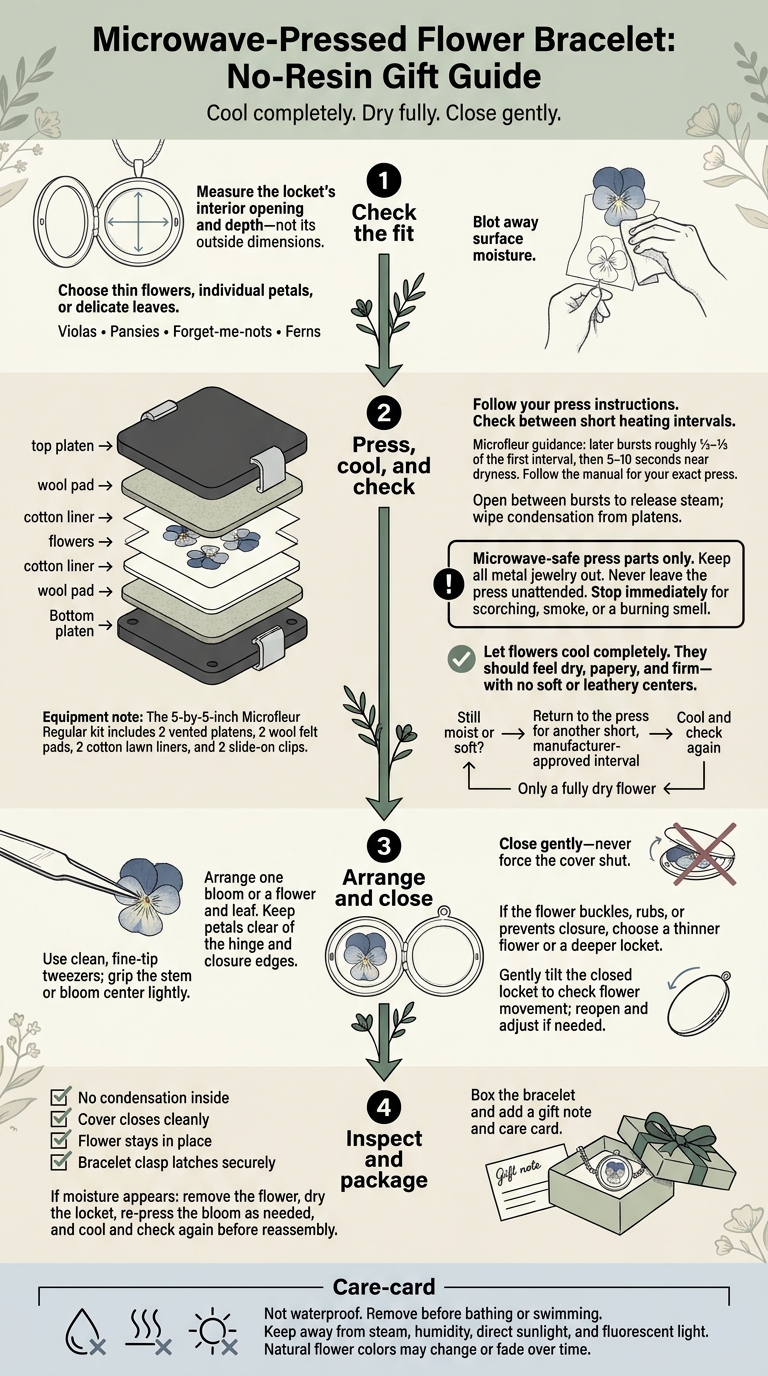
Microwave-Pressed Flower Bracelet: No-Resin Gift Guide
1. Gather Flowers, Press Supplies, and Lockets
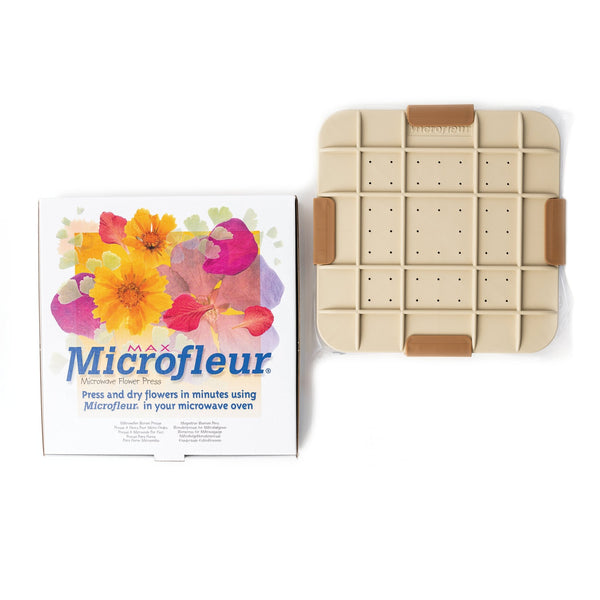
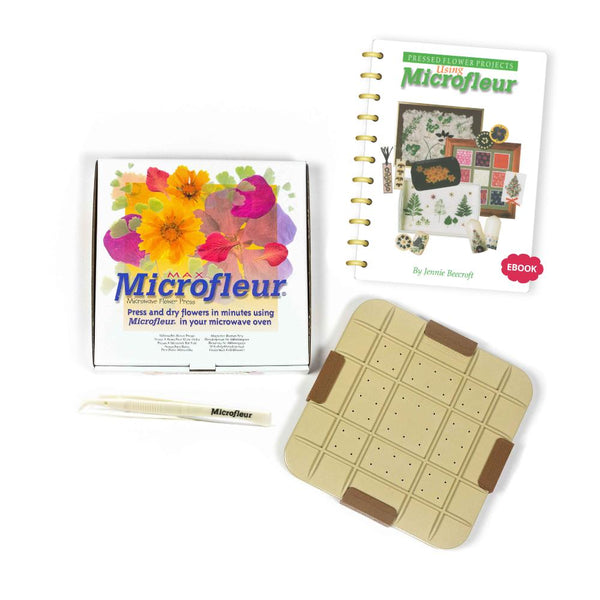
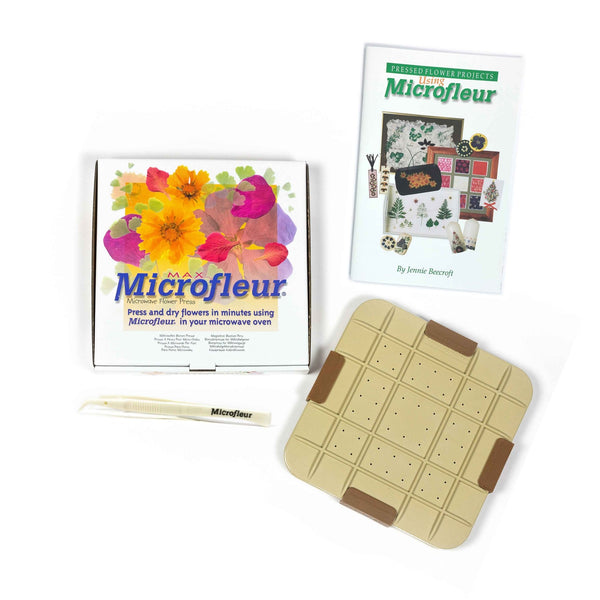
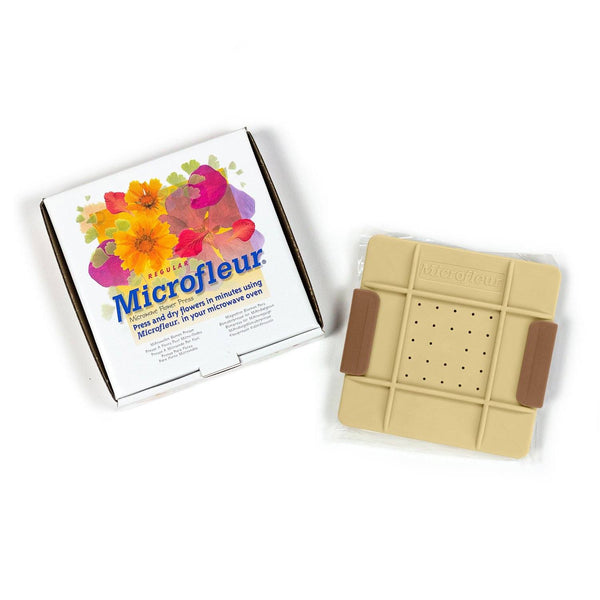
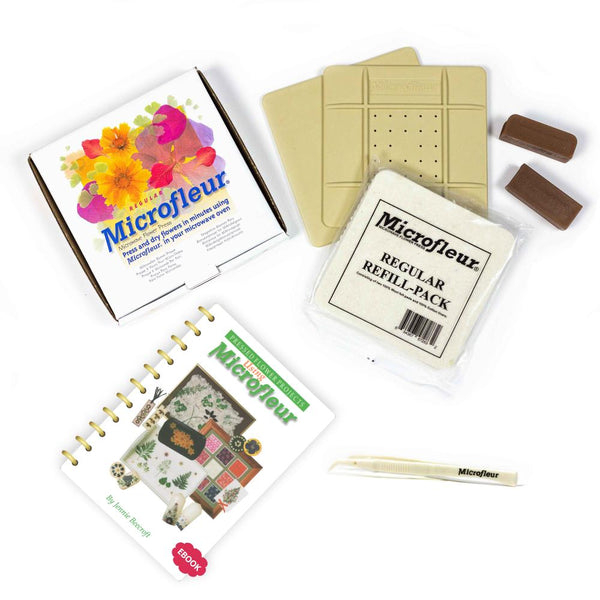
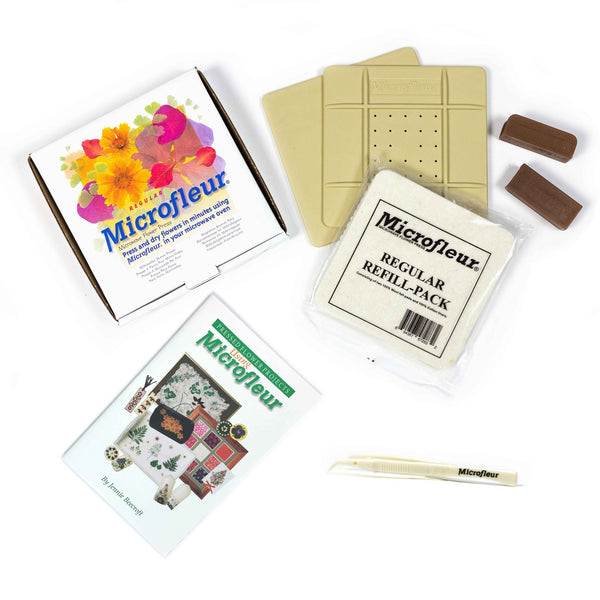
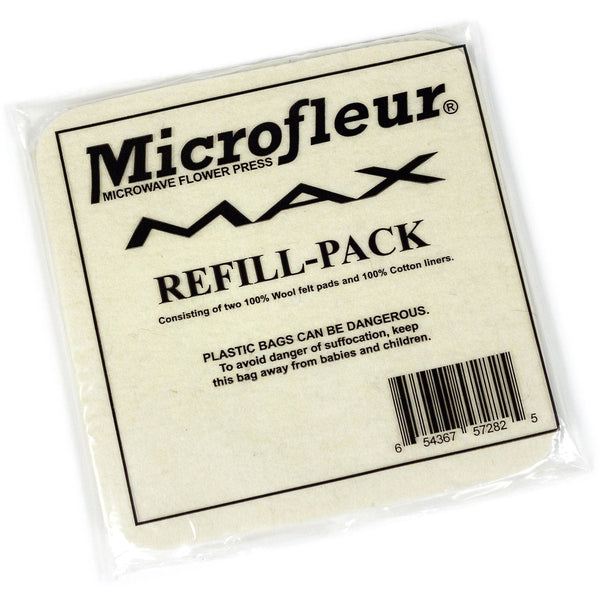
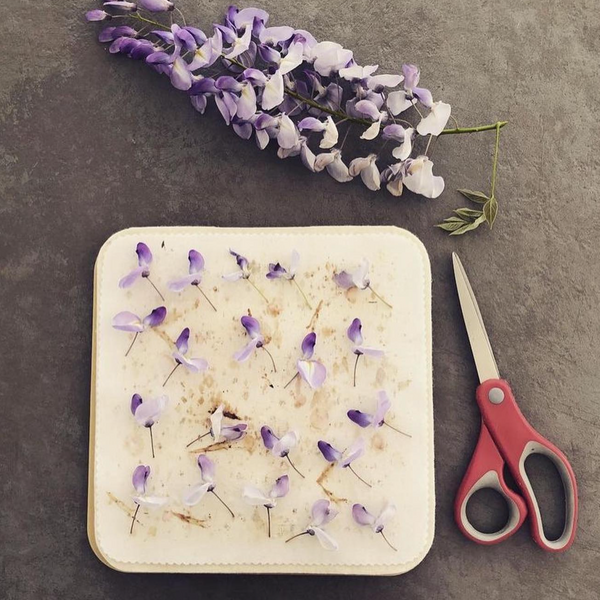
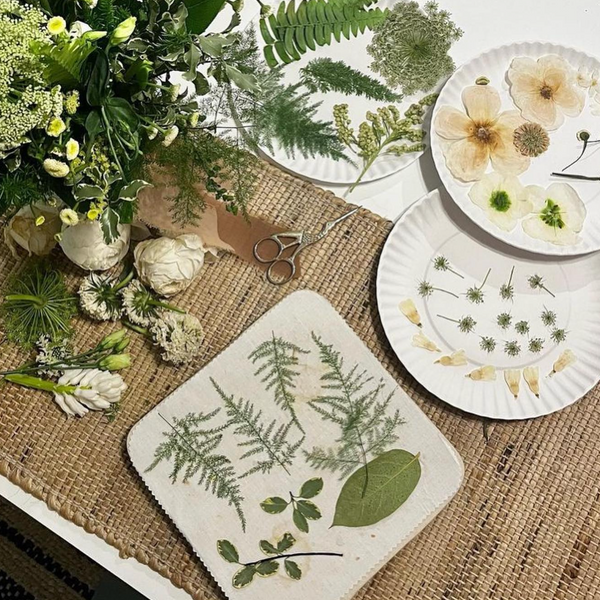
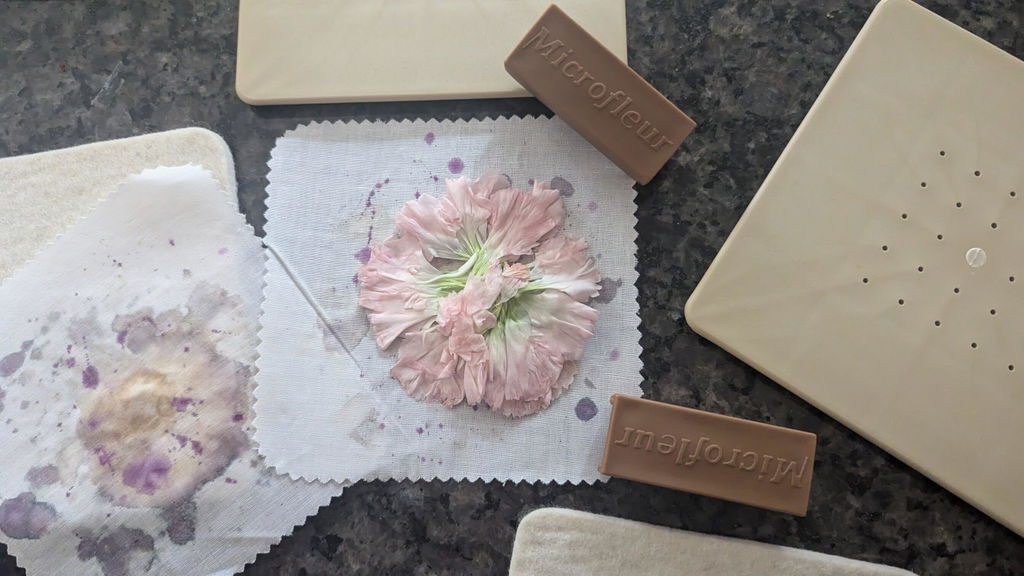
Use a microwave flower press with vented platens, felt pads, and liners to dry small blooms for a bracelet locket. The 5-by-5-inch Microfleur Regular Flower Press kit comes with 2 vented platens (outer plates), 2 wool felt pads, 2 cotton lawn liners, and 2 slide-on clips. Have fine-tip tweezers ready for handling petals and paper towels for wiping away condensation.
Start with small, flat flowers that will fit inside the locket. They press faster, fit more easily, and make assembly simpler.
Use only microwave-safe parts in the microwave. Keep the locket, chain, and clasp out.
Choose Small Flowers and Blot Away Moisture
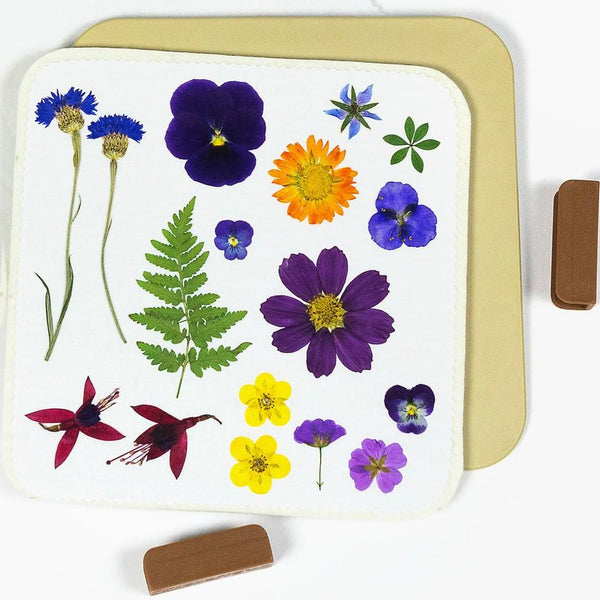
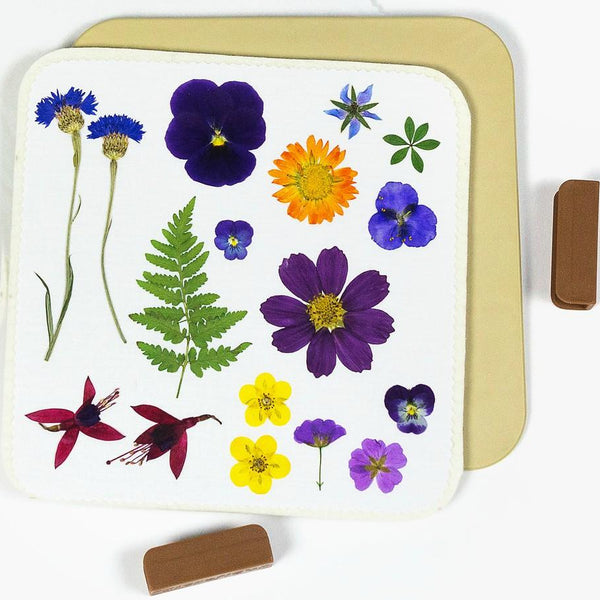
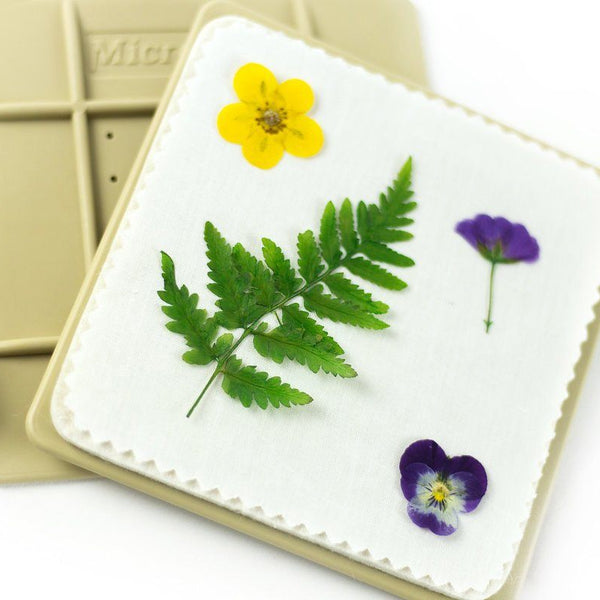
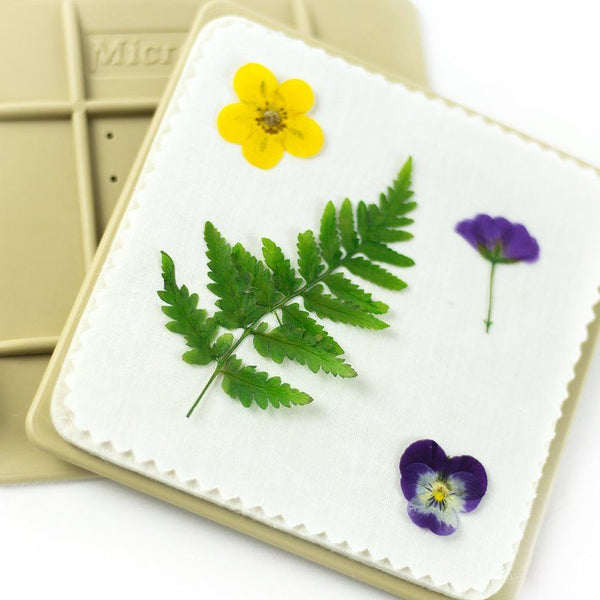
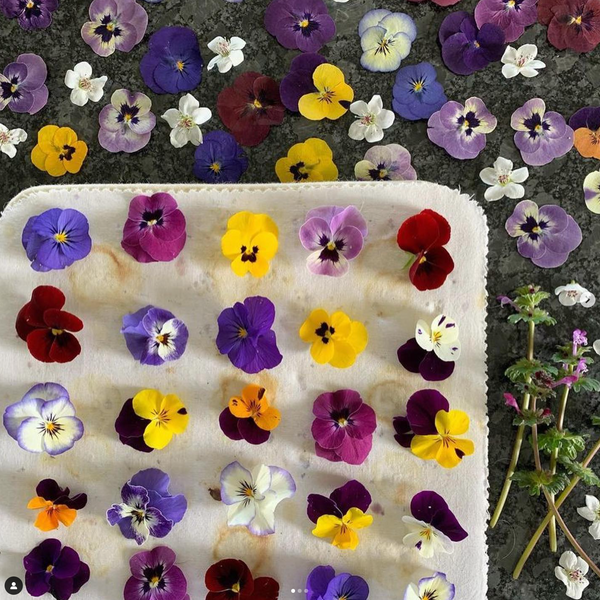
Choose small flowers, individual petals, or delicate leaves that fit your locket. Pick flowers after the dew has evaporated, then blot away any surface moisture. Thin, flat blooms like violas, pansies, and forget-me-nots, along with ferns, dry fastest and brown least.
Measure the Locket Interior and Check the Cover
Measure the locket’s interior opening and depth, not its outside dimensions. Choose a covered locket made to hold flat keepsakes without adhesive. Check that the inside is clean and dry before adding your flower.
Once the flower is inside, close the locket to check that it snaps shut without crushing the specimen. If you have to force it closed, the flower is too large.
sbb-itb-80d8183
2. Microwave-Press Flowers in Short, Checked Intervals
Follow your flower pressing tips and press instructions and never leave the press unattended. Microwave wattage, flower thickness, starting moisture, and press size all affect heating time. There’s no single schedule that works for every setup.
Layer the Flowers and Secure the Press
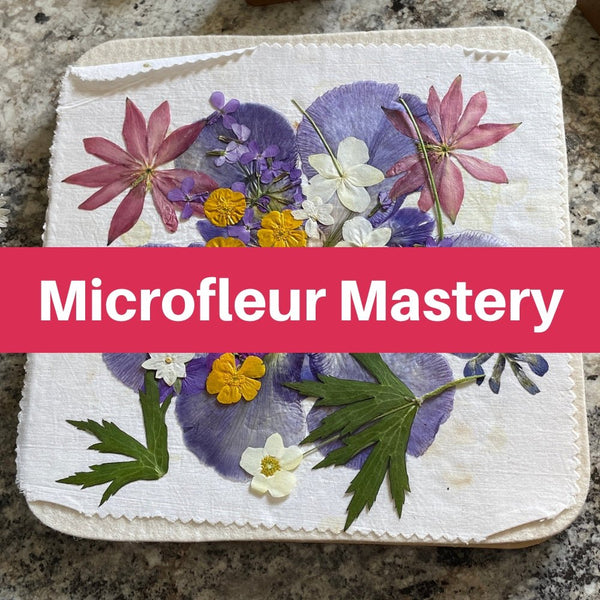
For a standard microwave press, stack the bottom platen, wool pad, and cotton liner. Lay each bloom flat, arranging it to fit the locket later. Add the second liner, pad, and platen, then secure the clips as your model’s instructions direct.
Check Flowers Between Heating Intervals
Start with the manufacturer’s recommended interval for your microwave wattage. This varies by press and flower thickness. As the flowers dry, shorten each burst. Microfleur guidance suggests reducing later bursts to roughly one-half to one-third of the first interval, then 5 to 10 seconds as the flowers approach dryness. Follow the manual for your exact press.
Open the press between bursts to release steam. Lift a corner of the liner to check the flowers, and wipe condensation from the platens between intervals. Stop heating when the flowers are dry, and let them cool before handling. Stop immediately if you see scorching or smoke, or smell burning.
Let Flowers Cool and Check for Dryness
Let the flowers cool completely on a clean, dry, flat surface before checking them. They should feel dry, papery, and firm, with no soft or leathery centers.
If moisture remains, return the flower to the press for another short, manufacturer-approved interval. Let it cool and check again before placing it in the bracelet locket.
3. Arrange the Flowers and Close the Locket
Once the flowers are fully dry, fit them into the bracelet locket.
Plan the Arrangement and Test the Fit
Use clean, fine-tip tweezers to place flowers that have cooled completely. Grip the stem or bloom center lightly - not the petal edge. If a flower sticks to the cotton liner, gently lift the liner to release it instead of pulling with the tweezers.
Plan a simple arrangement with one bloom or a flower and leaf before placing the pieces in the locket. Trim excess stems or bulky foliage where possible. Lay everything flat, keeping petals away from the hinge and closure edges.
Gently close the cover to check the fit. Don't force it shut. If the flower buckles, rubs against the cover, or prevents closure, choose a thinner flower or a deeper locket.
A deep locket with a cover offers the best protection. A shallow one may crush the flower or fail to close.
Check Flower Protection and Closure Risks
With the locket closed, gently tilt and move it to see whether the flower stays in place. If it shifts, reopen the locket and adjust the fit.
4. Inspect and Package the Bracelet
Check the Flower, Locket, and Bracelet Clasp
Once the locket closes cleanly, check for moisture and test the clasp before packaging. Look inside the locket for condensation, then wipe any fingerprints and moisture from the outside with a clean, dry cloth. Open and close the bracelet clasp once to make sure it latches securely.
If you spot moisture inside, remove the flower and dry the locket. Re-press the bloom using a microwave flower press for another short drying cycle, repeating as needed until it’s fully dry. Reassemble the bracelet only after the moisture is gone, then box it.
Add a Gift Note and Care Card
Place the bracelet in a gift box that presents it neatly and protects the delicate flower during storage and transport. Add a note naming the flower, if known, and the occasion it marks.
Include a care card stating that the locket is not waterproof. Remove the bracelet before bathing or swimming, and keep it away from steam, humidity, direct sunlight, and fluorescent light. Also explain that natural flower colors may change or fade over time.
5. Summary: Dry Flowers Fully Before Assembly
Before placing the blooms in the locket, check them one last time. Keep them flat and separated so they dry evenly before assembly.
Let the flowers cool, then check that they’re fully dry. They should feel papery and stiff. If any still feel cool or soft, dry them again briefly. Use tweezers to arrange the fully dried flowers, then close the locket.
FAQs
How long will my pressed-flower bracelet last?
Your pressed-flower bracelet will last longer if you dry the blooms fully before assembly. They should feel papery and crisp, with no tackiness or damp centers.
Flowers can absorb moisture again, so check them a day or so after pressing. If they feel sticky or soft, return them to the press for a 5- to 10-second burst, following the press instructions. Let them cool and dry completely before assembling your bracelet.
Can I press flowers ahead of gift-making?
Yes. Once your flowers are fully pressed, dry, and cool, store them flat in a cool, dark, dry place until you’re ready to use them. Keep them between sheets of acid-free or blotting paper inside a plastic sleeve or sealed plastic container.
If you live in a humid climate, add silica gel to the container. It helps protect the flowers from moisture and prevent mold or discoloration.
How can I secure loose flowers without glue?
To hold flowers in place without glue, sandwich them between the adhesive layers of a sticker-style bookmark or seal them between two lamination sheets. Position them with precision tweezers before sealing to avoid tearing or crushing them.
The flowers must be completely dry and papery to the touch. Any remaining moisture can cause buckling or mold inside the seal.