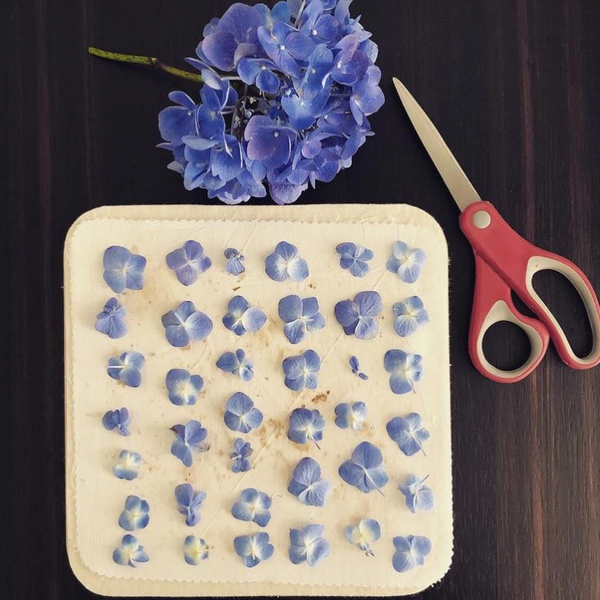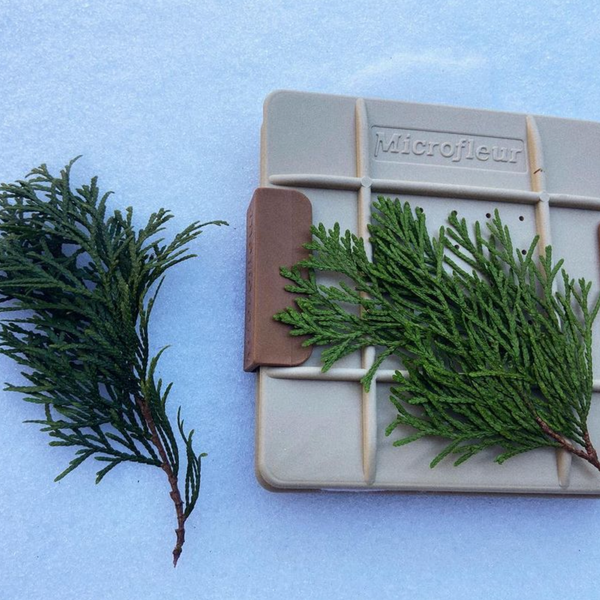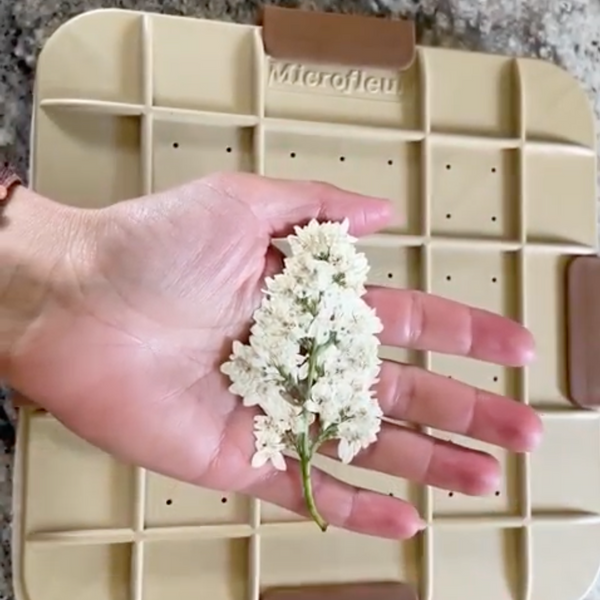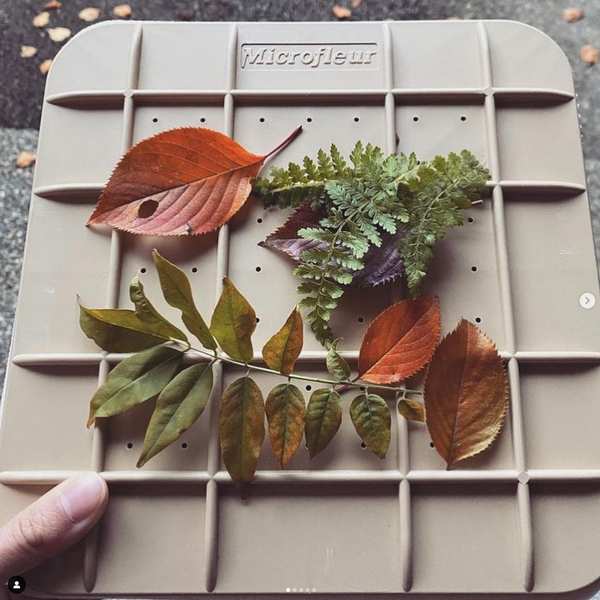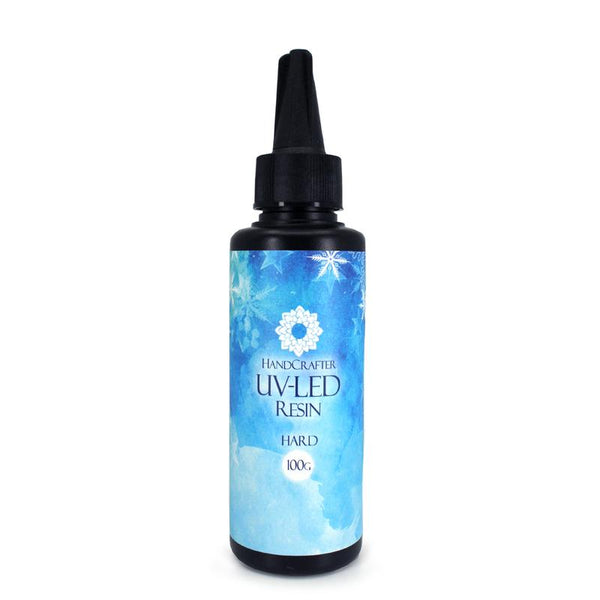
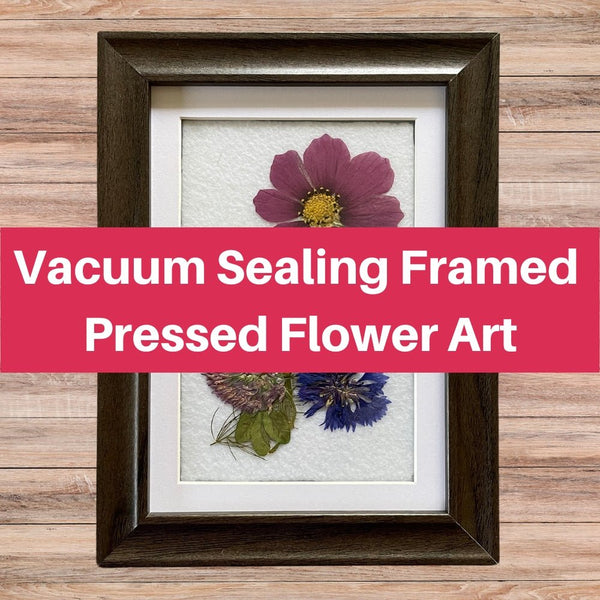


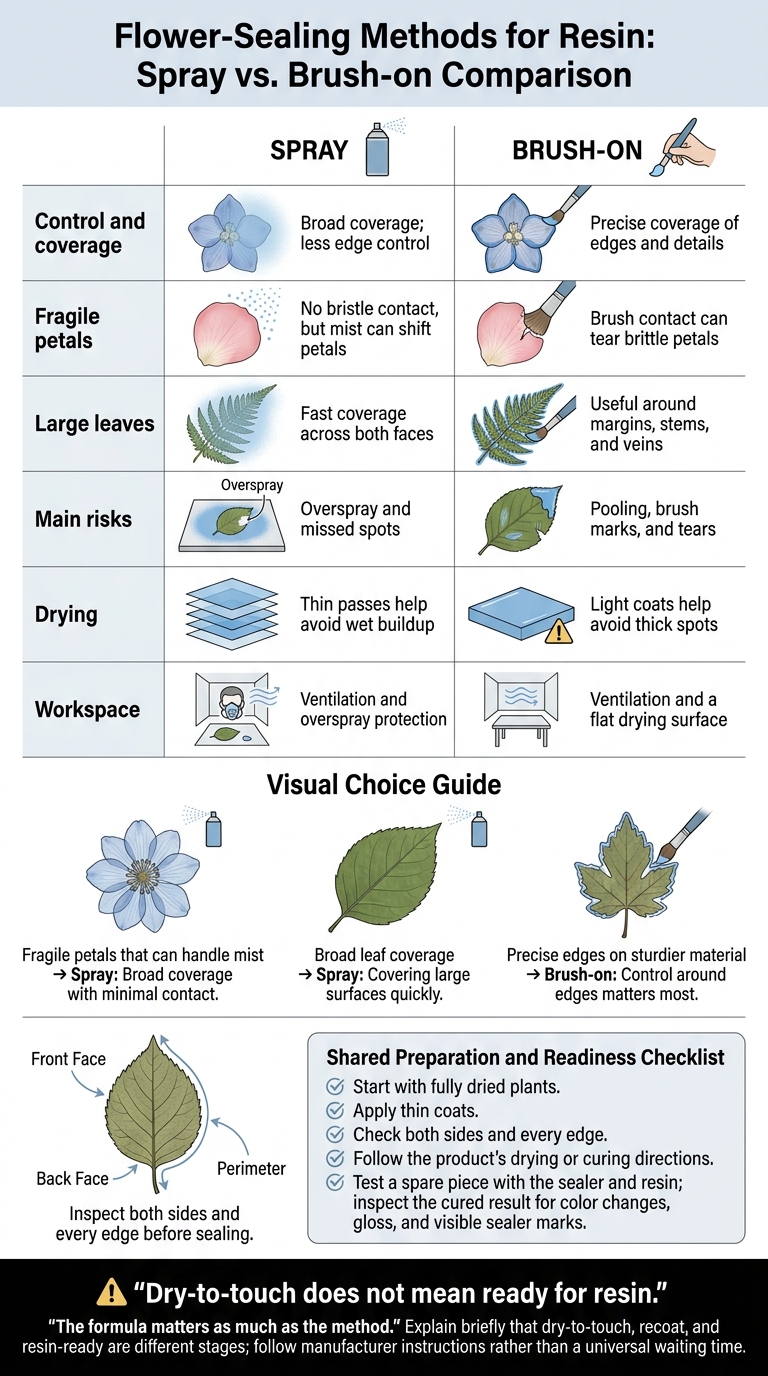
I’d choose spray for fragile petals and broad leaf surfaces, or brush-on sealer for precise edges on sturdier flowers. Either way, start with fully dried plants and apply thin coats.
The catch? The formula matters as much as the method. I’d test a spare petal with both the sealer and resin before coating the rest. <u>Dry-to-touch does not mean ready for resin.</u> Follow the product’s drying or curing directions.
Quick Comparison
| Factor | Spray | Brush-on |
|---|---|---|
| Control and coverage | Broad coverage; less edge control | Precise coverage of edges and details |
| Fragile petals | No bristle contact, but mist can shift petals | Brush contact can tear brittle petals |
| Large leaves | Fast coverage across both faces | Useful around margins, stems, and veins |
| Main risks | Overspray and missed spots | Pooling, brush marks, and tears |
| Drying | Thin passes help avoid wet buildup | Light coats help avoid thick spots |
| Workspace | Ventilation and overspray protection | Ventilation and a flat drying surface |
Before pouring resin, I’d check both sides and every edge, confirm the coating has dried or cured as directed, and inspect the cured test piece for color changes and visible marks.
Spray vs. Brush-On Flower Sealers Before Resin
5 Ways to Seal Dried Petals Ready for Embedding in Resin
sbb-itb-80d8183
Spray Sealers: Broad Coverage Without Brush Contact
Spray sealers cover large surfaces quickly without brush contact. But the mist can shift loose petals and drift beyond your target area. They work best when broad coverage matters more than precise edges.
Apply Short, Light Spray Passes
Use tweezers to space petals so their edges don’t overlap. Spray in short, light passes at the distance listed on the label. Don’t try to get full coverage with one wet pass.
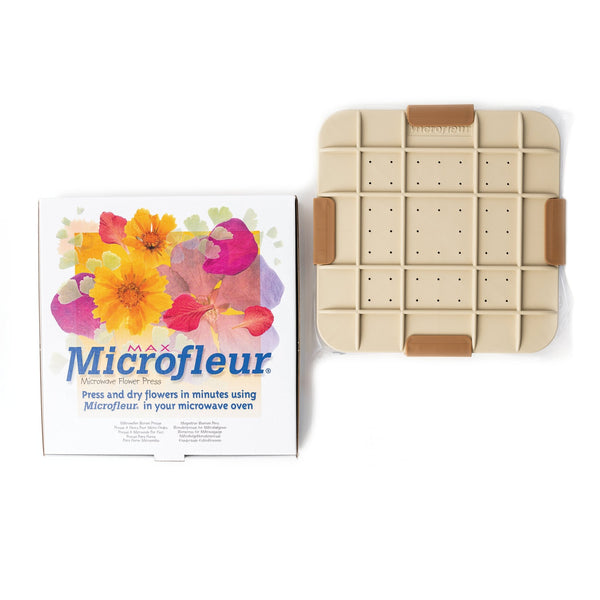
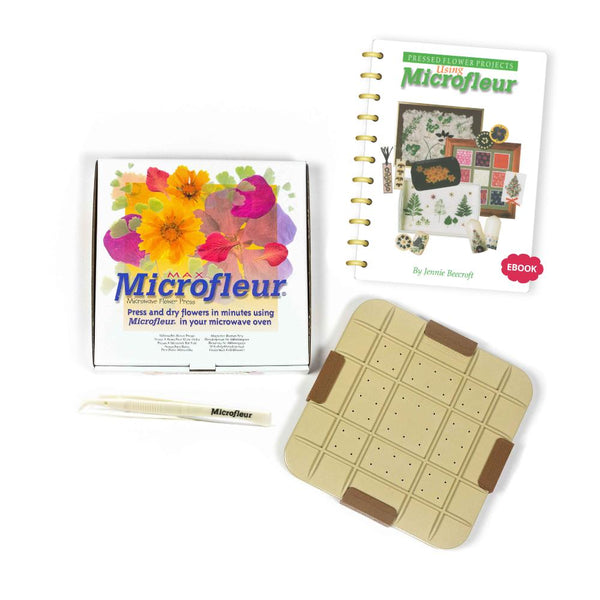
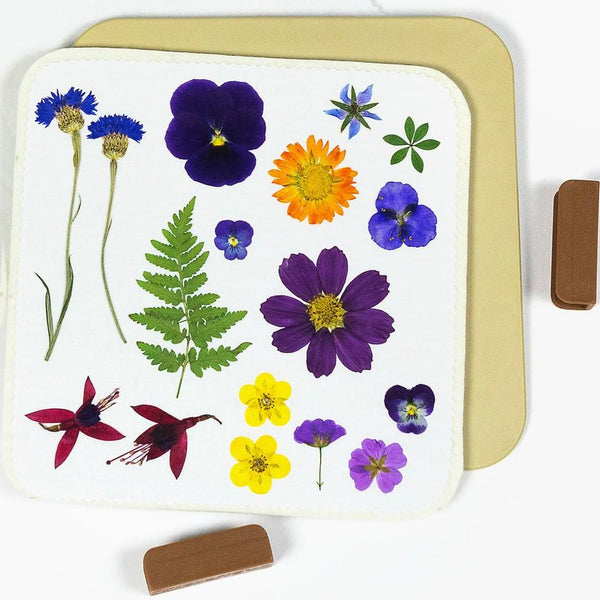
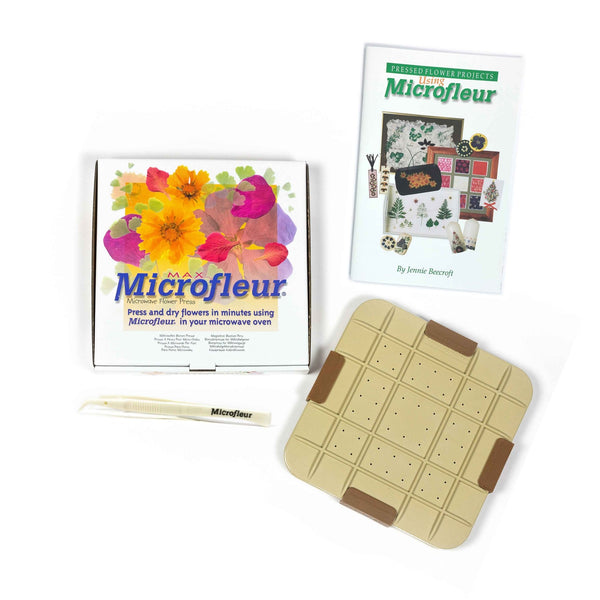
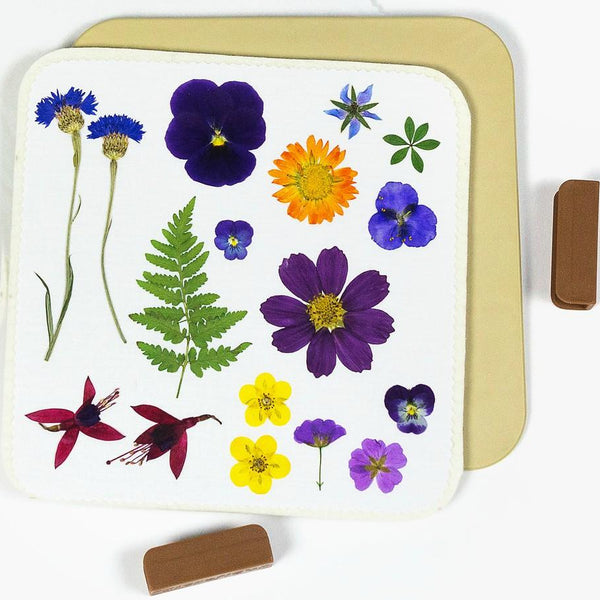
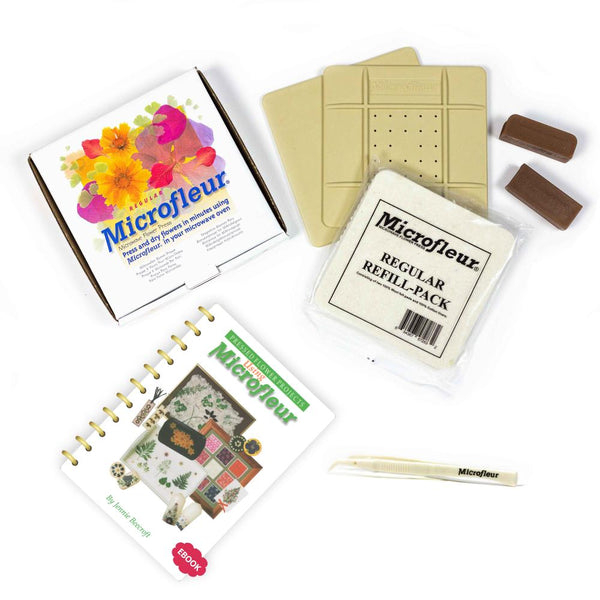
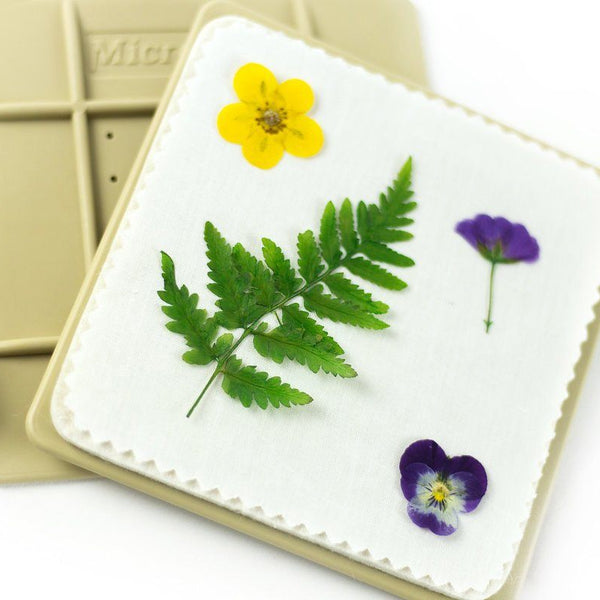
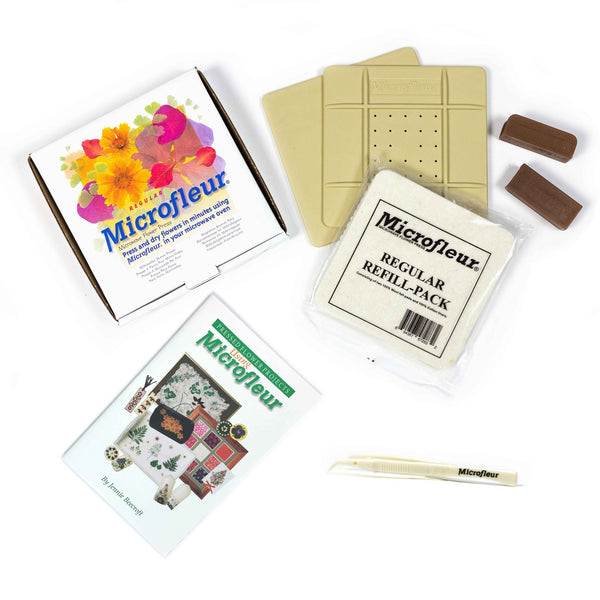
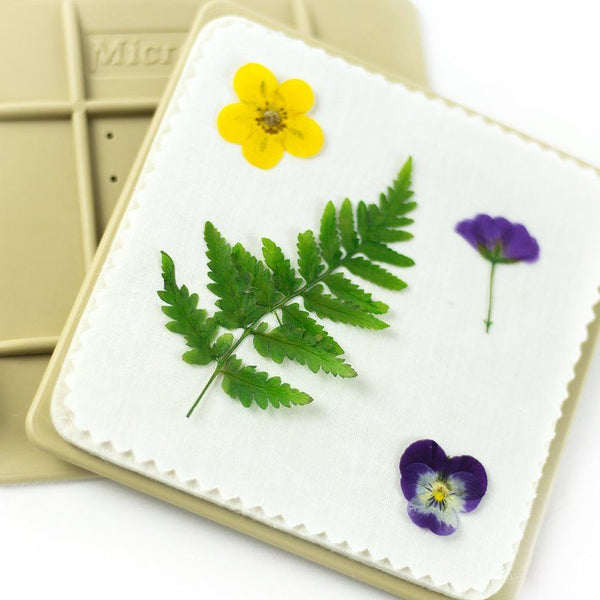
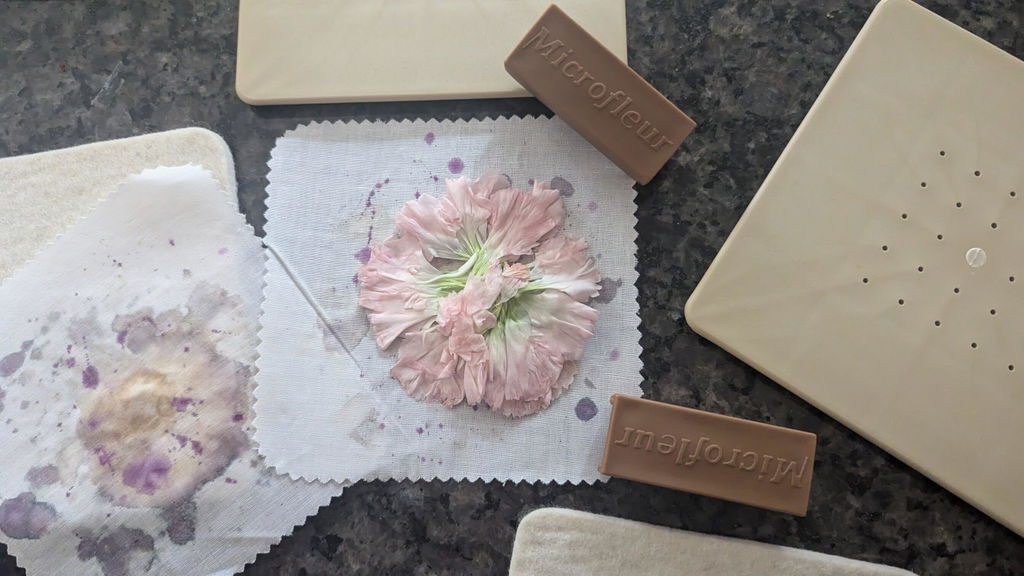
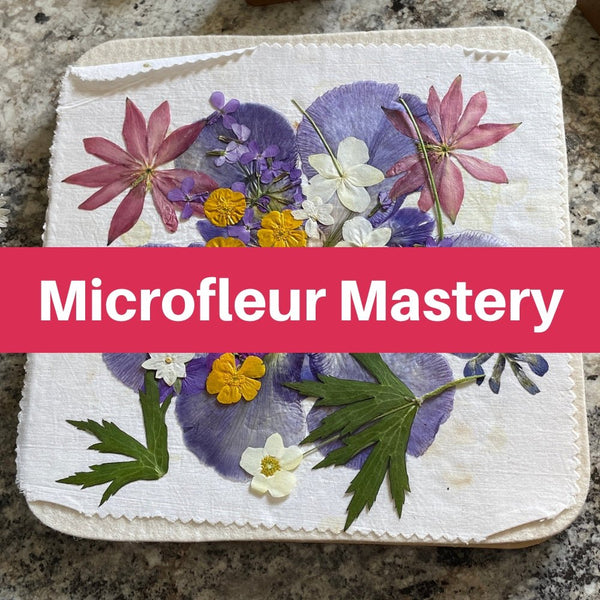
Check the edges after each coat, then add light coats as directed. If the flowers are mounted, let the adhesive dry completely before spraying. This is especially important for delicate blooms prepared in a microwave flower press.
Follow Drying Times and Spray Safety Directions
Dry-to-touch, recoat, and resin-ready are different stages. Follow the manufacturer’s instructions for each - there’s no single waiting time that works for every product.
Work in a ventilated area, protect nearby surfaces from overspray, and follow the label’s safe-handling directions. For tighter control around edges, use a brush-on sealer.
Brush-On Sealers: Precise Coverage for Edges and Details
When spray covers too much area, brush-on sealers give you tighter control over edges and details. A soft brush lets you coat individual petals, cut edges, veins, and small repairs. The trade-off? It takes more time, and direct contact with the bristles can tear brittle flowers. Brush-on application also carries a higher risk of pooling.
Brush Gently in Thin Coats
Use a soft brush, light pressure, and a small amount of sealer. Keep strokes to a minimum, and avoid dragging the brush across delicate edges. Stiff bristles can tear petals, while excess liquid can cause wrinkling or pool around veins and margins. For tiny spots, use just the brush tip.
Let each coat dry fully before applying the next. Handle brittle flowers with tweezers rather than your fingers.
Set Up a Flat Drying Area
Brush-on application leaves more liquid on the surface, so dry flowers on a level surface to prevent pooling. Work in a ventilated space, and place a dust shield over the flowers as they dry.
If you’re using a water-based formula, clean brushes with soap and water before the sealer dries. Wait until the coating reaches the label’s resin-ready time before pouring resin.
Choosing a Sealer for Fragile Petals and Large Leaves
Match the sealer to the plant material. Fragile petals need as little contact as possible, while large leaves need even coverage across their surfaces and edges.
| Material | Spray advantages | Brush-on advantages | Handling precautions |
|---|---|---|---|
| Fragile petals | No bristle contact. | Precise edge work on sturdier petals. | Mist can shift petals; a wet brush can pull them. |
| Large pressed leaves | Fast coverage over broad surfaces. | Best for margins, stems, and veins. | Keep flat; check both sides and edges. |
Fragile Petals: Limit Contact and Movement
With brittle petals, gentle handling matters more than precision. Use light spray passes if a brush could tear the petal - but only if the mist won't blow it out of place. Work on a flat, nonstick surface in good light, and move delicate petals with craft tweezers. Test a spare petal for color changes first.
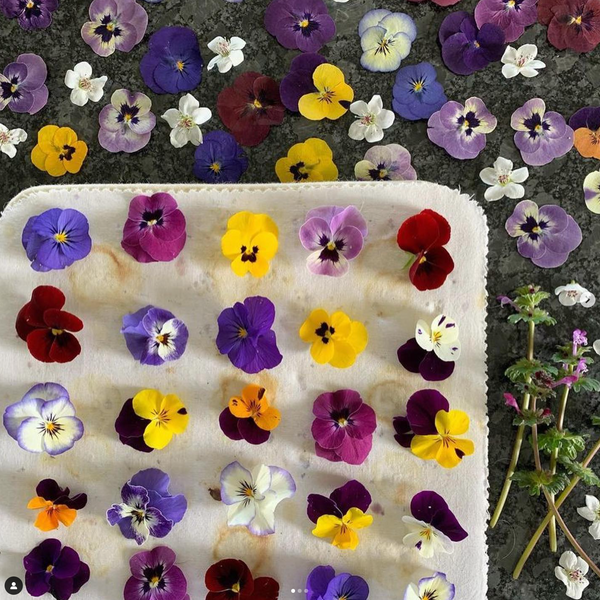
Make sure flowers are completely dry before adding resin, no matter which flower pressing tips you followed.
Large Leaves: Cover Broad Surfaces and Edges
Larger leaves can handle more contact, but the coating still needs to be even. Choose spray to cover broad surfaces, or brush-on sealer for more control around margins, stems, and thick veins. Keep leaves flat without forcing brittle areas into place. Check both faces and all edges for complete coverage, and turn the leaf only after the coating is dry to the touch.
Conclusion: Choose by Material, Control, and Workspace
Choose by petal fragility, edge control, and workspace - not coverage alone. Spray offers broad coverage with little contact, while brush-on gives you more control around edges. Match the method to the plant’s fragility, and factor in drying time and workspace limits.
Use this final check to put the earlier comparison into practice.
| Need | Best method | Best fit |
|---|---|---|
| Fragile petals that can handle mist | Spray | Broad coverage with minimal contact. |
| Broad leaf coverage | Spray | Covering large surfaces quickly. |
| Precise edges on sturdier material | Brush-on | Control around edges matters most. |
Apply a thin, complete coat. Avoid heavy coats that may show through resin. Test a spare piece for final color, gloss, and visible sealer marks: apply the sealer, let it dry or cure until it reaches the label’s resin-ready time, then add resin and check the cured result.
FAQs
Can I combine spray and brush-on sealers?
Yes, but let each layer dry and cure fully before adding the next. Combining methods can help keep delicate petals from turning translucent or losing color in resin. Use thin, even coats to avoid wrinkling or darkening.
Follow the manufacturer’s drying and curing times. If you’re using a top coat, test the layers on a spare petal first. After curing, check for color changes or tackiness.
How can I tell if a sealer is resin-compatible?
Test the sealer on a spare bloom of the same species. Use your planned application method and coat thickness, then let it cure fully according to the manufacturer’s instructions.
Check for a clear, natural finish with no browning, wrinkles, tackiness, or pigment bleeding. If the bloom changes color or becomes too translucent, adjust how you apply the sealer or test another formula before sealing the flowers for your finished piece.
What should I do if sealed petals turn cloudy?
Cloudiness can come from trapped moisture, resin problems, or air bubbles. Before sealing, check that the petals are completely dry. They should feel brittle and papery - not soft or flexible.
Haze inside the resin usually points to damp flowers. Surface haze may come from contaminants, such as tape residue.
Test your sealant or resin on a spare bloom of the same species first. If the haze persists, you may need to remake the piece.