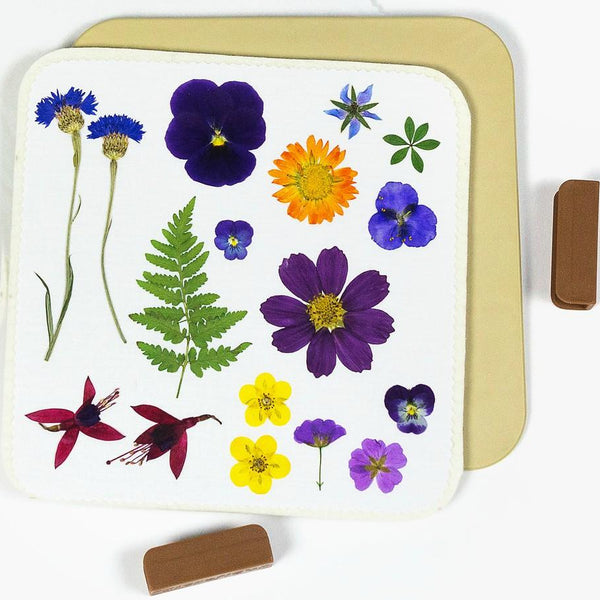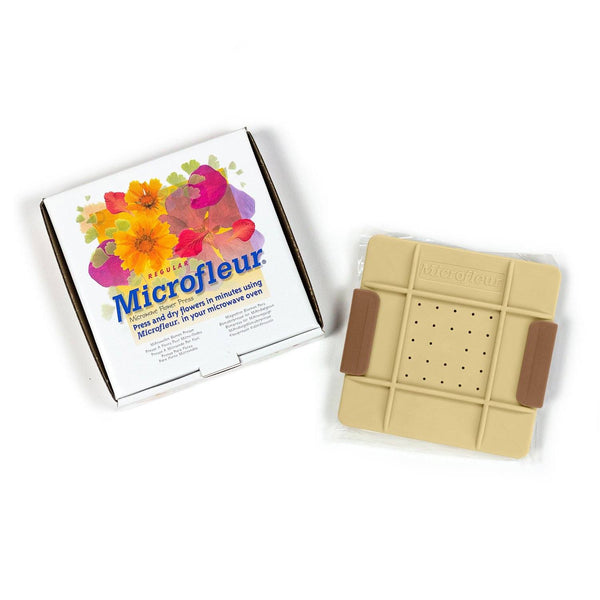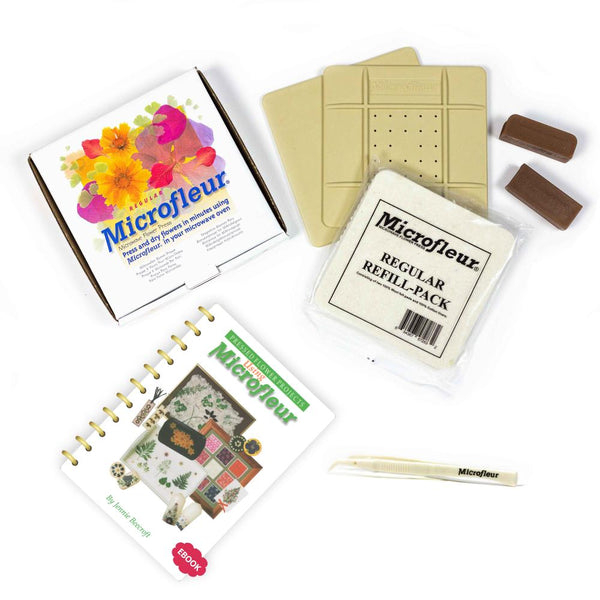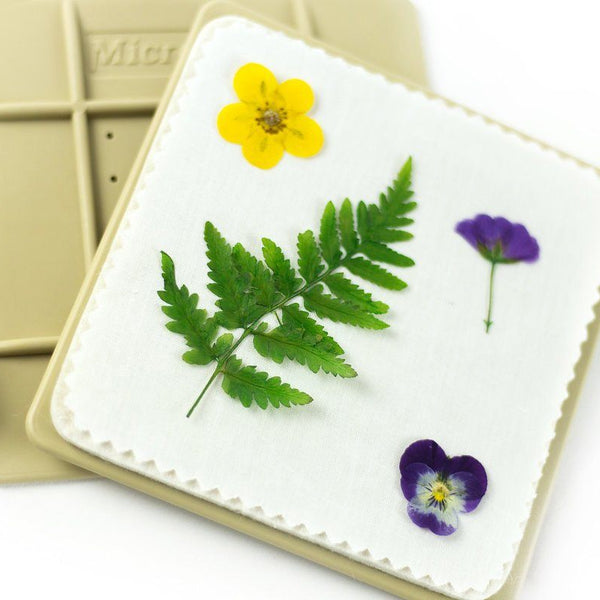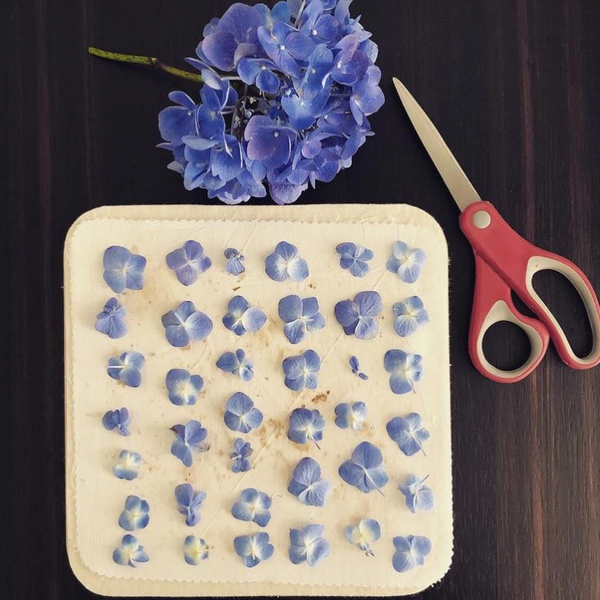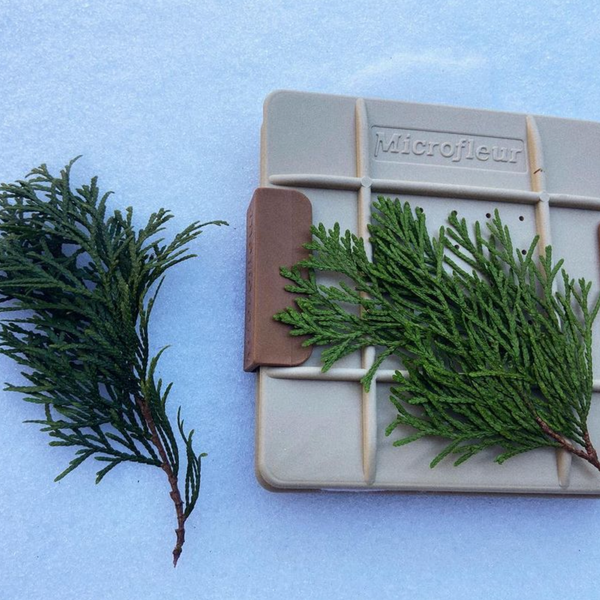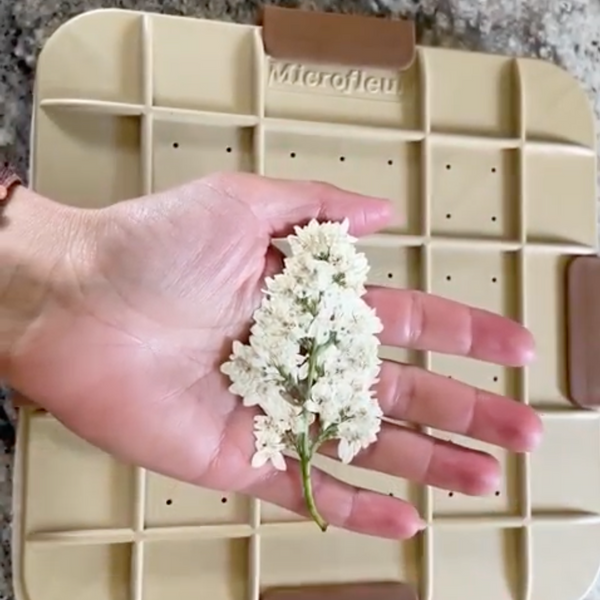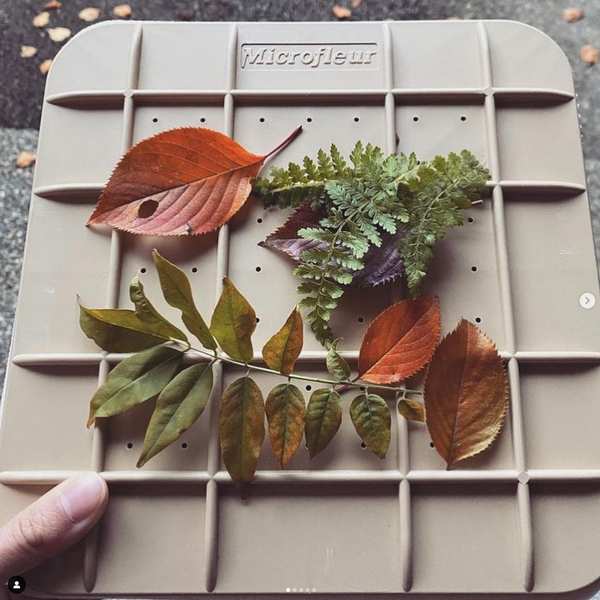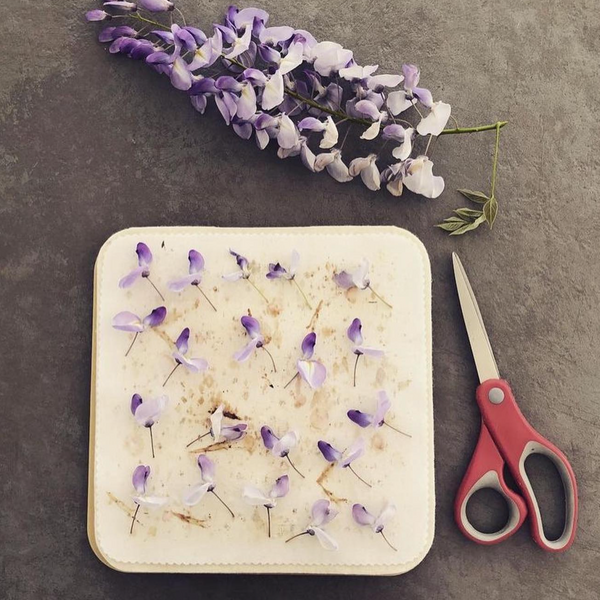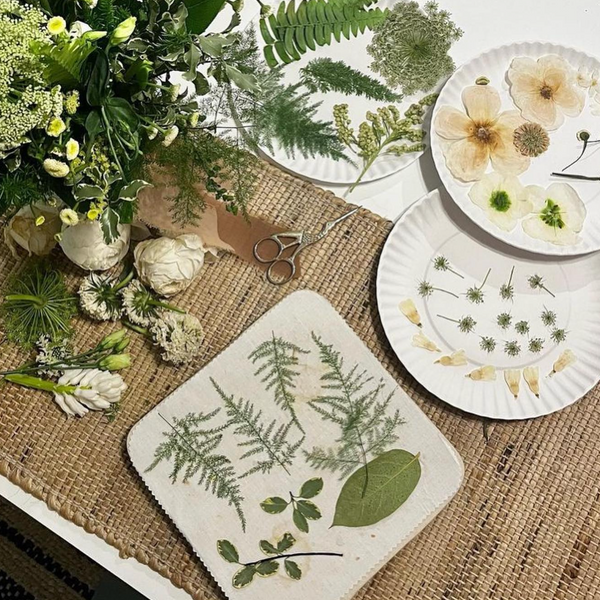


Pressed flowers don’t have to stay inside a frame. A paper luminary gives them another setting: a curved, textured surface that looks decorative by day and glows around a battery-powered light at night.
The workshop behind this project uses a balloon as a temporary mold, then builds a shell from paper, tissue, and flour paste. Its most interesting design lesson is the contrast between flowers placed beneath tissue and flowers attached on top. One becomes a softened background; the other remains a vivid focal point.
Below is a practical guide to the method, with extra attention to the choices that matter most: balancing strength with translucency, arranging flowers on an upside-down form, and finishing a delicate object without oversaturating it.
Key Takeaways
- Use a battery-powered LED tea light, not an open flame. The finished luminary is made from combustible materials.
- Keep the printer-paper foundation light; build additional coverage with tissue so the shell can transmit light.
- Arrange stemmed flowers with the finished orientation in mind - the lantern sits upside down during construction.
- Combine flowers beneath tissue with exposed flowers for visual depth, or choose one approach for a simpler design.
- Allow the shell to dry before removing the balloon. The video does not specify drying times.
- Treat the finished piece as indoor decor, with only temporary outdoor use in dry conditions.
sbb-itb-80d8183
What Makes This Technique Work?
This project balances two competing needs: the shell must hold its shape, but it also needs to let light through.
The workshop addresses that trade-off with two kinds of paper:
| Material | Main role | Design consideration |
|---|---|---|
| Printer paper | Establishes the shell’s foundation | Heavy overlap can block light |
| Tissue paper | Connects and builds up the surface | Requires gentle handling when wet |
| Pressed flowers | Supply color, pattern, and personal meaning | Placement changes their visibility and emphasis |
The useful principle is selective strength rather than maximum thickness. More material is not automatically better. A heavily built shell may feel sturdier but lose the soft glow that makes the object a luminary.
Supplies and Planning
Gather:
- A balloon
- A cup to support it
- White printer paper
- Tissue paper
- Fully pressed, dried flowers
- Scissors and tweezers
- A mixing bowl and spoon
- A small paintbrush
- A foam brush, if desired
- Clear-drying craft adhesive or decoupage medium
- Water and a cleanup cloth
- A battery-powered LED tea light
For the paste, the workshop uses:
- 1 cup flour
- 1 cup cool water
- 2 teaspoons salt
An optional hanging version also uses a hole punch and string or wire.
Choose the visual effect first
White tissue keeps the flowers visually prominent. Colored tissue is another option, but it becomes part of the overall color scheme rather than a neutral background.
Before working with paste, decide whether the luminary will have:
- A single floral composition on one side
- A repeating pattern around the shell
- Soft background flowers beneath tissue
- Brighter flowers attached to the outside
- A combination of background and surface flowers
For meaningful blooms, the design can emphasize a particular flower rather than covering every available space. An uncrowded composition also leaves more of the illuminated paper visible.
Timing note: The video does not specify total project time, drying intervals, or an exact tissue-layer count. Plan around the condition of the materials rather than a fixed schedule.
Step 1: Prepare the Paste and Balloon Support
Mix the flour and salt, then stir in the cool water until the mixture is smooth. If necessary, add small amounts of water to make it spreadable.
The consistency should allow you to coat paper and remove the excess without leaving thick lumps. A mixture that is difficult to brush smoothly needs adjustment.
Inflate the balloon and rest its tied end in the cup. The rounded end becomes the future base of the luminary.
Leave an uncovered opening near the cup. It needs to allow both balloon removal and access for the LED tea light. The rim will be trimmed later, so the initial boundary does not need to be perfect.
Why the cup matters
The support frees your hands, but it does not eliminate tipping. Wet paper adds weight unevenly. Working on alternating sides helps keep the balloon balanced instead of loading one side first.
Step 2: Establish a Light Paper Foundation
Tear printer paper into strips roughly 2 inches wide. Exact dimensions and straight edges are unnecessary.
Coat a strip with paste, slide off the excess with your fingers, and lay it over the balloon. Continue with overlapping pieces, smoothing wrinkles as you work.
The workshop uses printer paper as a supporting framework rather than a thick, opaque covering. Avoid repeatedly stacking strips over the same area merely to make the surface look uniform.
Think of this stage as establishing the shape, not finishing the surface. Tissue will provide the next layer of coverage.
If the strips slide when touched, let them firm up before continuing. If they remain stable and tacky, the tissue stage can begin without a separate drying pause.
Step 3: Build the Tissue Surface Gently
Tear tissue into manageable pieces. Brush a thin layer of paste onto the foundation where needed, then lay the tissue onto the damp surface.
Do not soak tissue in the paste bowl; it can disintegrate before you transfer it. Instead, use the brush to attach and smooth it in place.
Continue around the balloon:
- Overlap neighboring pieces.
- Change the direction of the pieces as you build coverage.
- Cover the printer-paper foundation.
- Smooth loose edges and bubbles gently.
- Remove paste clumps rather than brushing them into the shell.
Keep the brush moist enough to glide. A dragging brush can catch and tear the wet tissue.
The workshop does not give a precise stopping point by layer count. Its emphasis is on connected, overlapping coverage without making the shell unnecessarily dense.
Step 4: Use Flowers to Create Depth
While the tissue surface remains tacky, position any flowers you want beneath a final tissue layer.
Remember that the construction position is upside down relative to the finished luminary. Stemmed arrangements should be oriented accordingly. Keep flowers away from the area that will become the flattened base and from the edge you intend to trim.
Lay a single layer of tissue over the flowers, gently securing it around their contours. Brush carefully over that covering rather than scrubbing directly across exposed petals.
Two placement methods, two different effects
Flowers beneath tissue appear softer and less saturated. They function like a background image within the paper.
Flowers on the surface retain more visible detail and stronger color. They become the foreground.
Combining them creates depth without requiring a complicated arrangement. A restrained color palette can help connect the two layers, even when the flowers differ in shape.
The workshop also allows either method on its own. Layering is a design option, not a requirement.
Step 5: Dry, Release, and Shape the Shell
Let the shell dry before removing the balloon. The workshop moves between previously prepared examples, so its on-screen progression should not be treated as a real-time drying guide.
Pop the balloon and gently peel it away from the inside. Avoid pulling hard against the paper.
Next, trim the rim in small increments. Checking the shape frequently is easier than trying to make one continuous cut.
Form a stable base
A rounded shell will wobble. The workshop solves this by lightly dampening a small area at the bottom, inside and outside, until it becomes flexible enough to flatten gently against the work surface.
Make that flat area large enough to support the LED tea light.
This is controlled reshaping, not soaking. Too much water can soften more of the shell than intended. Let the base dry and regain firmness.
Step 6: Attach Surface Flowers and Finish
Once the shell is dry, arrange the remaining flowers on the outside.
For stiff flowers, adhesive can be applied carefully to their backs. For delicate specimens, applying adhesive to the shell first may reduce handling.
Use tweezers where helpful, and keep sticky fingers away from fragile petals.
Decide how uniform you want the finish
Adhesive applied only around individual flowers may leave visible changes in sheen. A thin coating across the exterior produces a more consistent appearance.
When coating flowers, brush outward from their centers toward the petal tips. This reduces the chance of catching an edge and folding or breaking it.
Work lightly. The workshop notes that wet adhesive can soften the shell, so avoid saturating it. Smooth bubbles before leaving the surface alone to dry.
Finish the bottom separately once it is dry and will not stick to the work surface. An interior coating is presented as optional.
A coating does not make this a waterproof lantern. Its long-term durability is not specified in the video, and preserved flower color should not be treated as permanent.
Troubleshooting the Delicate Stages
| Problem | Likely issue | Practical response |
|---|---|---|
| Balloon tips in the cup | Uneven wet weight | Alternate sides while adding paper |
| Foundation strips slide | Layers are still too wet to handle | Pause until they firm up |
| Tissue tears under the brush | Brush is dragging or pressure is excessive | Moisten the brush and use lighter strokes |
| Flower stems lift | Thick areas do not follow the curve | Hold gently while the adhesive begins to set |
| Adhesive leaves shiny patches | Only selected areas were coated | Choose either a deliberately varied finish or a thin overall coat |
| Finished shell wobbles | Base remains rounded | Lightly dampen and flatten the base |
Display and Safety
Use battery-powered illumination only. Paper, dried flowers, and craft coatings are not a suitable enclosure for an open flame.
A tabletop arrangement keeps the project straightforward. The workshop also suggests holes near opposite sides of the rim for a hanging version, but it does not specify reinforcement or a safe load capacity. Hanging introduces another structural demand on an already delicate shell.
Keep the luminary indoors, or bring it outside only temporarily in dry weather. A protective finish should not be mistaken for weatherproofing.
A Keepsake Built Around Light
The value of this project is not a perfectly smooth shell or a densely packed floral pattern. It is the interplay between textured paper, preserved plants, and light.
A light foundation, gentle flower handling, and patient drying do most of the practical work. Thoughtful placement does the rest: softened blooms establish a background, brighter flowers draw the eye, and open areas let the glow become part of the composition.
Source: "How to Make Pressed Flower Luminaries | Easy Nature-Inspired DIY" - Flower Pressing with Microfleur, YouTube, May 1, 2026 - https://www.youtube.com/watch?v=Thgoiluor3M