
A flower-decorated card usually becomes a keepsake - or eventually gets discarded. Seed paper offers another possibility: a handmade message that can later become part of a planting project.
The video demonstrates how recycled paper pulp, seeds, and pressed blooms can come together in small decorative sheets. But the most useful lesson is about balancing competing goals: the paper needs enough moisture to form, the flowers need enough contact to stay attached, and the finished sheet needs careful drying.
This guide explains that balance, along with the project’s limitations, so you can decide whether to make a card insert, a gift tag, or a small piece of plantable stationery.
Key Takeaways
- Start with absorbent, uncoated paper. The demonstrated method relies on paper breaking down in water; laminated sheets are unsuitable.
- Add seeds after blending. The video blends only paper and water, then presses seeds into the formed sheet.
- Remove excess water before decorating. This helps reduce the amount of flower pigment that spreads into the pulp.
- Use a restrained paper color palette. A lightly tinted background can make color bleeding less conspicuous.
- Give flowers direct contact with the pulp. Overlapping petals may not attach securely.
- Choose seeds for the recipient’s location. Plantable does not mean suitable for scattering anywhere.
- Treat this as temporary floral art. Its purpose is to be enjoyed and then planted, rather than preserved as archival artwork.
sbb-itb-80d8183
What Makes This Project Different From Ordinary Flower Cards?
In a conventional pressed-flower card, the paper serves as a dry backing. Here, the backing is made around the seeds, and damp paper fibers help hold the flowers in place.
That changes the design priorities. Perfectly preserved flower color matters less than it would in framed artwork. Texture, handmade edges, and small variations become part of the appeal.
It also introduces an important distinction: the decorative flowers and the embedded seeds have separate roles. The flowers provide the visible design; the seeds provide the potential for future growth. In the demonstration, both are violas, but matching the decorative bloom to the seed species is not presented as a requirement.
Materials and Planning
The demonstration uses:
- Uncoated scrap paper, including white and peach-toned printer paper
- Water and a soaking bowl
- A blender
- An empty picture frame; the example is 5 by 7 inches
- Tightly woven cloth large enough to extend beyond the frame
- Several clothespins
- Absorbent towels
- A spoon
- Flower seeds
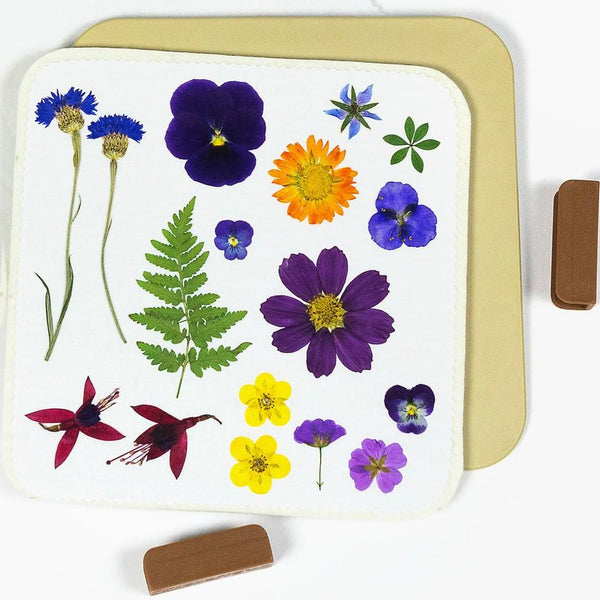
- Pressed flowers
- Tweezers
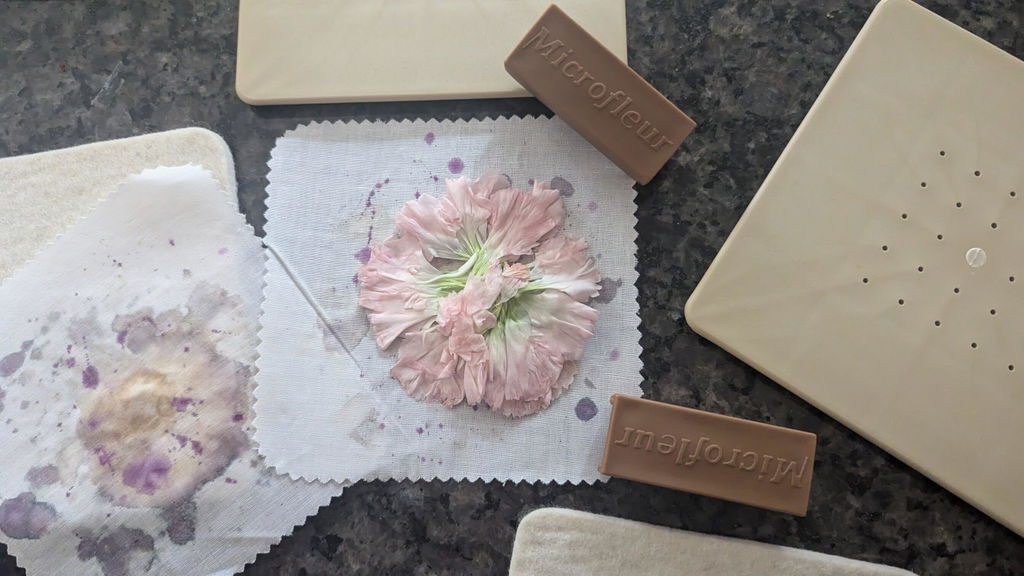
- A second clean cloth for transferring and pressing the sheet
The frame determines the sheet’s basic dimensions. A small frame is a practical starting point because it keeps the wet sheet manageable during transfer.
Choose Paper for Both Function and Appearance
The source recommends ordinary printer paper or construction paper rather than heavily coated material. Absorbency matters because the paper must soften before it can become pulp.
Color is a design decision with a practical benefit. Some pressed flowers release pigment when rewetted. A pale peach or other lightly colored base can soften the appearance of those stains, although it does not prevent bleeding.
Mixing numerous paper colors may produce a muddy result. A more controlled approach is to use one color, or one color lightened with white.
Choose Seeds Before Designing the Gift
The video cautions against using seeds that could be invasive where the paper will be planted. It also distinguishes planting in a flower bed from casually tossing a sheet outdoors.
That caution deserves more attention than the project’s novelty: a plantable gift needs to suit its destination. The video does not specify regional seed recommendations, seed quantities, or species-specific planting requirements.
Understanding the Process: Six Decisions That Affect the Result
1. Soften the Paper Thoroughly
Tear the scrap paper into pieces, cover it with water, and separate clumps so moisture reaches all the layers.
Rather than relying on a fixed soaking time, the demonstration checks the paper’s condition. It should become limp and begin to break apart easily. The exact soaking duration is not specified in the video.
This is an important beginner-friendly principle: judge readiness by the material, not just the clock.
2. Build a Smooth, Taut Support
Stretch the tightly woven cloth across the underside of the frame and secure it around the edges with clothespins.
Two details matter:
- Wrinkles can transfer into the sheet’s surface.
- Gaps along the frame can let pulp escape underneath.
Set the assembly on a flat, folded towel. The cloth holds the fibers while water drains into the towel below.
3. Blend for Fiber Distribution, Not a Fixed Recipe
Blend the softened paper with enough water for the mixture to circulate freely. The video emphasizes a fluid mixture rather than a precise paper-to-water ratio.
The goal is a fairly uniform pulp. Some texture remains acceptable, but large unbroken pieces make it harder to spread an even sheet.
Seeds are not included in this blending stage. They are added afterward, once the paper layer has been formed.
4. Form a Sheet With Consistent Thickness
Spoon pulp into the frame and distribute it toward the edges and through the center. Gently compress it as water drains away.
Uniformity matters more than making the sheet perfectly smooth. Thin spots can become holes, while uneven areas make the finished piece less predictable to handle.
The demonstration shows that small defects are repairable while wet: add a little pulp to a gap or fold stray fibers back into the edge. This makes wet forming the best time to correct the sheet’s shape.
5. Embed Seeds, Then Add Flowers
Scatter seeds across the pulp and press them into its surface. The video offers two visual options:
- Leave seeds visible for a textured, speckled appearance.
- Cover them with a light additional layer of pulp.
Before adding flowers, press out more water. This reduces the moisture immediately surrounding the petals, which may help limit color migration.
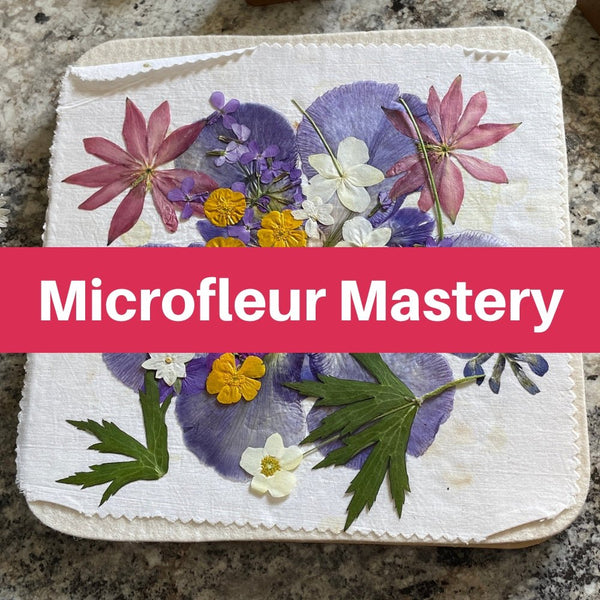
Arrange blooms with their surfaces touching the pulp. A layered bouquet may look appealing, but petals resting mainly on other petals have less contact with the paper fibers.
For this technique, a scattered arrangement can be more dependable than a densely overlapping design.
6. Transfer Carefully and Dry Flat
After draining and shaping, release the frame. Transfer the fragile sheet between cloths and press with towels to remove more moisture.
The video recommends keeping the sheet flat and supporting the flowers as they dry to discourage curling. It also stresses airflow and warns about mold.
That creates a practical trade-off: pressure helps flatten the sheet, but a damp piece should not simply be enclosed and forgotten. An exact drying time, weight, and airflow setup are not specified in the video.
Common Problems and What They Reveal
| Problem | Likely issue highlighted by the demonstration | Adjustment |
|---|---|---|
| Flower color spreads | Petals release pigment when rewetted | Drain more water before decorating; consider a tinted base |
| Pulp escapes beyond the edge | The cloth or frame leaves a gap | Tighten the support and maintain even contact while pressing |
| Small holes appear | Pulp coverage is too thin in places | Patch with fresh pulp before drying |
| Flowers do not sit securely | Petals overlap without touching pulp | Reduce layering and give each bloom more direct contact |
| Sheet or petals curl | Damp materials change shape as they dry | Support the sheet flat while preserving airflow |
The broader lesson is that most corrections are easiest before the sheet dries. Once the fibers stiffen, shaping and patching become less forgiving.
Designing Cards and Tags Around the Paper
A full handmade sheet can become a card front, but it does not have to carry the entire design.
A smaller seed-paper panel mounted on cardstock creates a visual border and gives the handmade texture a deliberate setting. If the panel is intended for planting, keep its separation from the nonplantable backing in mind; the video does not specify an attachment method.
Other demonstrated possibilities include:
- Small gift tags
- Decorative note sheets
- Cut pieces used as card accents
- Shaped tags formed with cookie cutters instead of a rectangular frame
For meaningful flowers, consider the project’s intended lifespan. A bloom connected to a wedding or family event may feel especially personal, but this wet process is not aimed at long-term preservation. If retaining the original flower is the priority, that goal conflicts with making a piece intended to be planted.
What the Video Does - and Does Not - Establish About Planting
The finished sheet is presented as plantable, but the video does not demonstrate germination or provide a planting trial.
It also does not specify:
- Planting depth
- Appropriate planting season
- Watering requirements
- Germination rates
- How long the finished paper can be stored while maintaining seed viability
For a gift, identifying the included seeds is therefore more useful than offering a blanket instruction to scatter the paper outdoors. The planting stage needs guidance appropriate to those seeds and the recipient’s location.
A Craft Built Around Transformation
Pressed flower seed paper works best when its temporary nature is part of the design. Scrap paper becomes a textured surface, pressed blooms provide a moment of beauty, and embedded seeds offer the possibility of another growing season.
Start with a small sheet, focus on even pulp and careful moisture removal, and leave room for handmade variation. The result need not resemble commercial stationery to feel thoughtful - it needs a clear purpose, an appealing design, and a realistic plan for what happens after the message has been read.
Source: "DIY Pressed Flower Seed Paper" - Flower Pressing with Microfleur, YouTube, May 7, 2026 - https://www.youtube.com/watch?v=ps_xrGT_mfA