










You can make a pressed flower card with a short supply list: a flower press, dry flowers, cardstock, glue, hand tools, and storage items. The main thing I’d check is moisture. If flowers are not fully dry, they can warp paper and grow mold later.
Here’s the short version:
- For pressing: microwave flower press, pads, liners, clips, and thin flowers or leaves
- For building: acid-free cardstock or card blanks, envelopes, clear-drying glue, wax paper, tweezers, scissors, pencil, ruler, and bone folder
- For finishing: clear sleeves, resealable bags, desiccant packs, marker, and adhesive labels
- Before I start: I test glue on scrap paper and make sure flowers feel dry and papery
A microwave press can dry blooms the same day, but only if I use short bursts and let moisture out between cycles. I’d also label storage with the flower name and pressing date so I know what I used and when.
This gives you the full supply setup in one place, without extra tools you may not need. Once you have your supplies, you can follow a DIY simple pressed flower card tutorial to get started.
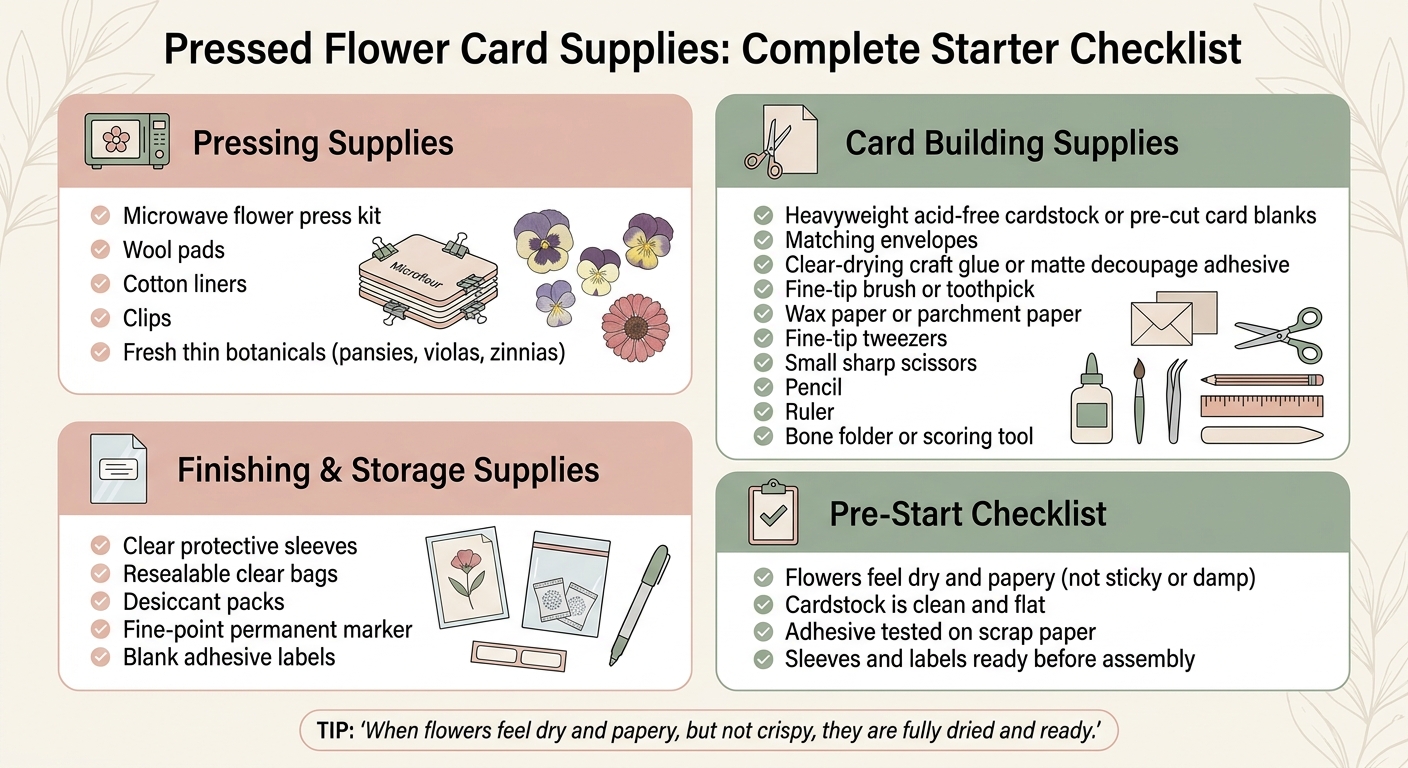
Pressed Flower Card Supplies: Complete Starter Checklist
How to Make Pressed Flower Cards
Once you've mastered the basics, try making a 3D pressed flower butterfly card for a more advanced project.
sbb-itb-80d8183
Supplies for Pressing Flowers
Before you glue anything to cardstock, make sure your botanicals are fully dry and flat. If they still have moisture in them, they can warp the cardstock and lead to mold over time.
Microwave Flower Press Kit and Fresh Botanicals
Start with a microwave flower press kit. It dries flowers fast, which makes same-day card making much easier. After the flowers are dry, you can move on to the supplies for putting the card together.
Microfleur's press kit includes vented platens, wool pads, cotton liners, and clips, plus refill packs for ongoing use.
For the best results, use thin, flat botanicals like pansies, violas, and zinnias. Pick blooms fresh and dry, then trim thick backs so the flowers press flat.
Use short microwave bursts. Between cycles, wipe moisture from the platens and let the press rest when needed. Flowers are ready when they feel dry and papery (see our flower pressing tips for more details). Once fully pressed, store them in a sealed container or zip-top bag until you're ready to build the card.
Supplies for Building the Card
For assembly, gather a few basic cardmaking supplies.
Cardstock, Card Blanks, and Envelopes
Start with heavyweight, acid-free cardstock as your base. It helps prevent yellowing over time, which matters if you want the card to hold up and still look good later.
Pre-cut blank folded cards with matching envelopes also make the process easier and faster. If you want a bit more contrast, add a second cardstock color for layering.
Glue and Application Tools
Use clear-drying craft glue or matte decoupage adhesive. Apply a thin layer with a fine-tip brush or a toothpick so things don’t get messy fast.
It also helps to work over wax paper or parchment paper. That way, stray glue won’t end up stuck to your table.
Tweezers, Scissors, and Measuring Tools
Keep these tools nearby:
- Fine-tip tweezers
- Small sharp scissors
- A pencil
- A ruler
- A bone folder or scoring tool
If you haven't pressed your blooms yet, learn how to use a flower press to ensure they stay vibrant. With these basics on hand, move to sleeves and labels for finishing.
Finishing Supplies for Protection and Labeling
Once the card is put together, a few small supplies can help protect it and make storage much easier.
Sleeves, Storage Bags, and Labels
Clear sleeves are an easy way to store finished cards. Resealable clear bags are handy for cards you haven’t gifted yet. If you place a small desiccant pack inside the bag, it can help keep moisture away from the botanicals and lower the chance of discoloration or mold over time. Store the finished card flat. For those just starting out, these simple tips for beginners can help you get the best results from your first projects.
For labeling, it helps to keep these on hand:
- A fine-point permanent marker
- Blank adhesive labels
What to Write on the Label
Write on the sleeve or storage bag, not on the card itself. That way, you avoid damaging the artwork or the card surface.
At a minimum, include the flower’s common name and the pressing date. If you want more detail, add the pressing method too.
Use permanent ink so the label stays legible in storage. Let the labels set before you stack or store the cards.
Final Supply Check Before You Start
Use this last checklist before assembly. It’s a small step, but it can save you from a lot of annoying mid-project scrambling.
| Category | Items |
|---|---|
| Pressing | Microwave flower press, wool pads, cotton liners, clips |
| Botanicals | Fresh flowers or foliage |
| Handling | Precision tweezers, scissors or trimming tools |
| Assembly | Cardstock or card blanks, envelopes, adhesive |
| Finishing | Protective sleeves, storage bags, desiccant packs, labels |
Microfleur summarizes it this way:
"When the flowers feel dry and papery, but not crispy, they are fully dried and ready." - Microfleur
Before you begin, give everything a quick once-over. Make sure the flowers feel dry and papery, not sticky or damp. Check that your cardstock is clean and flat. Test your adhesive on scrap paper first so you don’t end up with warping, stains, or a mess you can’t fix. And have your sleeves and labels ready before you start putting the final pieces together. For long-term preservation, you might also consider vacuum sealing your finished art to maintain color.
FAQs
Can I make a pressed flower card without a microwave press?
Yes. A microwave press helps, but you don’t need one to make a pressed flower card.
You can use flowers pressed in other ways, which is handy if you live somewhere with fewer flower options. Once your flowers are pressed, the card-making steps stay the same no matter how they were dried.
How do I know if pressed flowers are dry enough to use?
With a Microfleur microwave flower press, press your flowers in short, timed bursts, then let them rest briefly between cycles.
The big upside is speed. This method dries and preserves blooms in minutes, not days or weeks, so you can use them for card-making projects that same day.
What glue works best for pressed flower cards?
Any white glue will do the job, including Aleene's Acid-free Tacky Glue or a Lawn Fawndamentals Glue Tube.
For card assembly, glue sticks, runner dots, and double-sided tape all work well too. If you go with wet glue, use just a tiny bit so the paper doesn't curl.





















