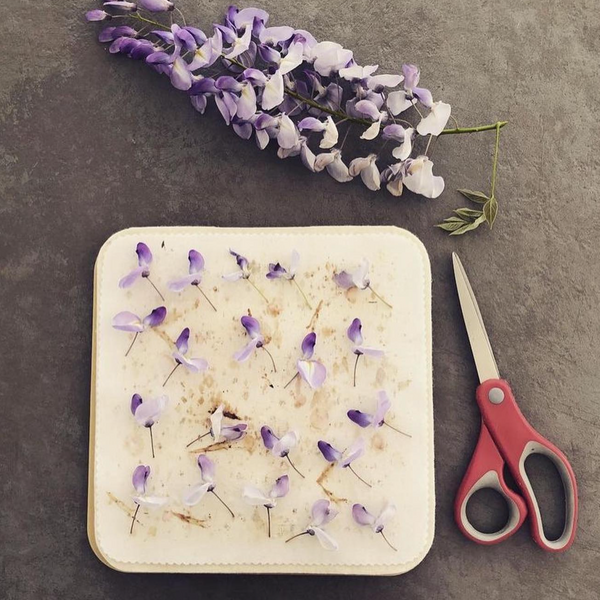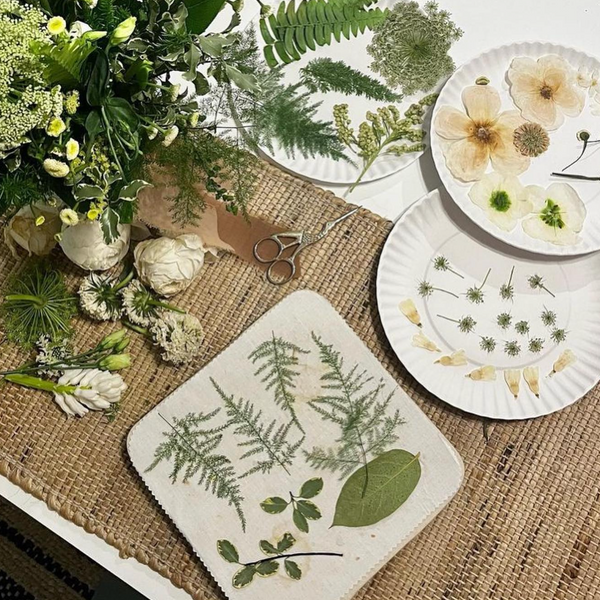

A trumpet-shaped flower presents an interesting creative choice: should you preserve its silhouette, or flatten it into something more graphic? With weigela, either approach can work - but the way you position and trim the bloom changes what you see after pressing.
The demonstration explores several arrangements, from face-down flowers with a star-like outline to side-facing blooms that reveal their inner structure. It also shows a useful reality of flower preservation: the dried color may differ noticeably from the fresh one.
Rather than treating pressing as simply flattening a flower, think of it as choosing which features to emphasize. Here’s how to approach those choices - and what the demonstration does and does not establish about the drying process.
Key Takeaways
- Choose the finished shape before trimming. A face-down bloom emphasizes its open outline; a side-facing bloom emphasizes its trumpet profile.
- Trim the narrow base cautiously. Removing too much can loosen parts of the flower.
- Keep the base when it serves the design. It may help visually connect the pressed bloom to a stem in a botanical picture.
- Position petals deliberately. Folded or overlapping petals affect how much of the flower’s center remains visible.
- Handle partially dried blooms gently. In the demonstration, they temporarily cling to the liner and can wrinkle when disturbed.
- Expect possible color shifts. The featured flowers develop maroon or purple tones rather than retaining their original red or pink appearance.
- Do not infer a universal drying schedule. Exact equipment, settings, and drying times are not specified in the video.
sbb-itb-80d8183
Start With the Design, Not the Scissors
The most useful lesson in the demonstration is that there is no single ideal pressed weigela shape. Each arrangement serves a different visual purpose.
| Arrangement | Feature it emphasizes | Design consideration |
|---|---|---|
| Face-down, narrow base trimmed | A cleaner, star-like flower outline | Useful when the bloom will function as a standalone decorative element |
| Face-down, narrow base retained | The open flower plus its projecting base | Consider when reconnecting the flower visually to a stem |
| Side-facing | The trumpet silhouette and portions of the interior | Useful when the flower’s recognizable profile matters |
These are compositional choices, not rankings of better and worse results. A projecting base might look distracting in a repeated floral pattern but feel appropriate in a more botanical arrangement.
Step 1: Decide Whether to Trim the Narrow Base
The presenter calls the narrow extension behind the bloom its "tail." When a flower lies face-down, this section can fold over or project beyond the flattened petals.
For a cleaner outline, the demonstration recommends trimming that extension. However, cut conservatively: cutting too deeply can cause parts of the bloom to separate.
This is an important trade-off. More trimming may simplify the silhouette, but it also reduces the structure holding the flower together. The goal is not to remove as much as possible; it is to remove only what interferes with the intended shape.
If you plan to arrange the flower with a stem later, leaving the base may make more visual sense. The demonstration includes both trimmed and untrimmed examples so their differences can be compared.
Step 2: Position the Flower for the Features You Want to Keep
For an open, star-like shape
Place the bloom face-down on the pressing surface. This arrangement emphasizes the spread of its petals rather than the depth of its trumpet.
The presenter also notes that face-down placement can help keep loosened flower parts together during pressing. Still, that is not a substitute for careful trimming: a flower that remains intact is easier to position deliberately.
For a side profile
Lay the flower on its side and adjust the petals so portions of the interior remain visible. In the demonstration, some petals are folded downward to expose the middle.
The creative distinction is worth noting: a pressed flower records the arrangement you give it, not simply its original three-dimensional form. Petal folds and overlaps become part of the finished image.
A side profile therefore asks for a different kind of attention than a face-down bloom. Instead of aiming for a balanced outline, you are deciding which layers should show.
Step 3: Treat Drying as a Separate, Equipment-Specific Process
The demonstration shows the flowers being checked near the end of drying, followed by a brief additional burst. It also discusses microwave pressing in comparison with traditional pressing.
However, the exact press, liner material, power level, starting duration, and total drying time are not specified in the video. It should therefore be treated as a lesson in positioning and observation - not a complete microwave-pressing recipe.
If using a microwave flower press, follow that equipment’s instructions rather than guessing settings from the demonstration. A short finishing interval shown for one batch does not establish a suitable starting time for another.
What the presenter checks
Near completion, the flowers still cling slightly to the liner. After further drying, the presenter reports that they no longer feel sticky.
That observation provides context for this particular batch, but it is not presented as a universal test for every flower or pressing setup. The more broadly useful point is to check gently and avoid moving a bloom unnecessarily while it is vulnerable to wrinkling.
Step 4: Release the Flowers Without Disturbing Their Shape
The demonstration highlights how easily a nearly finished flower can be bumped. When it clings to the liner, casual handling can wrinkle the petals.
The presenter turns the pressed arrangement over to remove the liner from the opposite side. This draws attention to an often-overlooked stage: releasing the flower matters just as much as arranging it.
Think of the liner as something to separate carefully from the bloom, rather than assuming the bloom will lift away freely. The video does not specify a release tool or a detailed removal technique, so it does not support a more exact procedure.
Why the Finished Color May Be Different
The pressed examples develop darker maroon or purple tones. The presenter describes this as a familiar outcome with many red flowers and some pink flowers, and notes that color changes can occur with both microwave and traditional pressing.
For a keepsake maker, the practical lesson is reassuring: a changed color does not, by itself, mean the flower was pressed incorrectly.
There is also a limit to the explanation offered. The presenter suggests a pigment-related reason but explicitly frames it as a personal theory. The scientific mechanism is not established in the video, so it should not be treated as a confirmed explanation.
Plan around the dried result
A useful design approach is to postpone final color decisions until you can see the pressed bloom. If your project depends on a particular shade, a small trial with a few flowers can help you judge the result before arranging an important keepsake.
This turns color change from an unwelcome surprise into a design consideration. The flower may preserve its connection to a garden or occasion without preserving its exact fresh appearance.
What This Demonstration Teaches Best
The strongest part of the demonstration is its side-by-side thinking: trim versus retain, face-down versus profile, fresh color versus dried color. It makes clear that pressing involves interpretation as well as preservation.
Its limitation is procedural detail. Without specified equipment or timings, it cannot serve as a complete drying protocol. What it does offer is a practical framework for making more intentional choices before and after that process.
Conclusion
Pressing weigela successfully is partly about deciding what you want the finished flower to communicate. A trimmed, face-down bloom emphasizes a clean outline; an untrimmed base or side profile preserves more of its botanical character.
Choose the shape first, trim cautiously, and handle the drying flower with care. Then assess the finished color on its own terms. The result may not be an exact copy of the fresh bloom - but it can still become a meaningful and visually distinctive part of a floral keepsake.
Source: "Pressing Weigela" - Flower Pressing with Microfleur, YouTube, Dec 6, 2024 - https://www.youtube.com/watch?v=AbQ8lgGguXI