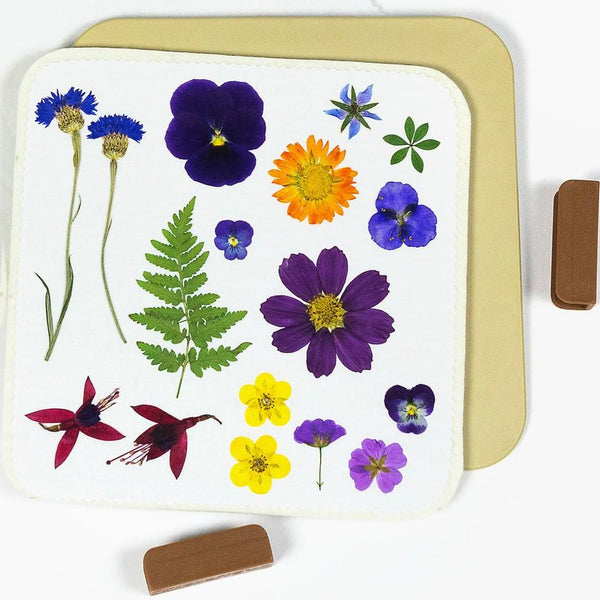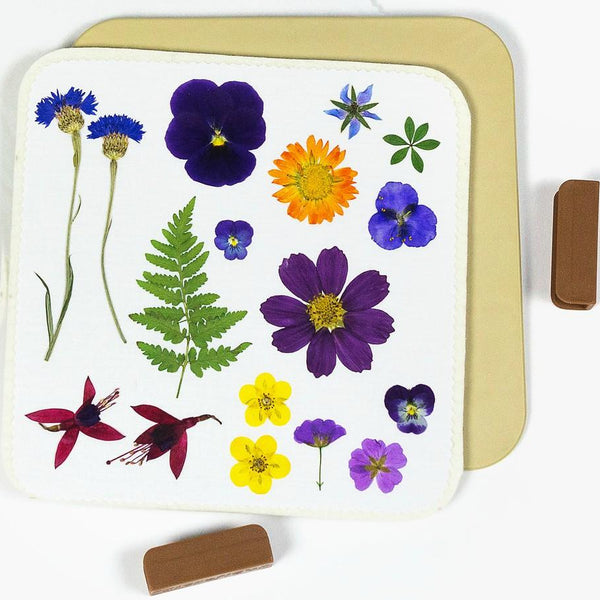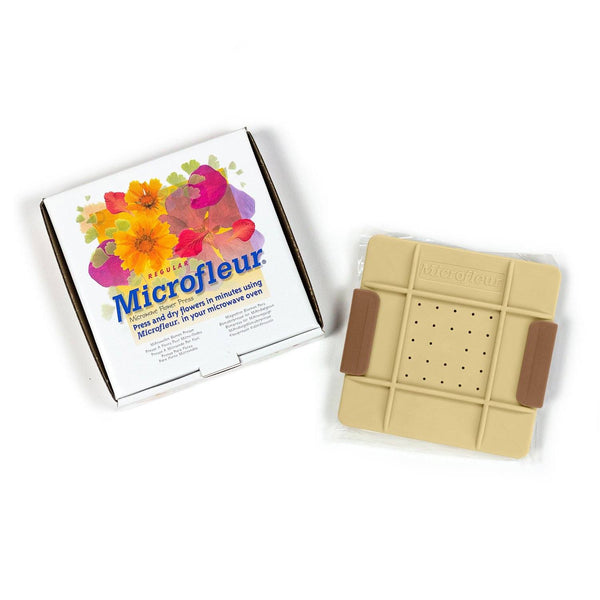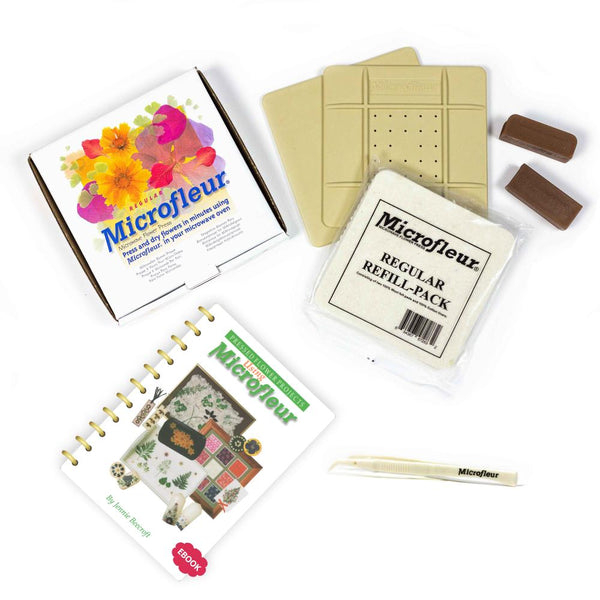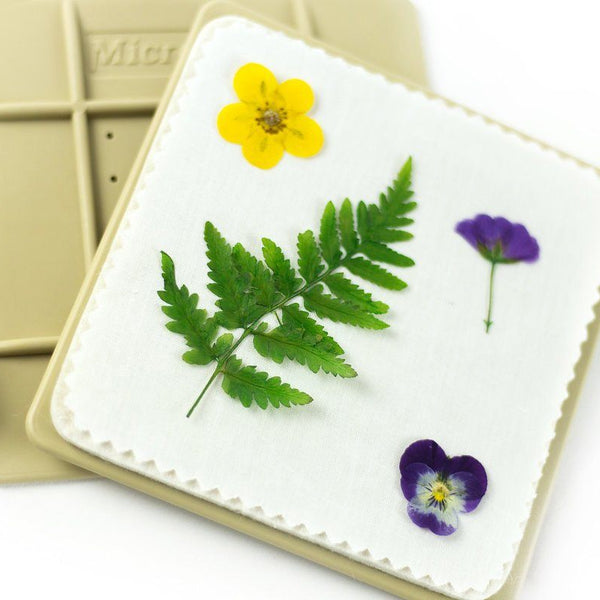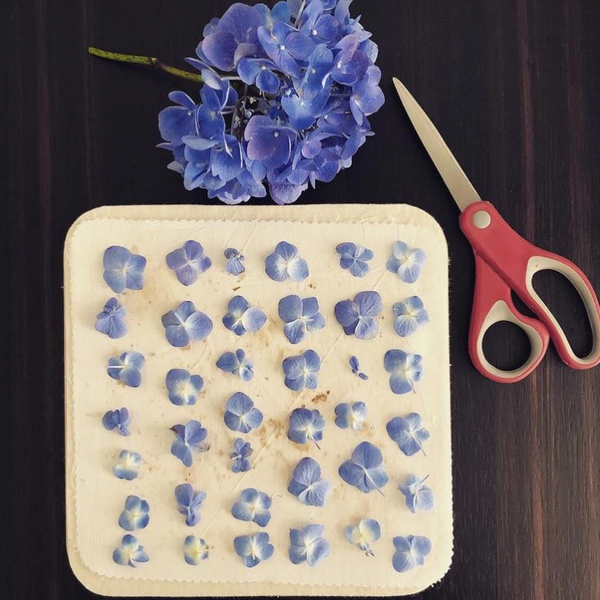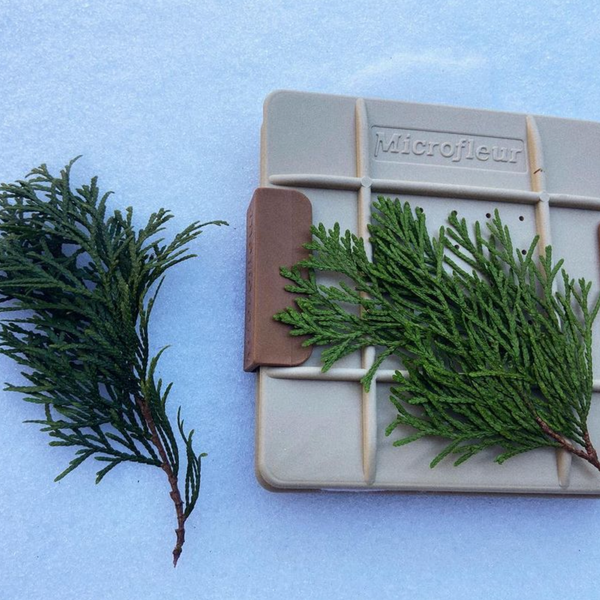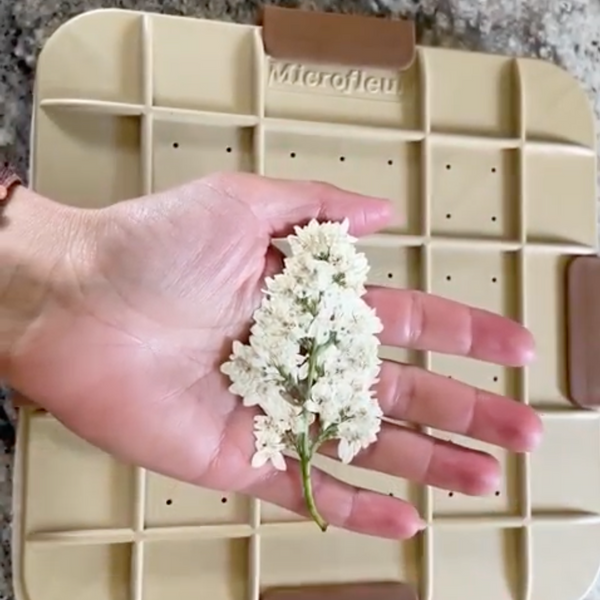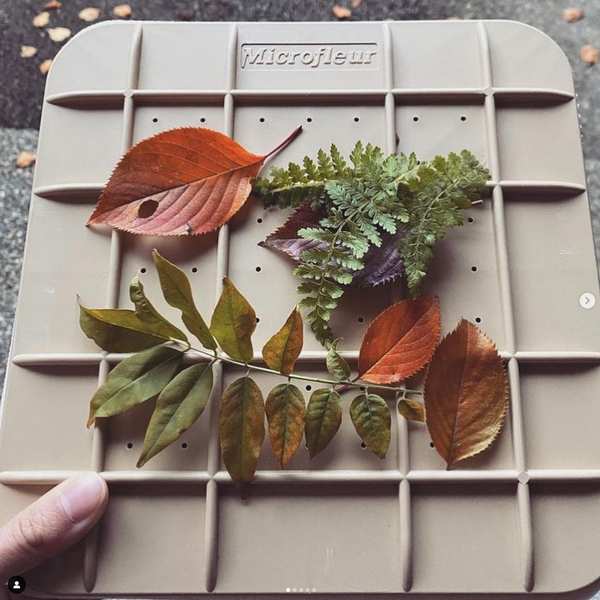






A pressed flower already holds a memory. Turning it into a pendant gives that memory a new form - one that can become jewelry rather than stay tucked inside a book.
The video UV Resin Turns Pressed Flowers Into Pendants demonstrates how to encase flattened blooms in open-backed metal bezels. Its most useful lesson is not simply how to pour resin. It is how to control a small, delicate arrangement while managing bubbles, uneven surfaces, and areas that the curing light may not reach.
For beginners, this is best understood as a layering project, not a single-pour project. Each stage solves a different problem: supporting the bezel, anchoring the flower, covering the arrangement, and finishing the back.
Key Takeaways
- Arrange your flowers before adding resin. A dry layout lets you make design decisions without rushing or repeatedly handling fragile petals.
- Keep the bezel level and firmly sealed to tape. An uneven frame can compromise the temporary backing.
- Use an initial resin layer to hold the flower in place. This reduces movement when you add more resin.
- Inspect corners and edges for trapped bubbles. These areas deserve as much attention as the center.
- Cure from the back as well as the front. Flowers can block light from reaching resin beneath them.
- Remove backing residue and let the piece dry completely before finishing. A final clear coat will not conceal trapped debris or moisture.
- Add the finishing dome cautiously. A modest amount is easier to control than an overflowing pour.
sbb-itb-80d8183
What the Demonstration Covers - and What It Leaves Open
The project begins with flowers that have already been pressed. It does not demonstrate flower drying or explain how to determine whether a bloom is ready for resin.
The basic materials shown include:
- Open-backed metal bezels
- Pressed flowers
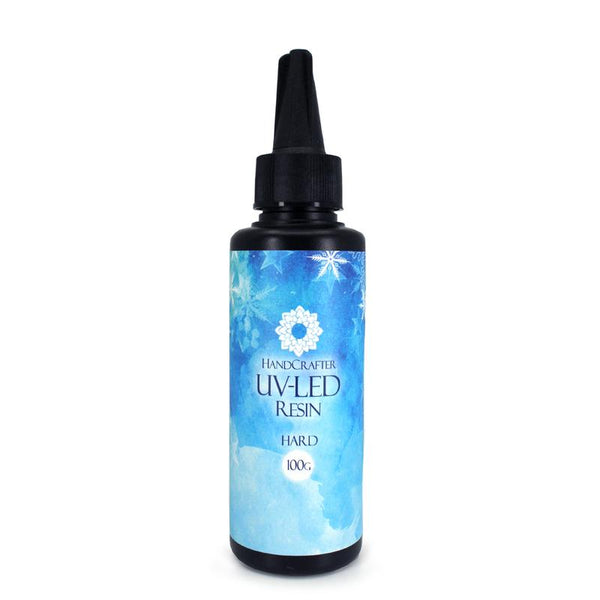
- UV-curing craft resin and a curing light
- Ordinary packing tape
- Cardboard to help position awkwardly shaped bezels
- Tweezers and toothpicks
- Rubbing alcohol for cleaning the metal
- Soapy water for removing tape residue
The demonstrator also uses a flame to remove surface bubbles. That technique should not be treated as universal product guidance. Resin-specific handling precautions, appropriate protective equipment, ventilation requirements, and whether heat is permitted are not specified in the video; consult the instructions for the materials you use before beginning.
Exact curing times, light specifications, and recommended layer thicknesses are also not specified in the video. The demonstration provides a useful workflow, but not a complete curing schedule.
1. Plan the Design Before Working With Resin
Start by placing the flowers inside the empty bezels to test the arrangement. This separates two different tasks: deciding what looks good and handling a material that needs careful placement.
The frame is part of the composition. A flower that nearly fills the opening creates a different effect from a small bloom surrounded by clear space. Consider which details matter most - the outline of a petal, the center of a blossom, or a small cluster of flowers - and position them accordingly.
For meaningful keepsakes, this planning stage is especially valuable. Working out the arrangement first reduces unnecessary adjustments once the flower is sitting in resin.
2. Build a Flat, Temporary Backing
An open-backed bezel needs support beneath it while the resin is liquid. In the demonstration, packing tape serves as a removable base.
Clean the metal with rubbing alcohol, then press the bezel firmly onto the tape. Check that the frame makes consistent contact with the backing.
Some bezels have attachment loops that prevent them from lying flat. The video addresses this by positioning the loop beyond the edge of a cardboard support, allowing the main frame to rest level against the tape.
The broader lesson is simple: check the setup before pouring. A frame that rocks or sits at an angle will be harder to fill evenly.
3. Use the First Layer to Anchor the Flower
The initial resin layer has two jobs: it forms a base and helps secure the arrangement before the next pour.
Spread a small amount across the opening with a toothpick. Work it toward the edges and inspect for bubbles. The demonstrator uses the toothpick both to break bubbles and to lift stubborn ones out.
Next, position the flower with tweezers. Make small adjustments gently rather than pressing down on delicate petals. The video warns that pressure can produce visible marks described as "water spots"; the precise cause of those marks is not specified in the video.
Cure this stage according to the resin manufacturer’s directions.
Why not fill the bezel all at once?
The demonstrator notes that flowers can float when more resin is added. Anchoring them first separates placement from coverage.
That is the key advantage of the layered approach: you do not have to control the flower’s position and the full depth of resin at the same time.
4. Cover the Arrangement and Check the Edges
Once the flower is secured, add the next resin layer. Guide it around the arrangement and into the perimeter of the bezel.
Pay particular attention to:
- Narrow corners
- The boundary between the resin and metal
- Small gaps around the flower
The video emphasizes that bubbles can remain along edges even when the center appears clear. This makes bubble removal an inspection task, not just a quick finishing gesture.
Avoid prodding the petals while working nearby. The aim is to move the resin without disturbing the botanical material beneath it.
The demonstration briefly applies flame to surface bubbles, but it does not provide enough product-specific information to recommend that approach for every resin. Use only bubble-removal methods permitted by your resin’s instructions.
5. Turn the Pendant Over to Address Shadowed Resin
After the front has hardened sufficiently for handling, gently peel the pendant away from the tape and turn it over.
This step reveals an important limitation of UV curing: a firm surface does not necessarily confirm that every area underneath has cured. In the demonstration, the flowers can obstruct light, leaving resin beneath them needing additional exposure from the reverse side.
Cure the back using the applicable product directions. Do not assume that every piece will need identical exposure simply because the bezels are similar.
6. Clean the Back Before Adding a Finish Coat
Tape can leave adhesive or surface texture behind. The demonstrator removes residue with soapy water and a small tool before adding the last layer.
Inspect the back carefully. Any remaining material can interfere with the clear appearance of the finished pendant.
Let the piece dry completely before proceeding. This is a useful distinction: a finishing coat can smooth a surface, but it is not a substitute for cleaning it.
7. Add a Controlled Finishing Dome
A final layer on the reverse side helps soften irregularities left by the tape and creates a gently rounded finish.
Add it cautiously. At this stage, the pendant is no longer attached to its backing, so it can shift while you work. Too much resin may flow beyond the metal edge.
The demonstrator notes that overflow can be corrected, but the repair method is not specified in the video. Prevention is therefore the more useful beginner strategy: keep the piece level and resist adding more resin simply to make the dome taller.
Cure the finishing layer according to the product instructions.
How Much Resin Should You Plan For?
The demonstrator reports using approximately 10 grams of resin for five bezels. That is a helpful reference point, not a dependable yield for every project.
The video does not specify the dimensions of those bezels. Larger openings, deeper frames, or more pronounced domes will change material use. For planning purposes, treat the example as evidence that small pendants can use modest quantities - not as a fixed recipe.
What Makes This Approach Worth Trying?
The value of this method lies in its control. Instead of asking one pour to accomplish everything, it breaks the project into manageable decisions.
That comes with a trade-off: several curing and inspection stages require patience. Bubble removal, reverse-side curing, and cleanup are not incidental chores; they are central to the clear, polished result shown.
The video also does not establish long-term color retention, yellowing resistance, or durability. Those details are not specified in the video, so a newly finished pendant should not be taken as proof of permanent preservation.
A Thoughtful Finish for a Small Keepsake
Pressed-flower jewelry combines composition with careful surface work. The flower provides the meaning, while the surrounding clear resin makes details - and imperfections - easy to see.
The strongest lesson from the demonstration is to give each stage a purpose: plan the arrangement, stabilize the frame, anchor the bloom, inspect the edges, cure both sides, and finish only after cleaning. Approached that way, the project becomes less about achieving a perfect pour and more about making a series of careful, manageable choices.
Source: "Easy Pressed Flower Jewelry with UV Resin | Open Bezel Pendant Tutorial" - Flower Pressing with Microfleur, YouTube, Feb 19, 2026 - https://www.youtube.com/watch?v=bGWV5rpnipY