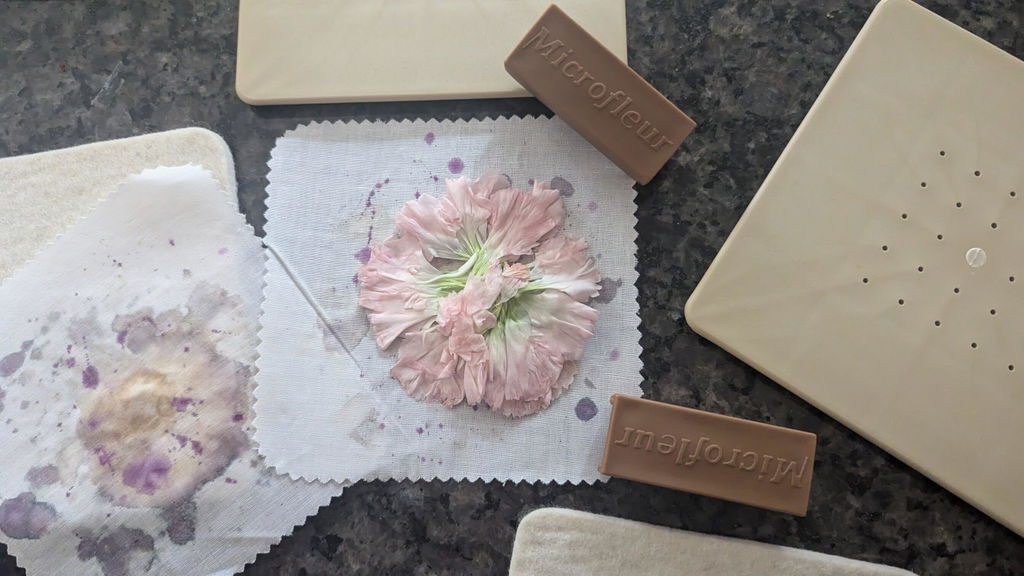


A tulip’s rounded shape is part of its charm - and part of the challenge when preserving it flat. Its moist petals overlap, while the thick stem adds another bulky element. Pressing the flower intact may seem simplest, but it can hide much of the detail you hoped to save.
The demonstration in Pressing Tulips: 2 Profiles From 1 Flower offers a different approach: divide the bloom into two three-petal sections before pressing. Each section becomes a separate side-view silhouette.
The useful lesson goes beyond getting two pieces from one flower. Preserving a bloom does not always mean keeping its original structure intact. Thoughtful preparation can make its shape more readable in a finished artwork.
Key Takeaways
- Prepare for a flat composition. Consider which petals will remain visible once the flower is pressed.
- Divide the demonstrated tulip into two sections of three petals each to create two profiles.
- Remove the thick, moist stem and press it separately if you plan to include it.
- Work gradually around the petal attachment points rather than forcing one large cut.
- Press petals individually when flexibility matters more than preserving a connected flower shape.
- Treat this as a preparation technique: pressing equipment, timing, and drying conditions are not specified in the video.
sbb-itb-80d8183
Why Divide a Tulip Before Pressing?
A three-dimensional flower and a flat botanical image have different needs. In the garden, overlapping petals create depth. Once flattened, some of those same petals become hidden behind others.
Dividing the tulip addresses two issues highlighted in the demonstration:
- Overlap: Fewer petals compete for space in each profile.
- Bulk: Separating the stem and removing unnecessary interior material reduces the amount being pressed together.
This approach prioritizes a recognizable silhouette over preserving the entire flower as one connected object. That trade-off can be useful for cards, framed arrangements, or keepsakes where the outline matters more than botanical completeness.
It is not presented as a guarantee of a particular drying result. The demonstration shows how to prepare the flower, not a completed pressing cycle or a comparison of finished specimens.
Preparing Two Tulip Profiles
1. Decide How You Want to Use the Flower
Before cutting, choose between two outcomes:
- Connected profiles: Keep three petals together in each section for a recognizable tulip shape.
- Separate petals: Remove and press the petals individually for later arrangements or petal art.
The demonstrator describes individual petals as the easier option because they avoid overlap. Connected profiles require more careful preparation, but retain more of the bloom’s existing arrangement.
For a meaningful keepsake, that distinction matters: do you want the finished piece to read immediately as a tulip, or would you prefer reusable shapes for a more interpretive design?
2. Remove the Stem
Cut the stem away from the flower head. In the demonstration, the stem is treated separately because it is thick and holds considerable moisture.
If the final composition needs a stem, it can be pressed on its own and reunited with the flower during assembly.
This also creates design flexibility. The stem’s eventual position no longer has to dictate the angle of the bloom.
3. Identify the Two Petal Groups
Examine where the petals connect at the base. The demonstrated bloom is divided so that each half retains three petals.
Plan the division before cutting. The goal is not simply to slice through the flower, but to preserve two useful groups of petals.
The video demonstrates this arrangement on one tulip; it does not specify how to adapt the method for blooms with a different petal arrangement.
4. Cut Carefully Through the Base
The demonstrator uses a precision craft knife and notes that fine scissors are another option.
Work through the central attachment area in small increments. Pausing between cuts makes it easier to see which parts remain connected and avoid cutting petals unintentionally.
As a general safety precaution, use a stable cutting surface and keep fingers out of the blade’s path. Avoid forcing a cut when the connection is difficult to see.
5. Remove Interior Material That Will Be Hidden
The demonstration removes interior flower parts that would not show in the flattened profile.
The design principle is straightforward: keep what contributes to the visible shape, and remove unnecessary bulk cautiously. This is selective preparation, not a reason to strip away every internal connection. The petal groups still need to remain intact.
6. Press the Prepared Sections Separately
At this stage, the flower has become two profile-shaped sections ready for pressing. Keep the detached stem separate as well.
The pressing setup, absorbent materials, pressure, drying duration, and readiness checks are not specified in the video. The preparation method should therefore be understood as one part of the preservation process, not a complete drying protocol.
Connected Profiles or Individual Petals?
Neither approach is automatically better. Each serves a different creative purpose.
Choose Profiles for a Recognizable Flower
Three connected petals provide a starting silhouette rather than a collection of separate pieces. This can suit compositions where the tulip itself carries the memory: a garden bloom, a seasonal marker, or a flower associated with a particular occasion.
The limitation is reduced control over each petal’s placement, with some overlap still remaining.
Choose Individual Petals for Flexible Designs
Separate petals offer more freedom to build new shapes. The demonstration suggests uses such as clothing forms in portraits and bird wings.
Here, the flower becomes a palette of shapes rather than a specimen to reconstruct exactly. That approach may be especially appealing when a petal’s curve or color matters more than maintaining the original bloom.
The Bigger Lesson: Preserve for the Finished Composition
The strongest idea in this technique is a shift in perspective. Instead of asking how to flatten an intact tulip, ask which parts will communicate its character once flat.
Separating the stem, reducing hidden material, and dividing overlapping petals all follow that logic. They turn preparation into a design decision.
For a recognizable floral keepsake, two connected profiles offer a useful compromise between an intact bloom and fully separated petals. The result begins not with more pressure or a promised shortcut, but with a clearer plan for what the finished artwork should show.
Source: "Pressing Tulips" - Flower Pressing with Microfleur, YouTube, Mar 1, 2026 - https://www.youtube.com/watch?v=lXHH8e7a_1w