


Pressed flower sun catchers are such a cheerful way to bring a little garden magic into your windows. When the sunlight shines through, the flowers glow beautifully, creating a soft, colorful display that feels like nature’s own stained glass.
This is a fun craft for kids, a lovely handmade gift, and a sweet way to decorate your home with pressed flowers. You can make one sun catcher or create a whole collection to hang in a sunny window.
Let’s make something bright and beautiful!
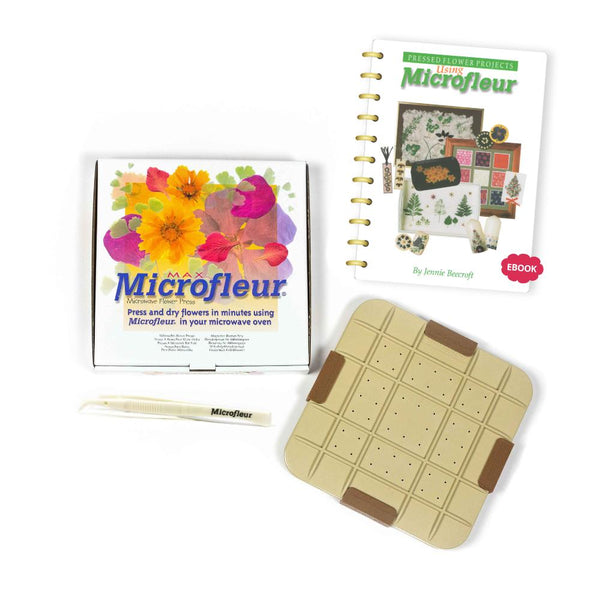
Supplies You’ll Need
- Pressed flowers
- Printed sun catcher pattern
- 2 self-laminating sheets
- Embroidery hoop
- Tweezers
- Scissors
- Scraper, craft stick, or popsicle stick
- Tape
- Optional: dry erase marker
- Optional: rubbing alcohol and cloth
- Optional: string, suction cup hook, or double-sided tape for hanging
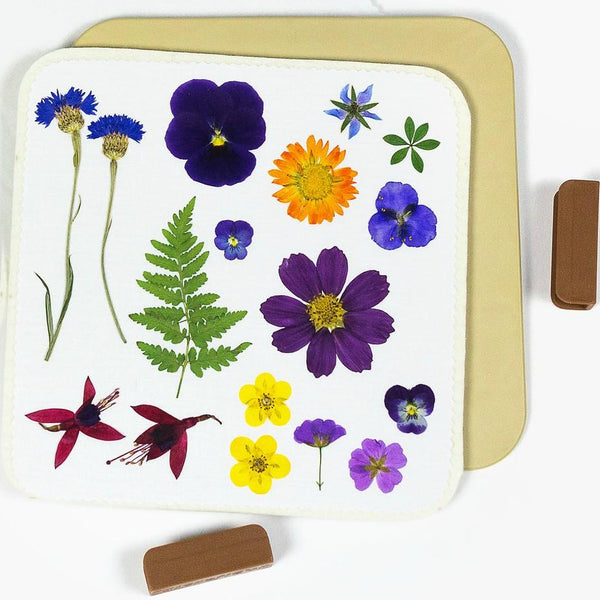
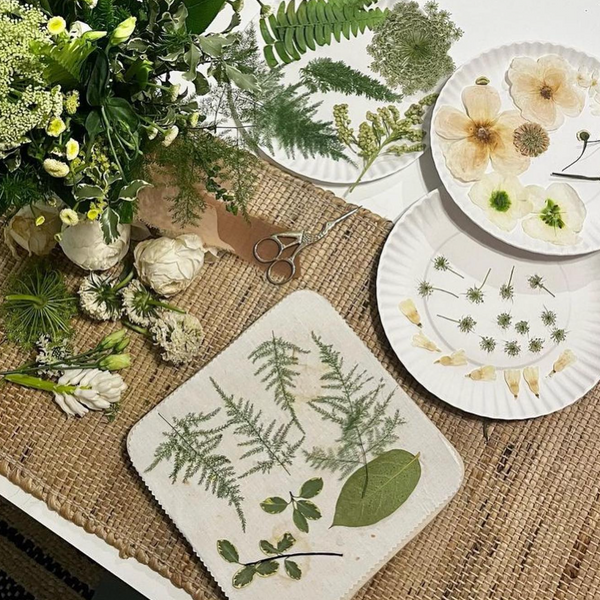
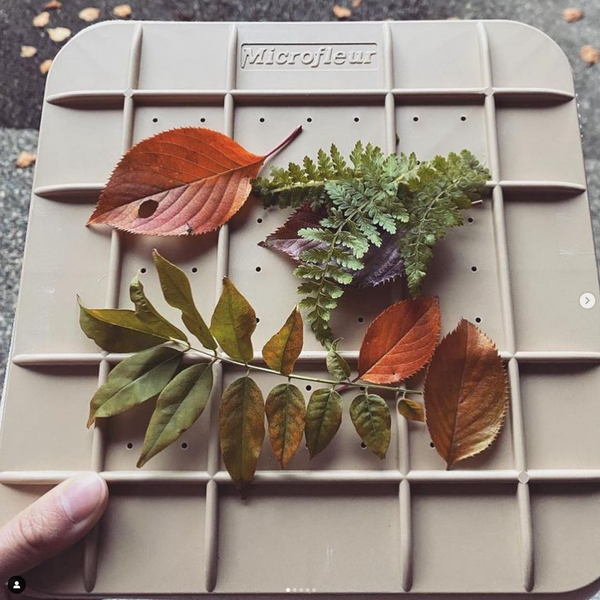
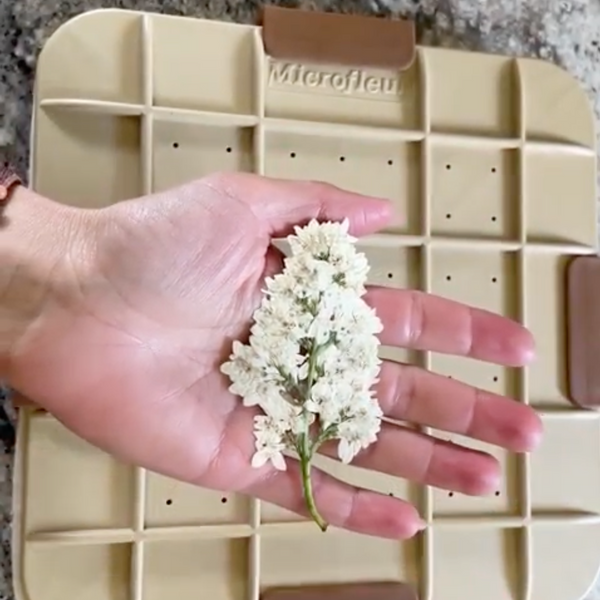
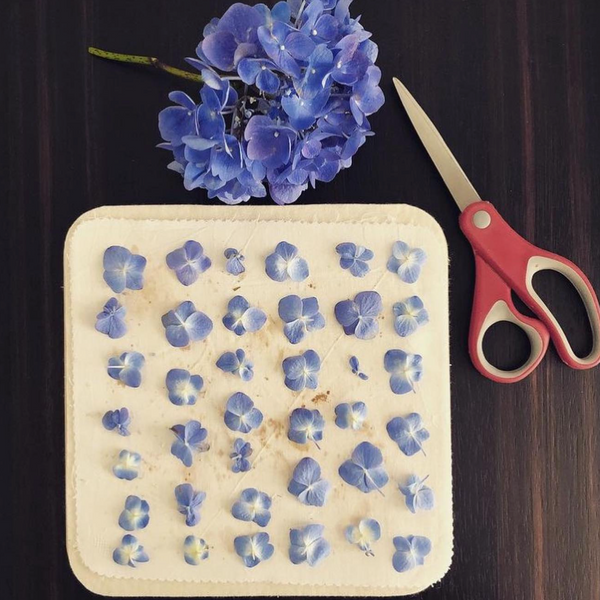
Choose Your Flowers
For this project, flatter flowers work best. Thick flower centers can make it harder for the laminating sheets to seal properly.
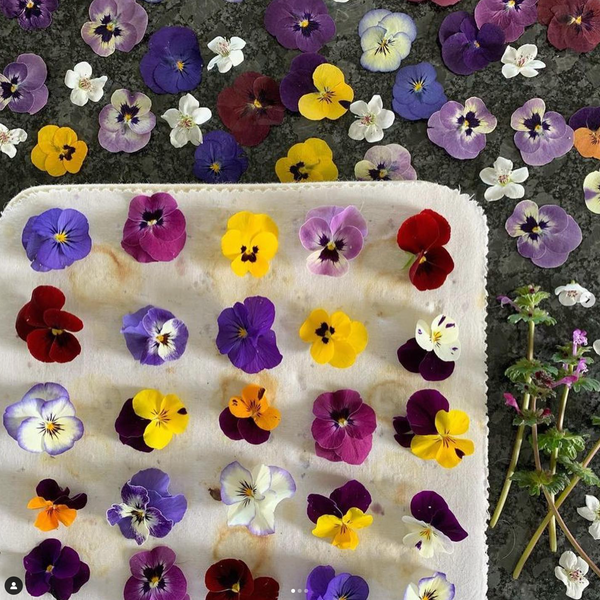
Great choices include:
- Violas
- Pansies
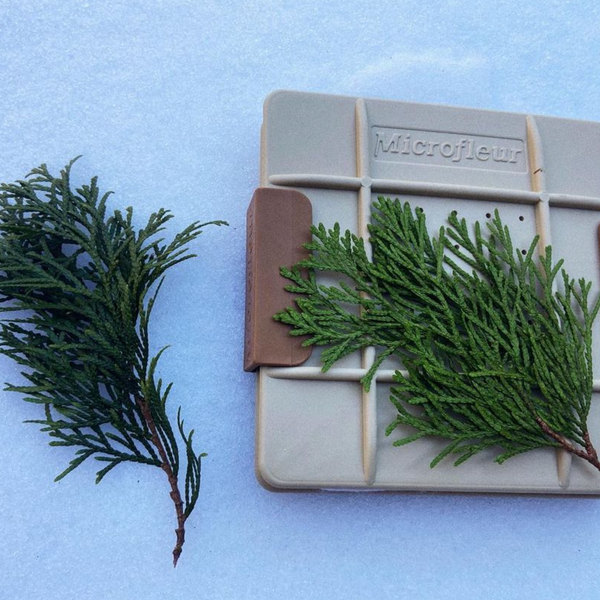
- Ferns
- Thin leaves
- Small petals
- Delicate pressed blooms
You can keep your design simple or create a detailed mandala-style pattern. There’s no right or wrong here — just let the flowers lead the way.
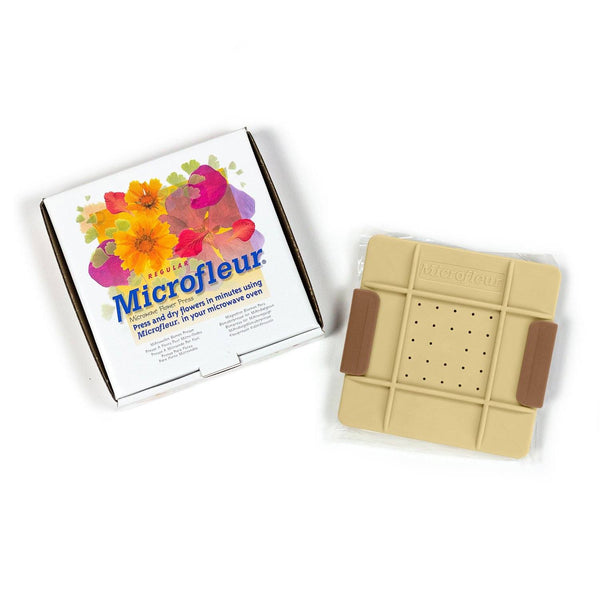
Prepare the Laminating Sheets
You’ll need two self-laminating sheets. These work like stickers, so no laminating machine is needed.
Trace the outside circle of your pattern onto the laminating sheet. This outer line will be hidden inside the embroidery hoop, so it’s okay if a little marker residue remains.
Avoid tracing the inner guide line onto the sheet because that part will show in your finished sun catcher.
Cut around the traced shape roughly at first, leaving corners on the sheet. Those corners make it easier to peel the backing and handle the sticky surface without leaving fingerprints.
Arrange Your Pressed Flowers
Peel the backing off one laminating sheet and place it sticky side up over your pattern.
You can tape the corners down to keep it from shifting while you work.
Start arranging your pressed flowers on the sticky sheet. I like to begin with a larger flower in the center and work outward with smaller flowers, leaves, and petals.
Gently press each flower down so it sticks, being careful not to damage the petals.
You can create:
- Mandala designs
- Simple floral circles
- Scattered garden patterns
- Leafy botanical designs
- Color-themed arrangements
Seal the Design
Peel the backing off your second laminating sheet.
Starting at one edge, carefully line it up and press it over your floral design. Go slowly, smoothing as you work.
Use a scraper, craft stick, or popsicle stick to press the two sheets together and push out air bubbles. Work gently over the flowers and use firmer pressure in the open spaces.
A few small outlines around the flowers are normal, but try to avoid large air bubbles.
If you do get a big bubble, you can carefully poke the back layer with a pin to release the air, then smooth it down.
Trim the Sun Catcher
Once your design is sealed, cut along the outer circle you traced earlier.
Clean off any visible marker with rubbing alcohol if needed, but don’t worry too much — the edge will be hidden inside the embroidery hoop.
Fit It Into the Embroidery Hoop
Because laminating sheets can be stiff, cut small snips around the outer edge of the circle, stopping before the inner guide line.
These little cuts help the laminated sheet bend into the hoop more easily.
Place the sun catcher over the inner hoop, then carefully press the outer hoop around it. Adjust as needed and tighten the screw if your hoop has one.
Once everything is secure, trim away any extra laminated edges sticking out from the back.
Hanging Options
You can hang your pressed flower sun catcher in a few different ways:
- Tie string through the embroidery hoop screw
- Use a suction cup hook on the window
- Add a small hole and hang with ribbon or thread
- Use double-sided tape to stick it directly to the glass
- Skip the hoop and hang the laminated circle by itself
The embroidery hoop gives it a framed look, but it’s completely optional.
Make It Your Own
Try different flower colors, seasonal designs, or themed arrangements. Spring blooms make bright cheerful sun catchers, while autumn leaves create a warm golden window display.
This is also a lovely project for kids because they can arrange flowers in their own patterns and watch their artwork glow in the sunlight.
Pressed flowers will fade when placed in direct sunlight. These sun catchers are made so when that happens, you can make a new one and switch them out.
A Little Window Full of Flowers
Pressed flower sun catchers are simple, joyful, and endlessly customizable. They’re a beautiful way to preserve tiny blooms and enjoy them every time the sun comes through your window.
Have fun experimenting with your designs, and happy creating!