


Chocolate Brownies with Edible Flowers
If you’ve ever wanted to turn dessert into edible art, you’re going to love these pressed flower brownies! Rich chocolate brownies topped with delicate edible flowers create a beautiful treat that’s surprisingly simple to make. It’s the perfect combination of cozy baking and nature-inspired creativity.
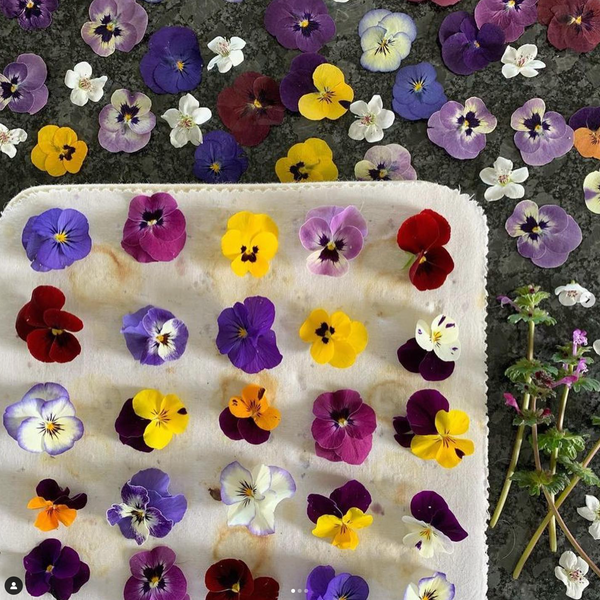
In today’s tutorial, we’re making fudgy brownies decorated with pressed violas and pansies for a dessert that feels extra special without requiring complicated techniques. Whether you’re baking for a spring gathering, bridal shower, tea party, or just because you love beautiful handmade touches, these brownies are guaranteed to impress.
One of the things I love most about this project is how customizable it is. You can create little floral bouquets on each brownie slice, scatter petals across the top, or add colorful icing details for an even more whimsical finish. It’s such a fun way to experiment with edible flowers and bring a little garden-inspired magic into the kitchen.
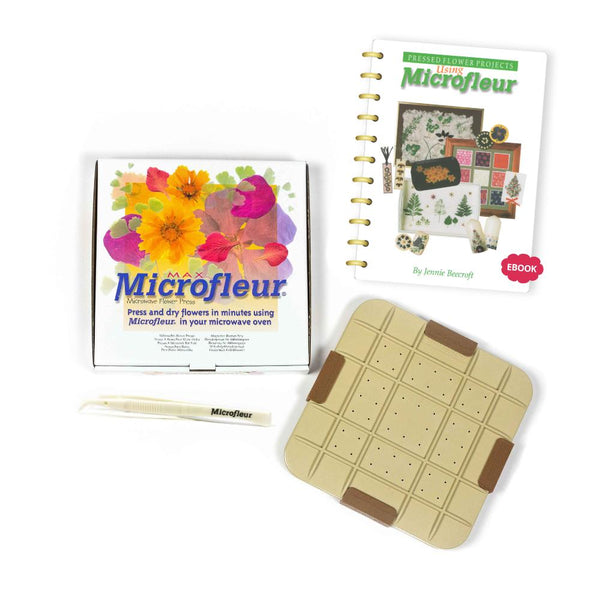
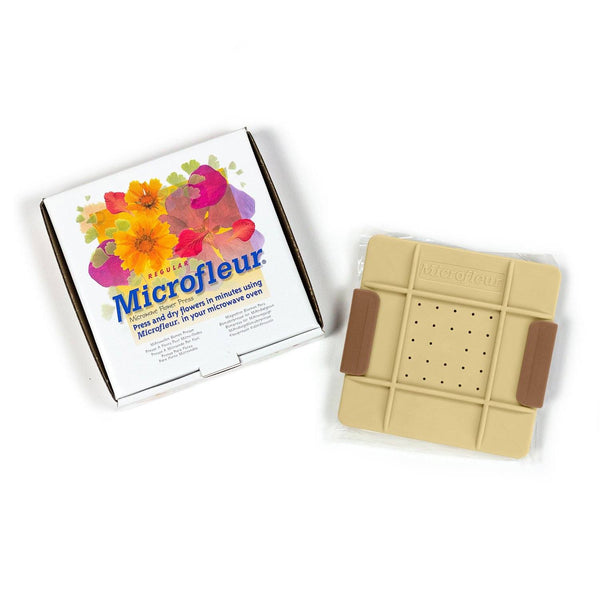
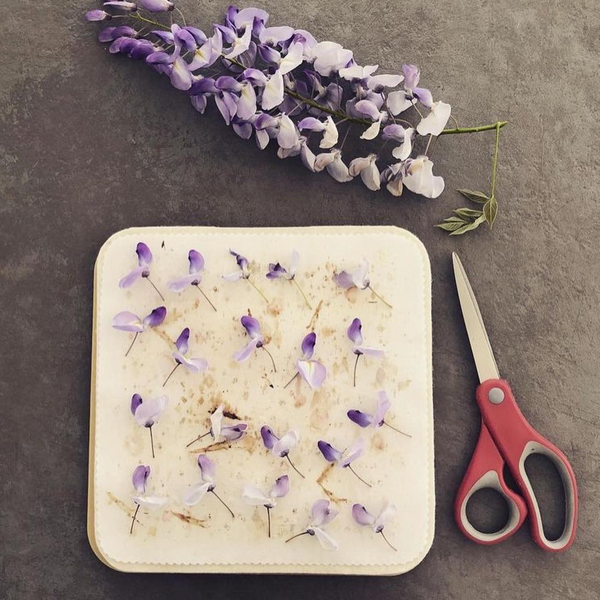
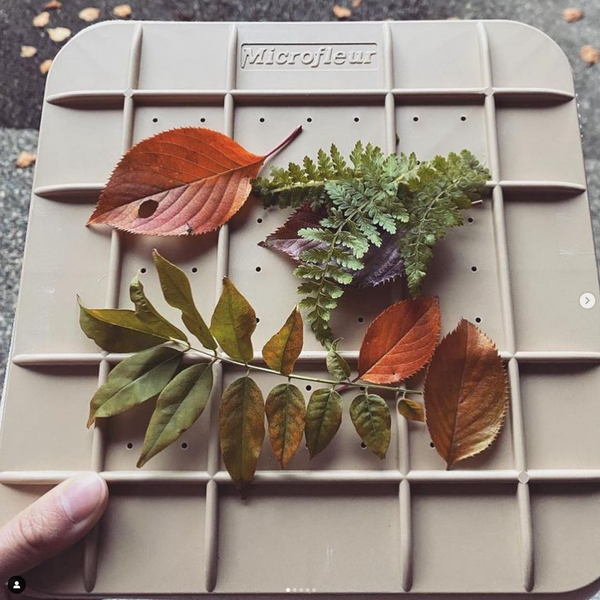
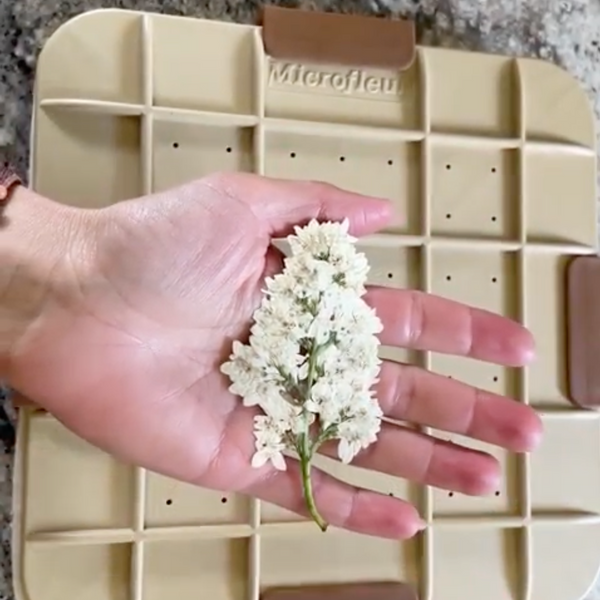
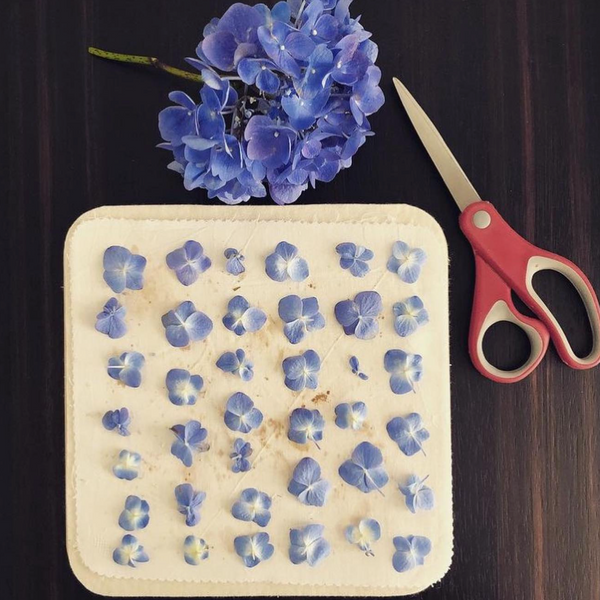
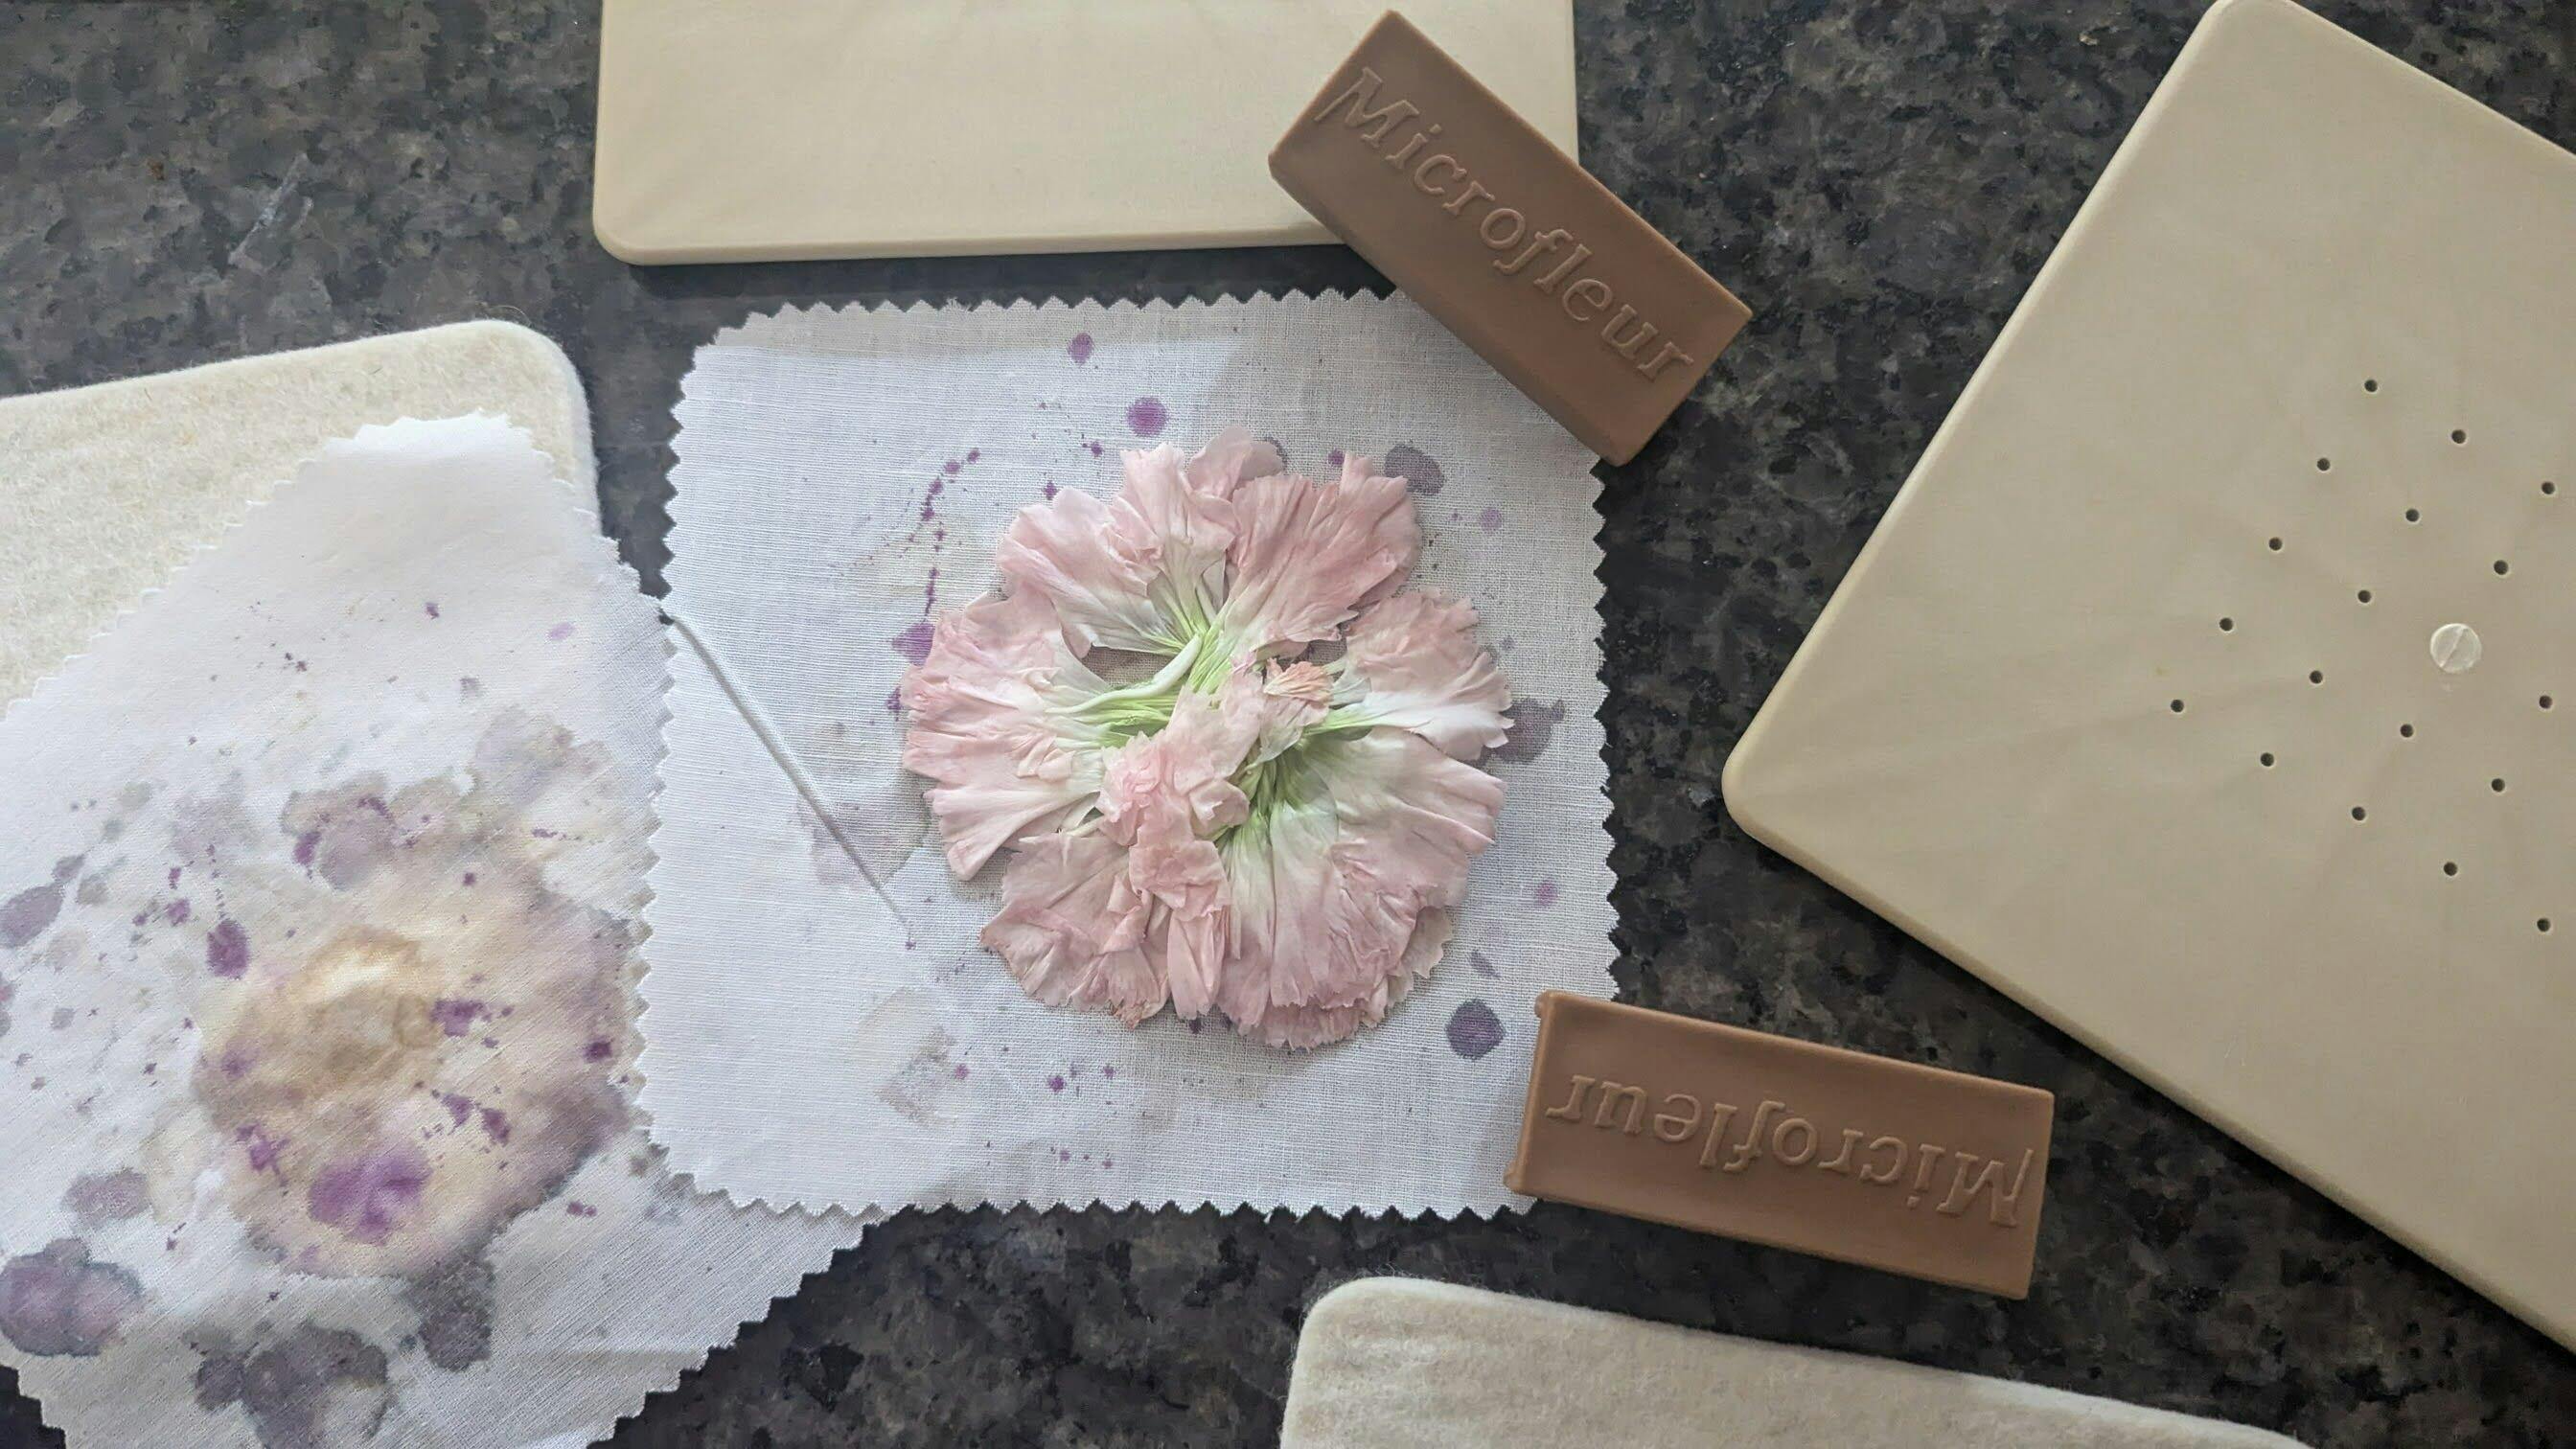
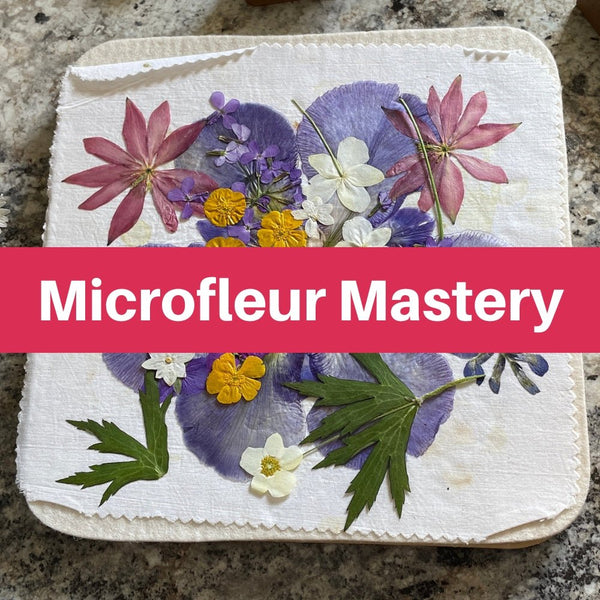
And the best part? You don’t need to spend hours pressing flowers the traditional way. Using a Microfleur flower press makes it easy to press edible blooms in minutes while keeping their vibrant colors beautifully intact — perfect for desserts, cakes, cookies, and so much more.
Let’s bake something beautiful together!

Supplies You’ll Need
For the Brownies
- 4 ounces dark chocolate or dark chocolate chips
- 1 stick (½ cup) butter
- 1 cup brown sugar
- 3 eggs
- 1 teaspoon vanilla extract
-
1 cup self-rising flour
(Or 1 cup all-purpose flour + 1½ teaspoons baking powder) - ⅓ cup chopped macadamia nuts
- ⅓ cup white chocolate chips
For Decorating
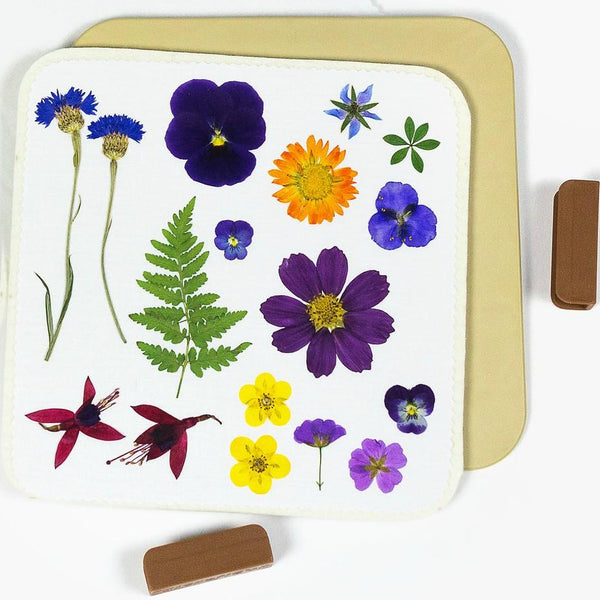
- Pressed edible flowers (violas and pansies work beautifully!)
- Optional writing icing
Tools
- 8x8 baking pan
- Parchment paper
- Mixing bowls
- Microwave-safe bowl or double boiler
- Spatula or whisk

Step 1: Prepare Your Pan
Preheat your oven to 350°F.
Line your baking pan with parchment paper. A helpful trick is to crease the parchment around the outside of the pan first, almost like wrapping a gift. This helps it fit neatly into the corners once placed inside.
Lightly grease the pan with oil or cooking spray before adding the parchment paper to keep the brownies from sticking.
Step 2: Melt the Chocolate and Butter
In a microwave-safe bowl, combine:
- 4 ounces dark chocolate
- 1 stick butter
Heat in 20–30 second bursts, stirring in between until smooth and glossy.
You can also melt the chocolate and butter together using a double boiler on the stove.
Set aside to cool slightly.
Step 3: Mix the Wet Ingredients
In a separate bowl, whisk together:
- 1 cup brown sugar
- 3 eggs
Mix for about 3–5 minutes until smooth and fluffy with no brown sugar lumps remaining.
Then stir in:
- 1 teaspoon vanilla extract

Step 4: Add the Flour
Slowly mix in:
- 1 cup self-rising flour
Once smooth, pour in most of the melted chocolate mixture, reserving about 2 tablespoons for the glaze later.
Mix until fully combined.
Step 5: Fold in the Mix-Ins
Add:
- ⅓ cup chopped macadamia nuts
- ⅓ cup white chocolate chips
Fold everything together until evenly distributed throughout the batter.

Step 6: Bake
Spread the batter evenly into your prepared pan.
Bake for 18–20 minutes, or until a toothpick inserted in the center comes out mostly clean.
Allow the brownies to cool completely before decorating.
Step 7: Add the Chocolate Glaze
Warm the reserved chocolate mixture if needed and spread it evenly across the top of the cooled brownies.
This acts like a glue for your pressed flowers while adding an extra layer of rich chocolate flavor.
Step 8: Decorate with Pressed Edible Flowers
Now for the fun part!
Arrange your pressed flowers however you’d like:
- Small bouquets on each slice
- Scattered floral patterns
- Layered petals for a garden-inspired look
Gently press the flowers into the chocolate glaze so they stick as it cools.
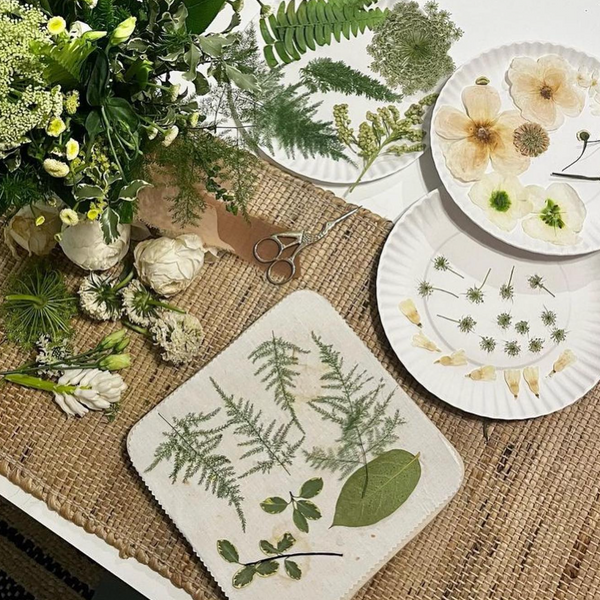
Violas and pansies are wonderful choices because they’re edible, colorful, and press beautifully.
Important Edible Flower Safety Tips
Before decorating any food with flowers, always make sure:
- The flowers are completely edible
- They’re pesticide-free
- They’ve been pressed separately from non-edible flowers
Some flowers are toxic, so it’s important to properly identify every bloom before using it in recipes.
Make It Your Own
You can finish these brownies with:
- Colored icing
- Gold sprinkles
- White chocolate drizzle
- Extra pressed petals
There’s no wrong way to create these — that’s part of the magic of handmade baking and flower art.
A Dessert That Feels Extra Special
These pressed flower brownies are such a fun way to combine creativity, baking, and nature into one unforgettable dessert. They’re rich, beautiful, and guaranteed to make people smile the moment they see them.
If you make these brownies, be sure to share your creations — I’d love to see the floral designs you come up with!
Happy baking and happy creating 🌸
Pressed Flower Brownie Recipe
Prep time: 10 minutes
Baking Time: 18-20 minutes
6 brownies
Ingredients:
1 cup self-rising flour
1 stick butter
4 oz dark chocolate or dark chocolate chips ( or mix of both)
1 cup brown sugar
½ teaspoon salt
1/3 cup chopped macadamia nuts
1/3 cup white chocolate chips
1 tbsp vanilla extract
3 eggs
Rose gold wringing icing (optional)
6- 8 dried pansies
Instructions:
- Begin by preheating your oven to 350°F (175°C). Then, grease and line a square 7x7 baking pan with parchment paper
- In a bowl that is safe to use in the microwave, combine the butter and dark chocolate (or dark chocolate chips) and melt them together. Alternatively, you can melt them on a stove over low heat. Stir the mixture until it becomes smooth, then add a pinch of salt and set it aside to cool slightly.
- In a separate mixing bowl, combine the brown sugar and eggs. Use an electric mixer to mix them together for about 3-5 minutes. Then, add some vanilla extract and the melted chocolate (excluding 2 tablespoons, which will be used later for a glaze). Fold in flour, add some chopped macadamia nuts and white chocolate chips.
- Transfer the batter into the prepared 7x7 baking pan, spreading it out evenly. Place the pan in the preheated oven and bake for approximately 18-20 minutes, or until a toothpick inserted into the centre comes out clean. Once the brownies are finished baking, remove them from the oven and allow them to cool completely within the pan.
- Once cooled, transfer the brownies from the pan to a cutting board. Take the remaining melted chocolate and spread it on top of the brownies. Gently press dried pansies onto the surface of the brownies, creating a lovely floral design. If desired, you can also use rose gold wringing icing to add decorative patterns on top of the brownies.
- Lastly, cut the brownies into squares or rectangles and serve. Enjoy your delicious brownies!