

How to Make Pressed Flower Luminaries
There’s something a little magical about glowing lantern light mixed with delicate pressed flowers. It’s like capturing a tiny piece of nature and letting it shine.
These pressed flower lanterns are beautiful for cozy home décor, garden parties, weddings, or simply adding a soft handmade touch to your space. They’re also wonderfully relaxing to make — a little messy, a little creative, and completely worth it.
Even better? You can customize them with your favorite blooms, colors, and designs. No two lanterns ever turn out exactly alike, and that’s part of the fun.
Let’s make one together!

Supplies You’ll Need
Basic Tools
-
Tweezers
-
Scissors
-
Small paintbrush or foam brush
-
Spoon for mixing
-
Large bowl
-
Cup or mug (to hold the balloon steady)
For the Lantern
-
Balloon
-
White printer paper
-
White or colored tissue paper
-
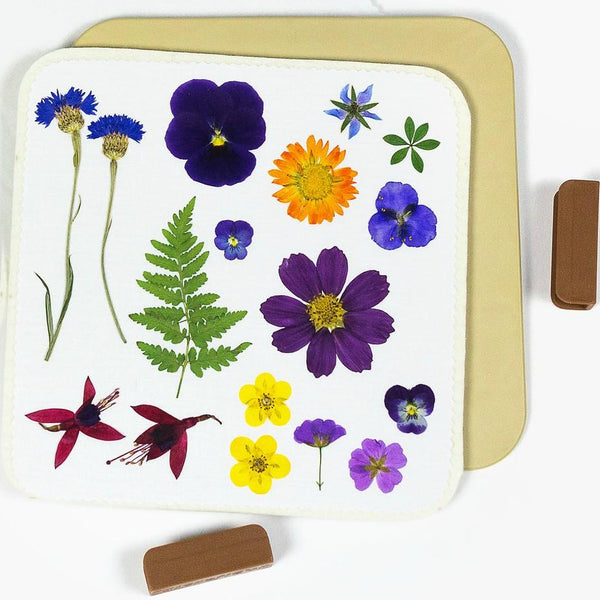
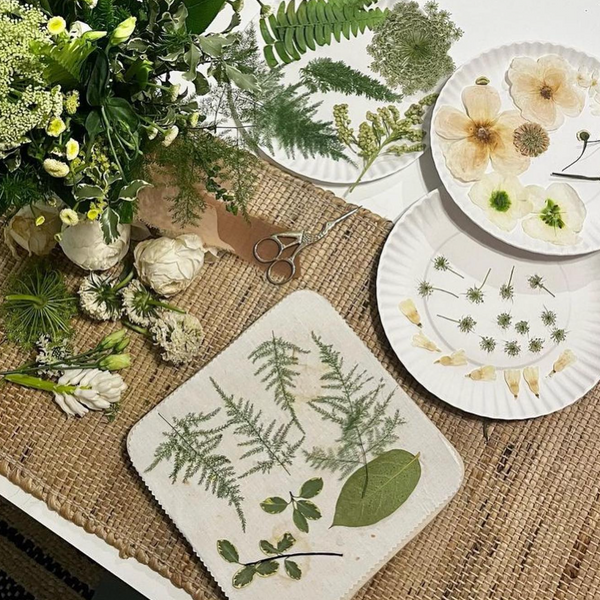
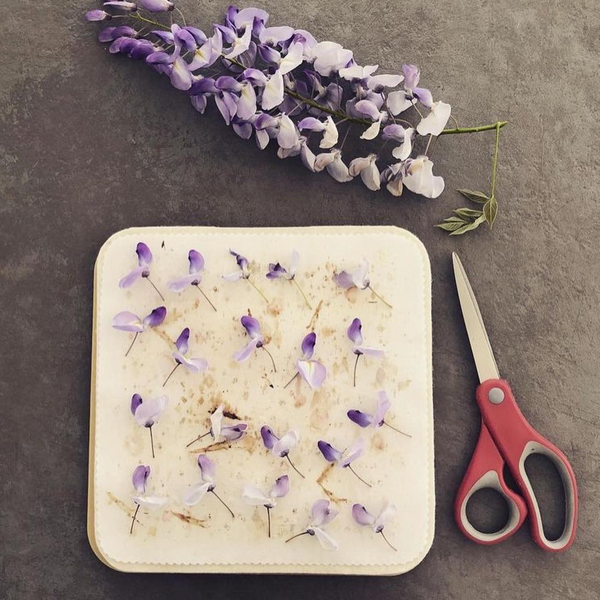
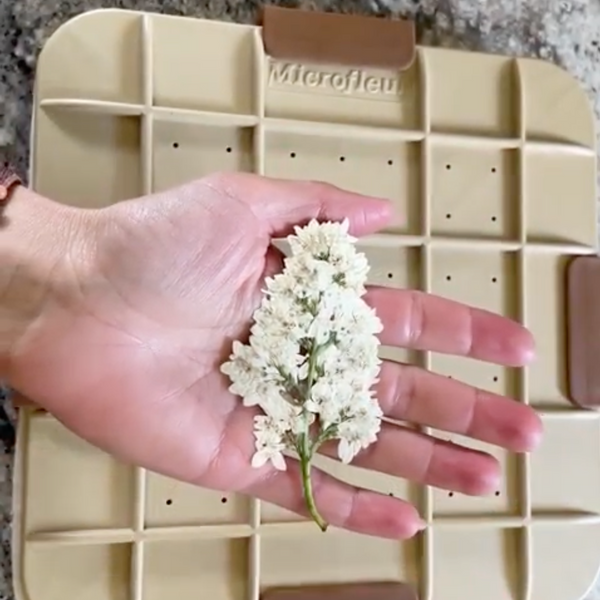
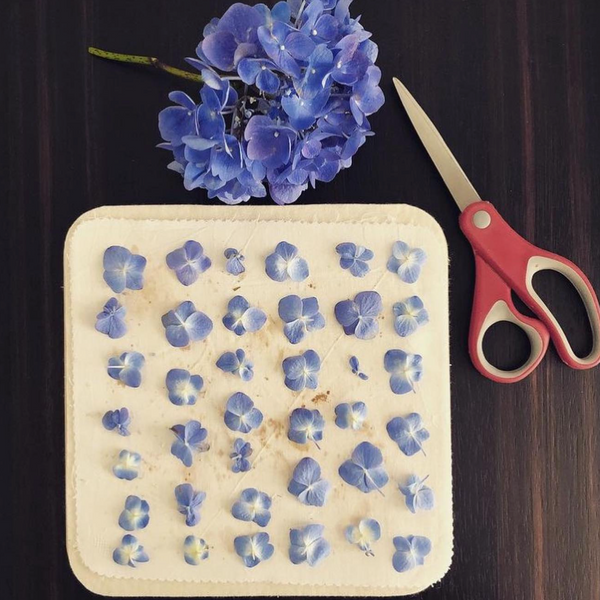
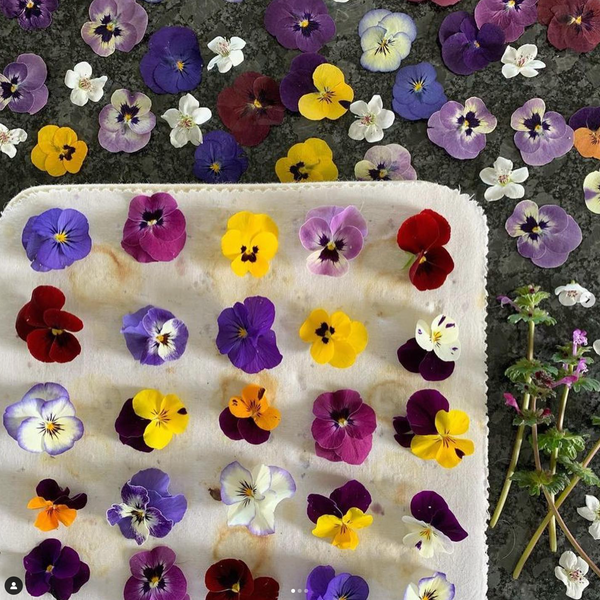
Pressed flowers
-
Mod Podge or clear-drying glue
Paper Mâché Paste
-
1 cup flour
-
1 cup cool water
-
2 teaspoons salt
Step 1: Make the Paper Mâché Paste
In a large bowl, combine:
-
1 cup flour
-
2 teaspoons salt
Slowly add:
-
1 cup cool water
Mix until smooth and lump-free. If the mixture feels too thick, add a little more water a bit at a time. You want it spreadable — not runny, but not overly pasty either.
Tip: Keep a small bowl of water or a damp cloth nearby. This project gets delightfully messy!
Step 2: Prepare the Balloon
Blow up your balloon to the size you’d like your lantern to be.
Place it upside down in a cup or mug. This helps keep it steady while you work and prevents it from rolling away once the paper gets wet.
Remember:
-
The tied end of the balloon will become the bottom of your lantern.
-
Leave a large opening uncovered so you can later remove the balloon and place a candle inside.
Step 3: Add the Printer Paper Layer
Tear printer paper into strips about 2 inches wide. The pieces don’t need to be perfect — the layered look adds charm.
Dip each strip into the paper mâché paste and gently run it through your fingers to remove excess paste.
Lay the strips across the balloon, overlapping slightly as you go.
A few tips:
-
Work fairly quickly so the paper doesn’t get too soggy.
-
Rotate around the balloon evenly to keep it balanced.
-
Don’t completely cover the balloon — leave an opening at the bottom.
This layer creates the lantern’s structure and foundation.
Step 4: Add Tissue Paper Layers
Once the first layer is slightly dry (or still tacky if you’re moving quickly), it’s time for tissue paper.
Tear the tissue paper into smaller strips or pieces. White tissue paper works beautifully because it lets the pressed flower colors shine through, but you can absolutely experiment with color.
Using your paintbrush:
-
Brush a thin layer of paste over the printer paper.
-
Lay tissue paper pieces over the surface.
-
Gently smooth them with the brush.
Overlap the tissue paper pieces as you work around the lantern.
The tissue paper:
-
Adds strength
-
Helps diffuse light beautifully
-
Creates a soft glowing effect
You can add several layers while still keeping the lantern translucent.
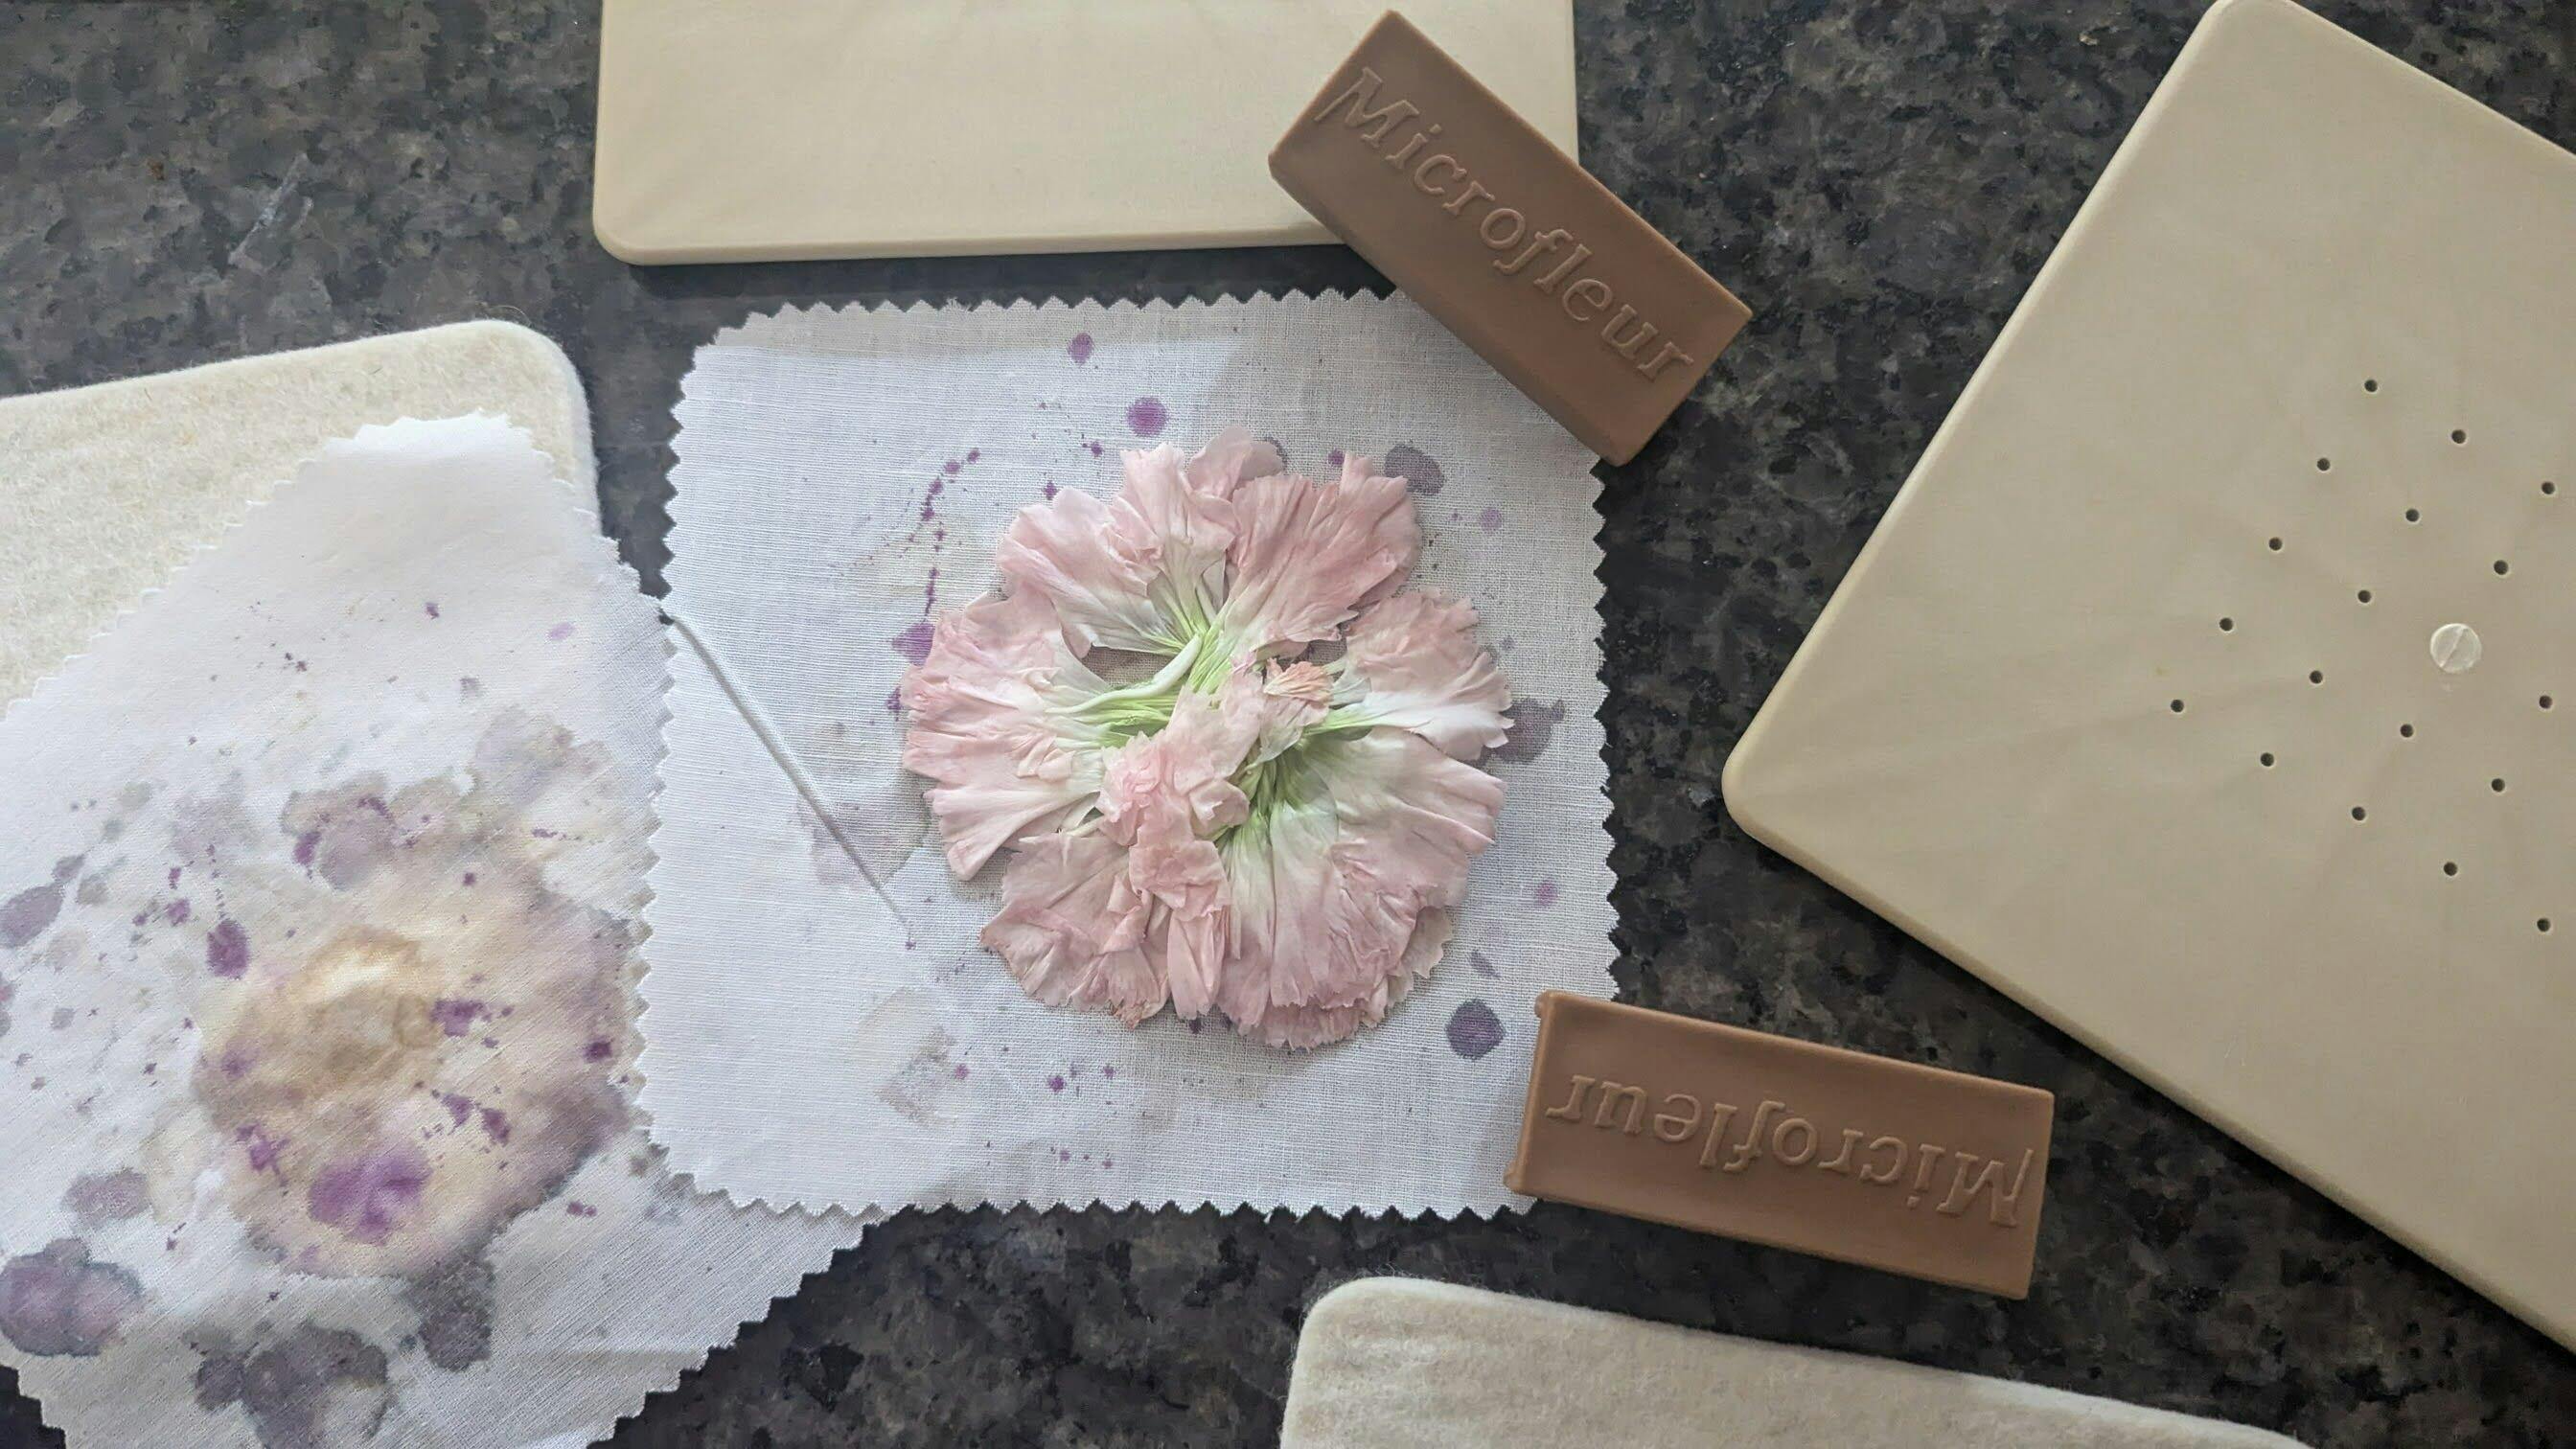
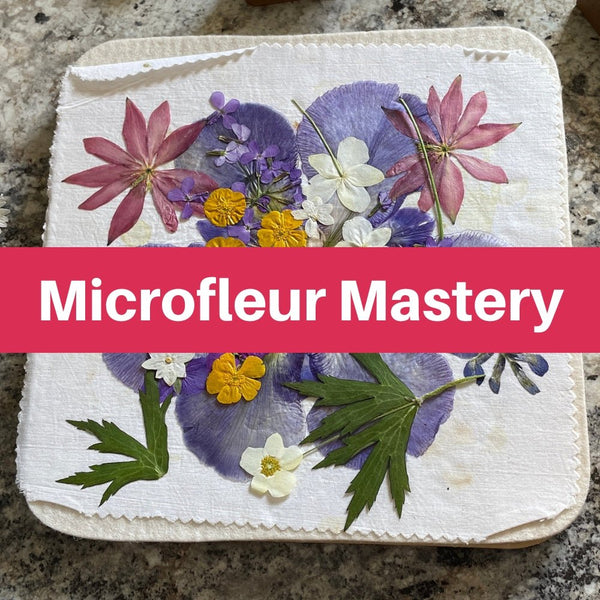
Step 5: Add Pressed Flowers Under the Tissue Paper
Now comes the fun part.
Before placing flowers, remember:
-
The lantern is upside down while you work.
-
The very bottom will later be flattened to sit on a table.
-
The top edge will be trimmed.
Arrange your pressed flowers around the lantern however you like:
-
A scattered floral look
-
A wrapped garland effect
-
A bouquet-style focal point
Once your flowers are placed:
-
Lay a thin layer of tissue paper over them.
-
Gently brush over the tissue paper with paste.
This creates a dreamy layered effect where the flowers appear softly embedded inside the lantern.
You can even repeat the process with additional flower layers if you’d like more depth.
Step 6: Let It Dry
Allow the lantern to dry thoroughly before moving on.
Once dry:
-
Pop the balloon carefully.
-
Gently peel it away from the inside of the lantern.
Take your scissors and trim the top edge until it looks smooth and even.
Step 7: Create a Flat Base
To help the lantern sit properly:
-
Lightly dampen a small area on the bottom.
-
Gently press it against the table to flatten it.
Be patient here — you want the paper to soften slightly without cracking.
Make the base wide enough to safely hold a battery-operated tea light.
Step 8: Add Flowers to the Outside
Now you can decorate the exterior with even more pressed flowers!
Trim stems if needed and use tweezers for delicate handling.
Using Mod Podge or clear-drying glue:
-
Brush a small section of the lantern.
-
Carefully place flowers onto the surface.
-
Gently press them down.
You can leave the flowers exposed for vibrant color, or seal over them for a softer matte finish.
Step 9: Seal the Lantern
Brush a thin coat of Mod Podge over the entire lantern exterior.
This helps:
-
Protect the paper mâché
-
Seal out humidity
-
Preserve flower color longer
-
Strengthen the lantern
When brushing over flowers:
-
Start in the center and brush outward along the petals
-
Use a light touch to avoid tearing delicate blooms
Let everything dry completely.
Optional: Make It a Hanging Lantern
If you’d like to hang your lantern:
-
Use a hole punch to create two holes near the top edge.
-
Thread wire, ribbon, or string through the holes.
Now you’ve got a glowing hanging flower lantern perfect for patios, weddings, or cozy evenings outdoors.
A Few Helpful Tips
-
Battery-operated tea lights are safest for paper lanterns.
-
White tissue paper keeps flower colors vibrant.
-
Mod Podge dries clear and gives a lovely finished look.
-
Pressed flowers keep their color longer when protected from humidity and oxygen.
-
This is a wonderful project for kids with adult help.
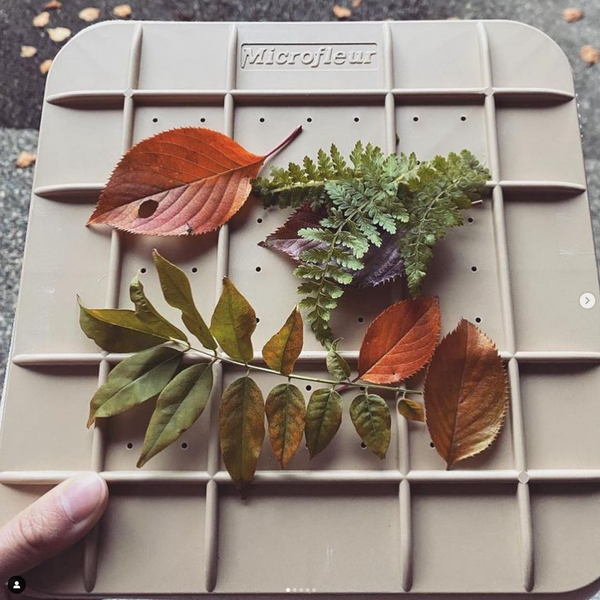
You can even turn it into a full nature-day activity:
-
Gather flowers outside
-
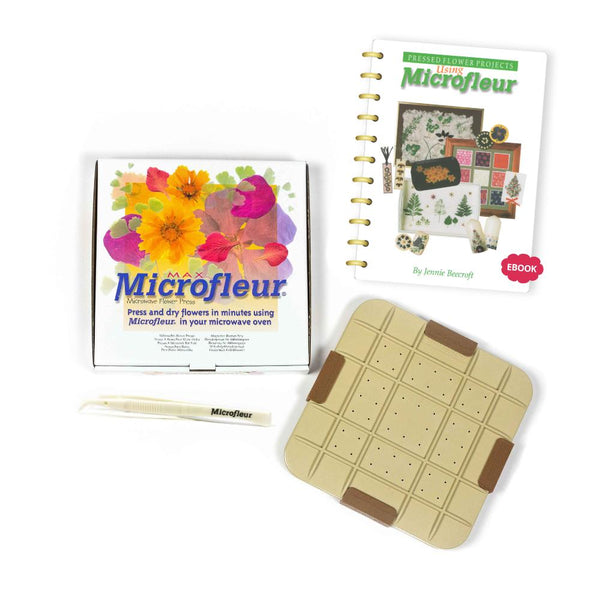
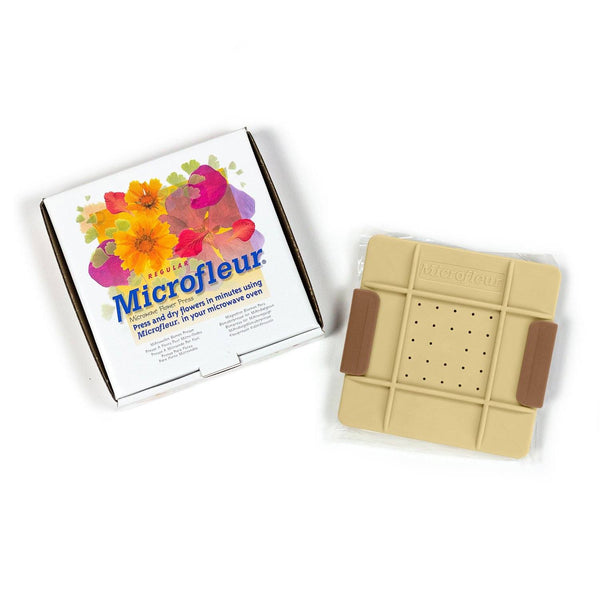
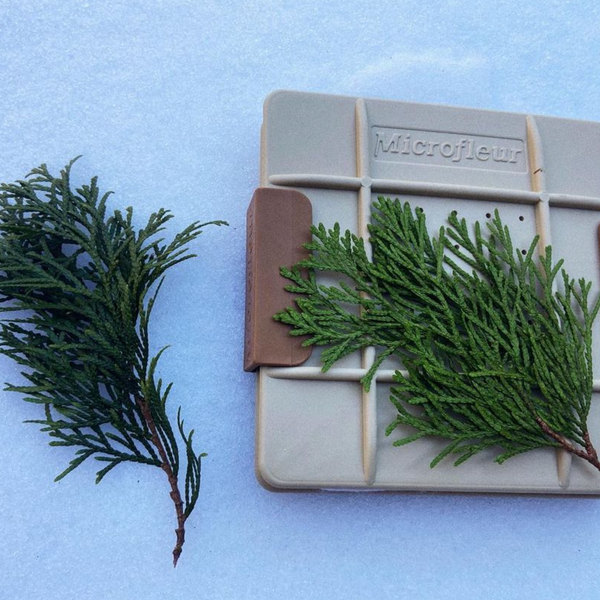
Press them in a Microfleur
-
Create lanterns together the very same day
It’s such a fun way to combine creativity and nature.
Let Your Creativity Bloom
One of the best things about this project is that there’s no single “right” way to make it. Every lantern becomes its own tiny glowing piece of botanical art.
Mix flower colors, layer petals, experiment with tissue paper shades, or create seasonal designs for spring, summer, fall, or winter celebrations.
You’ll love how magical these look once the lights dim and the flowers begin to glow softly from within.
Happy crafting!