

Pressed flower monograms are such a lovely way to turn your favorite blooms into meaningful handmade art. They make beautiful gifts, sweet Mother’s Day keepsakes, custom home décor, cards, framed artwork, and even pieces you could sell as personalized floral designs.
For this tutorial, we’re creating a pressed flower monogram that can be placed in a frame, but the same technique works beautifully for cards, initials, name art, and other creative projects.
Let’s make something blooming beautiful!
Supplies You’ll Need
- Pressed flowers
- Cardstock
- Printed monogram pattern
- Double-sided adhesive sheet
- Scissors
- Tweezers
- Tape
- Picture frame with mat, if framing
- Pen or pencil
- Window or light source for tracing
- Optional: glass pane, laminator, clear contact paper, or vacuum sealer
Choose Your Letter Pattern
Start by printing your monogram letter. Block letters work best because they give you plenty of space to arrange flowers and are much easier to cut out.
One important tip: print your letter backward if it isn’t symmetrical. Since we’re tracing onto the back of the double-sided adhesive, the finished letter will face the correct direction once it’s flipped over.
Trace the Letter onto Double-Sided Tape
Trim your printed pattern and cut a piece of double-sided adhesive slightly larger than your letter.
Tape the pattern to a window, then place the adhesive sheet over it. The light shining through will make the letter easier to trace. You can also use a piece of glass with a light behind it.
Trace around the outside of your letter carefully. This outline will guide both your flower placement and your cutting later.
Prepare Your Cardstock
If you’re framing your monogram, use the frame mat as a guide and trace it onto your cardstock. Cut the cardstock so it fits neatly inside the frame.
I used white cardstock for a clean, classic look, but colored cardstock can be beautiful too.
Arrange Your Pressed Flowers
Peel back just a small section of the adhesive backing to expose the sticky side.
It’s best not to peel the whole sheet at once because the adhesive is very sticky and can grab flowers, fingers, and petals before you’re ready.
Using tweezers, gently place your pressed flowers inside the traced letter shape. Handle flowers from the center whenever possible, since petals can be delicate.
You can use:
- Whole flowers
- Individual petals
- Leaves
- Ferns
- One color palette
- A mix of colors and textures
Overlap flowers slightly so the whole letter is filled in. Any uncovered adhesive may remain sticky, so try to cover the design as fully as you can.
Cut Out the Monogram
Once your flowers are arranged, flip the adhesive sheet over and carefully cut along your traced outline.
This part takes a little patience because the adhesive can stick to your scissors and fingers. Trim slowly and remove small pieces as you go, especially around corners and tight spaces.
Small scissors are helpful for detailed areas.
When you flip it over, you’ll see your floral monogram come to life!
Fill Any Gaps
Before attaching the monogram to your cardstock, check for small gaps. You can use loose petals or trimmed flower pieces to fill in any empty spots.
This is a great time to make little adjustments before everything is placed permanently.
Attach the Monogram to Cardstock
Place your mat over the cardstock to help guide the position of your letter.
Carefully peel back a small section of the remaining adhesive backing. Don’t remove it all at once — the letter will become floppy and harder to control.
Stick down the first section, then slowly peel away the backing while pressing the monogram onto the cardstock. Work gently and support the flowers as you go to avoid bending or creasing them.
Once it’s fully attached, press it down lightly so it’s secure.
Frame and Protect Your Artwork
If you’re framing your monogram, place it behind the mat and into your frame.
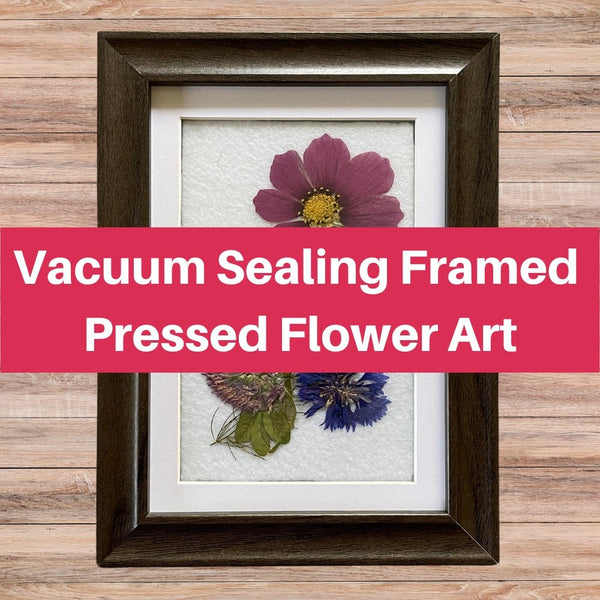
For long-lasting color, protecting pressed flowers from moisture, humidity, and sunlight is important. Vacuum sealing framed pressed flower art is one of the best ways to preserve color for years.
For cards or pieces that will be handled, consider laminating them or covering them with clear contact paper to protect delicate petals.
Creative Ideas for Pressed Flower Monograms
These floral letters are perfect for:
- Mother’s Day gifts
- Wedding or bridal shower décor
- Personalized nursery art
- Handmade greeting cards
- Custom family initials
- Birthday gifts
- Teacher appreciation gifts
- Home décor
- Small business craft sales
You can make one large letter, a full set of initials, or even smaller monograms for stationery and gift tags.
A Handmade Gift Full of Meaning
Pressed flower monograms are simple, personal, and so beautiful. They capture a little piece of nature and turn it into something thoughtful that can be treasured for years.
Have fun choosing your colors, layering your petals, and making each letter your own. Happy creating!