


Making pressed flower jewelry with UV resin and open bezels is such a fun and rewarding craft. Tiny flowers suspended in crystal-clear resin create beautiful wearable art that feels both delicate and timeless.
Whether you’re making jewelry for yourself, creating meaningful handmade gifts, or even selling your pieces at craft fairs, Etsy shops, or markets, this is a wonderful project to explore.
One of my favorite things about pressed flower resin jewelry is that every single piece turns out completely unique. No two flowers are ever exactly alike, and each arrangement captures a tiny piece of nature forever.
In this tutorial, we’ll walk step-by-step through how to make pressed flower jewelry using UV resin and open bezels — from setting up your bezels to creating that glossy, professional-looking finish.
Let’s get started!
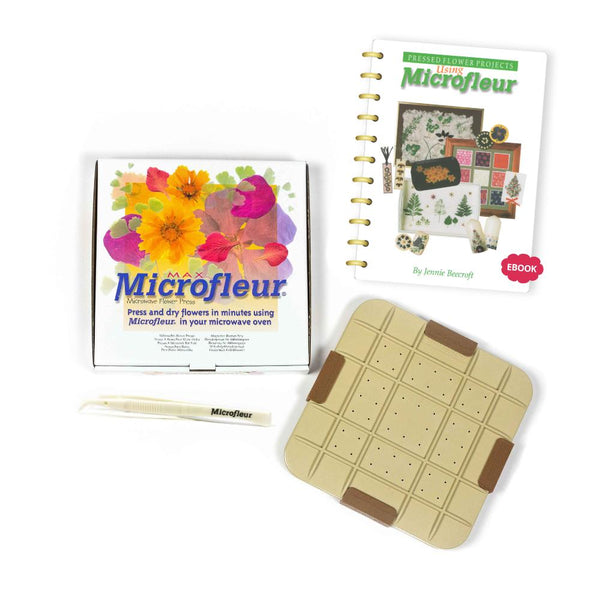
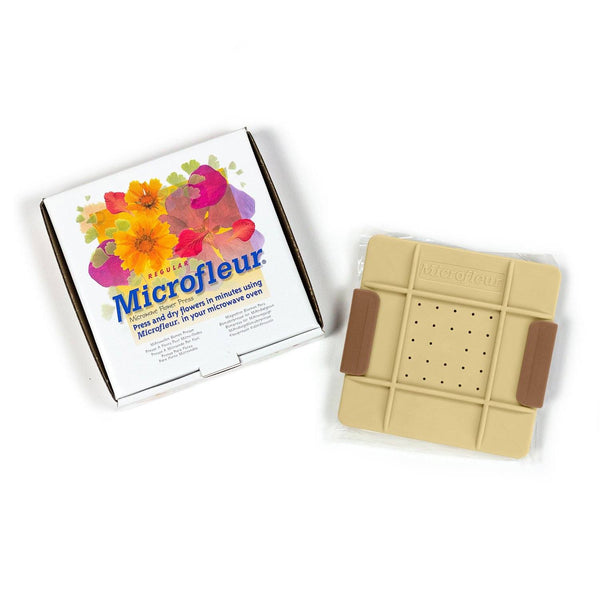
Supplies You’ll Need
Materials
- Open bezels
- Pressed flowers
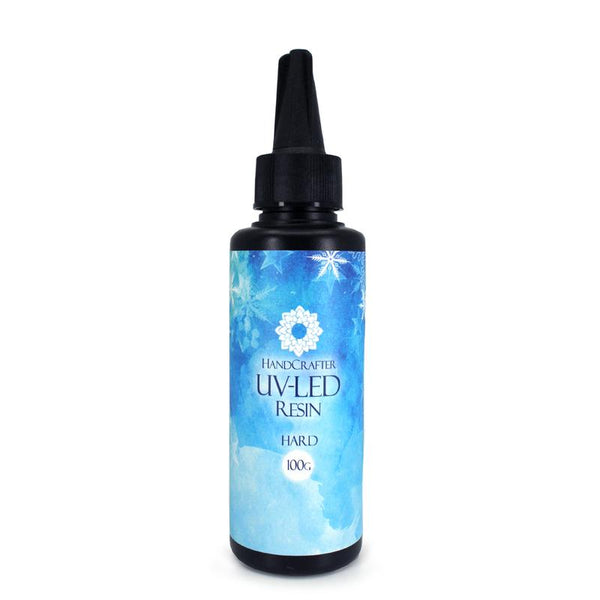
- UV resin
- UV curing light
- Packing tape
- Cardboard or sturdy work surface
- Rubbing alcohol
- Tweezers
- Toothpicks
- Lighter or small torch
- Soapy water for cleanup
Get the supplies to make pressed flower resin jewelry.
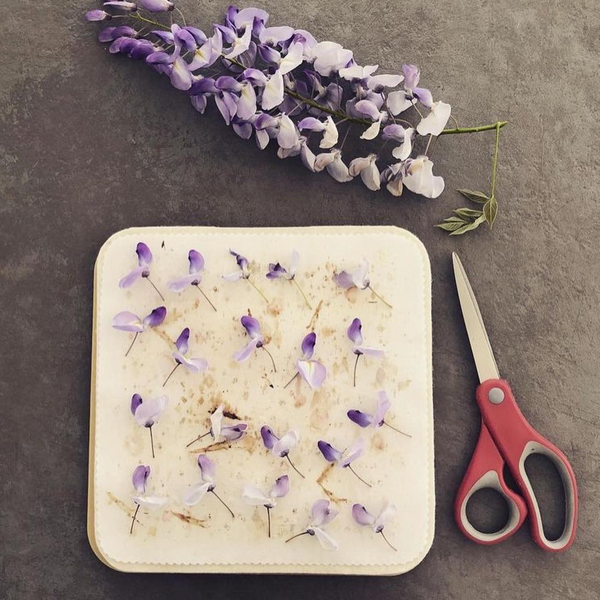
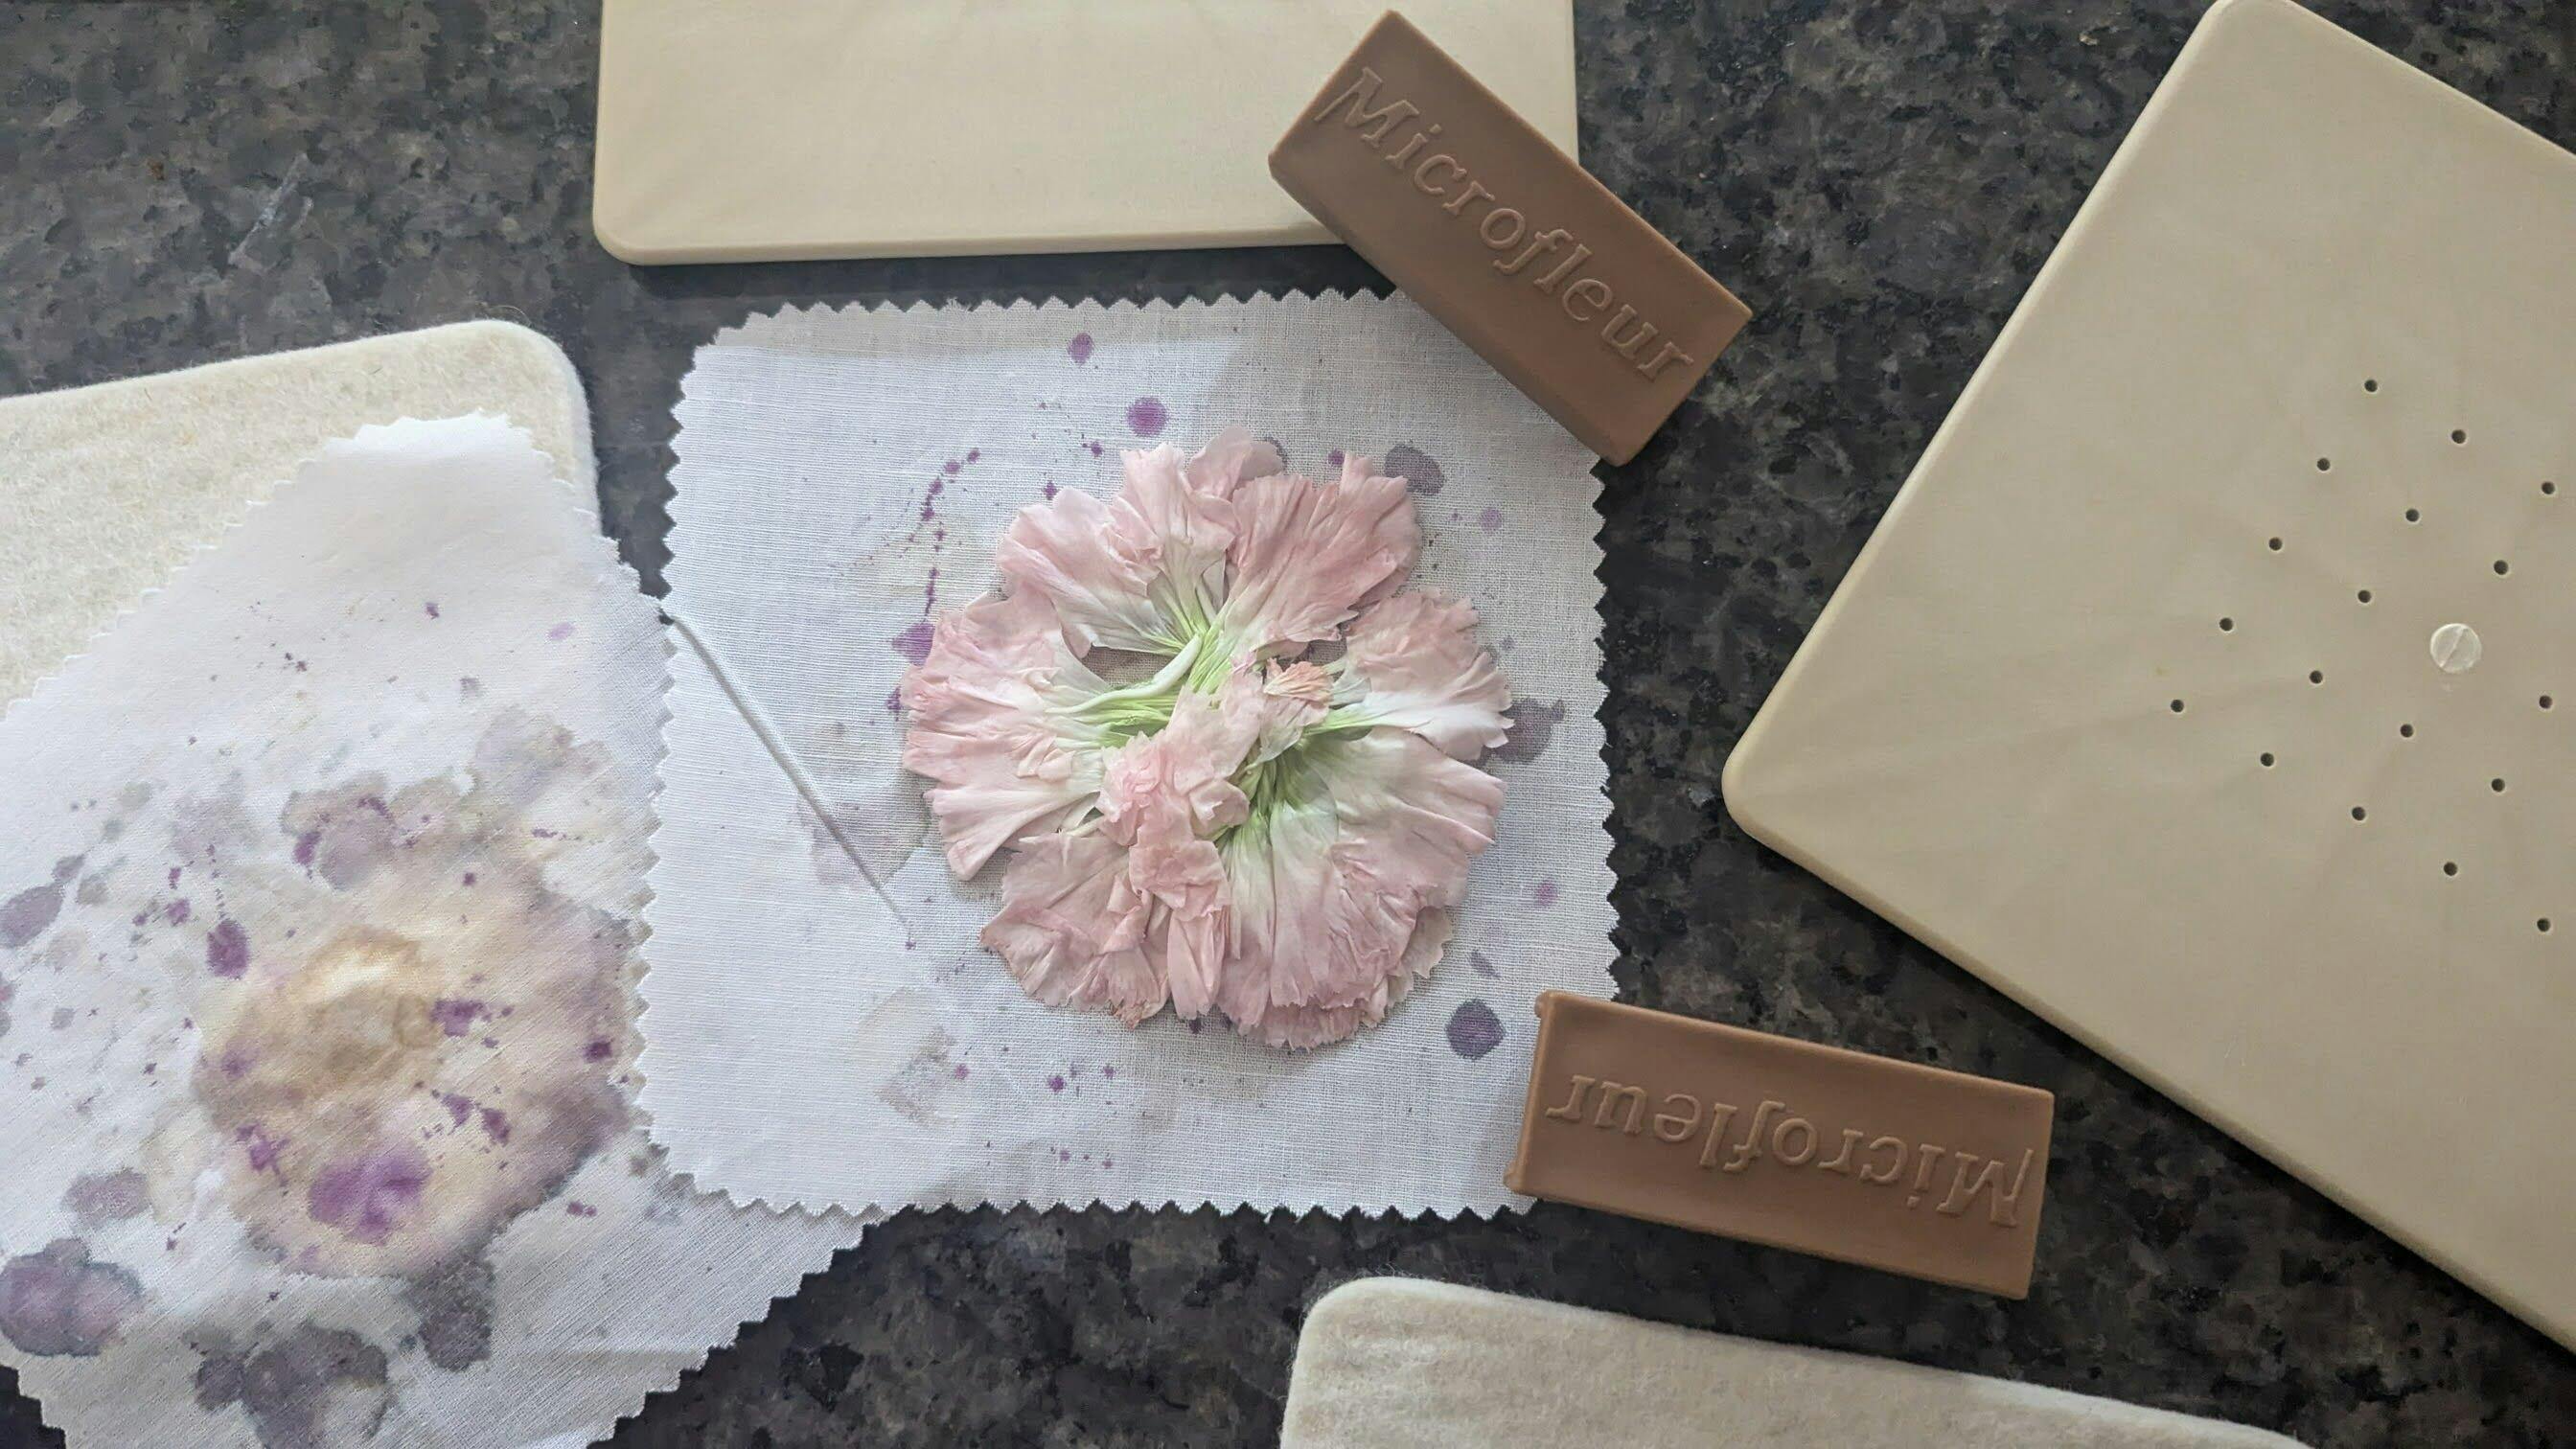
Plan Your Flower Arrangements First
Before adding resin, I like to lay out all my bezels and experiment with flower placement first. This makes it easy to:
- Test different flower combinations
- Make sure blooms fit inside the bezels
- Rearrange designs until they feel just right
Once I’m happy with the layouts, I remove the flowers and begin the resin process.
This little extra step saves a lot of frustration later and gives you more freedom to get creative with your designs.
Step 1: Clean Your Bezels
It’s recommended that you first clean your bezels with rubbing alcohol to remove any dust, oils, or residue.
This helps the resin cure beautifully clear and gives your finished jewelry a cleaner look.
Step 2: Seal the Back with Packing Tape
Start by firmly sticking your bezel onto ordinary packing tape. The tape acts as a temporary seal for the open back of the bezel while you pour the resin.
Press it down well so the edges are fully sealed.
Some bezels may not naturally lay flat because of the direction of the hanging hole. A simple trick is to place tape on a piece of cardboard to lift and support the bezel so it rests evenly against the tape.
Little setup tricks like this make the process much easier!
Step 3: Add the First Resin Layer
For this project, I’m using UV resin along with a UV light that fits over my workspace.
Start by adding a small amount of resin to the bottom of the bezel. This first layer helps:
- Seal the bezel
- Keep flowers centered
- Prevent flowers from floating later
Use a toothpick to spread the resin evenly into the corners and edges.
Step 4: Remove Bubbles
Bubbles are one of the biggest things to watch for when working with resin.
Use your toothpick to:
- Pop larger bubbles
- Lift stubborn bubbles out from underneath
For tiny surface bubbles, quickly pass a lighter or small torch over the resin.
You only need a quick pass — overheating the resin can damage your project.
Taking a little extra time here is worth it for that beautiful crystal-clear finish.
Step 5: Add Your Pressed Flowers
Now for the magical part!
Using tweezers, carefully place your pressed flowers into the resin.
Toothpicks can help gently position petals and stems exactly where you want them.
Be careful not to press too hard on the flowers. Pressing too firmly can create water spots or marks that may show up in the finished piece.
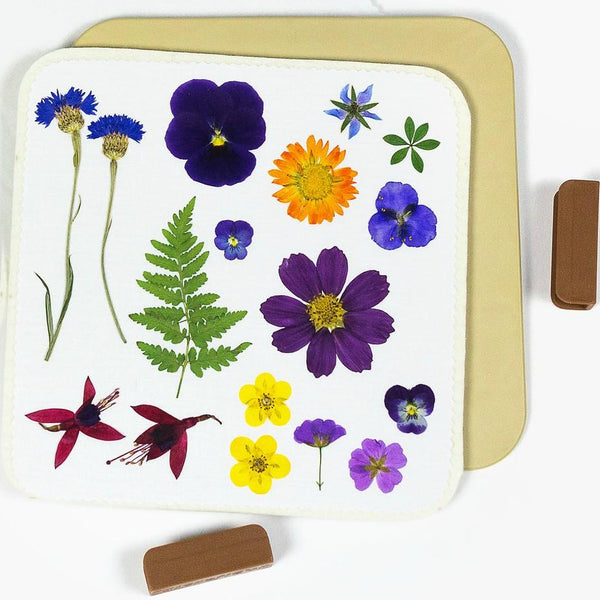
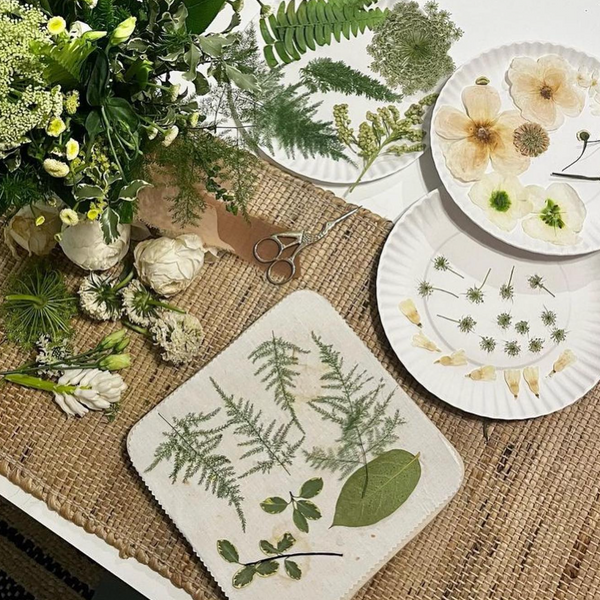
Tiny blooms, petals, ferns, and leaves all work beautifully in resin jewelry, so don’t be afraid to experiment with different combinations.
Step 6: Cure the First Layer
Once your flowers are positioned, place the UV light over the bezels and allow the resin to fully harden.
This first cured layer helps anchor the flowers in place so they won’t float when additional resin is added.
Step 7: Add Another Resin Layer
After curing, pour another layer of resin over the flowers.
Repeat the same process:
- Spread the resin carefully
- Push resin into the corners
- Remove bubbles
- Quickly torch the surface if needed
The corners and edges are where bubbles love to hide, so take your time checking those areas carefully.
Once satisfied, cure the layer fully with your UV light.
Helpful Resin Tip
For reference, about 10 grams of UV resin was enough to complete approximately five bezels in this project. This can help you estimate how much resin you’ll need for your own jewelry making sessions.
Step 8: Remove the Tape
Once fully cured, gently peel the bezels off the packing tape.
Place them face down so the side that was against the tape is now facing upward.
Because the underside didn’t receive direct UV light, it may still feel slightly sticky.
Place the UV light over the backs to fully cure them.
Step 9: Clean the Back
Sometimes tape residue may remain on the resin surface.
If needed:
- Wash gently with soapy water
- Use a toothpick to carefully scrape away residue
It’s important to remove all residue because leftover adhesive can appear cloudy in your finished jewelry.
Once cleaned, make sure everything is completely dry before applying the final resin layer.
Resin and water definitely do not mix well together!
Step 10: Apply the Final Layer
Now apply one final thin layer of resin to the back of the bezel.
This final layer helps:
- Smooth out ripples
- Create a slight dome effect
- Give the pendant a polished, professional finish
Be careful not to overfill the bezel. If resin spills over the edge, it can be fixed later — it just creates more cleanup work.
Since the bezel is no longer attached to the tape, it may slide around more easily at this stage, so work carefully.
Your Pressed Flower Jewelry Is Finished
Once fully cured, your beautiful pressed flower pendants are ready to turn into:
- Necklaces
- Earrings
- Bracelets
- Keychains
- Bag charms
- Handmade gifts
Every piece becomes a tiny preserved garden — a little celebration of nature you can wear and enjoy every day.
A Few Final Tips for Beautiful Results
Use Vibrant Pressed Flowers
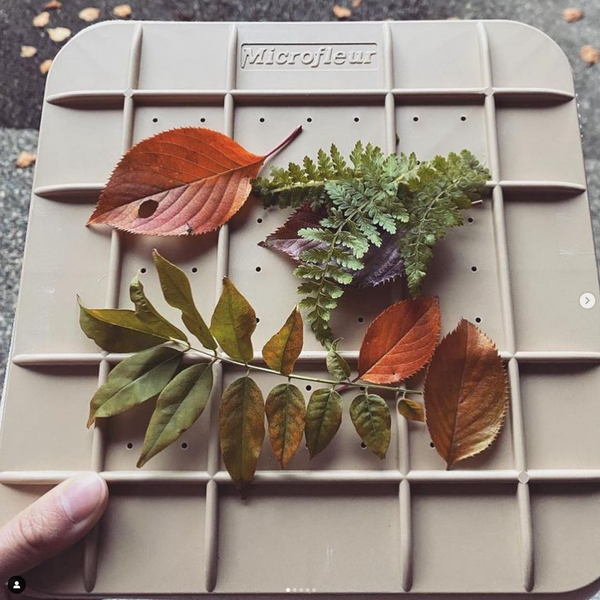
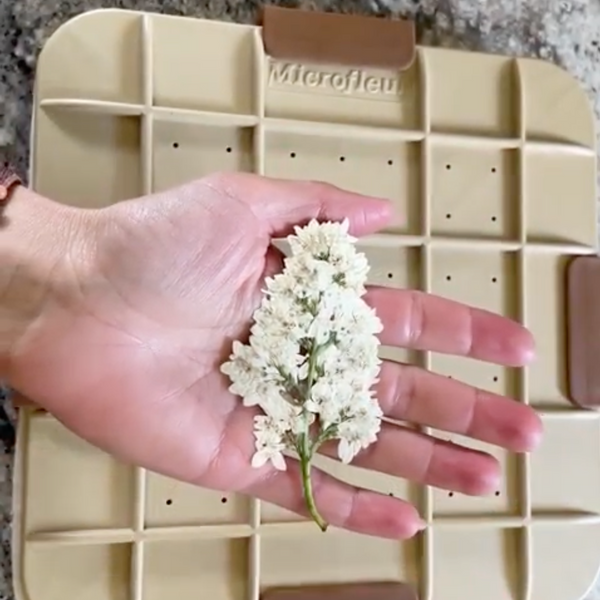
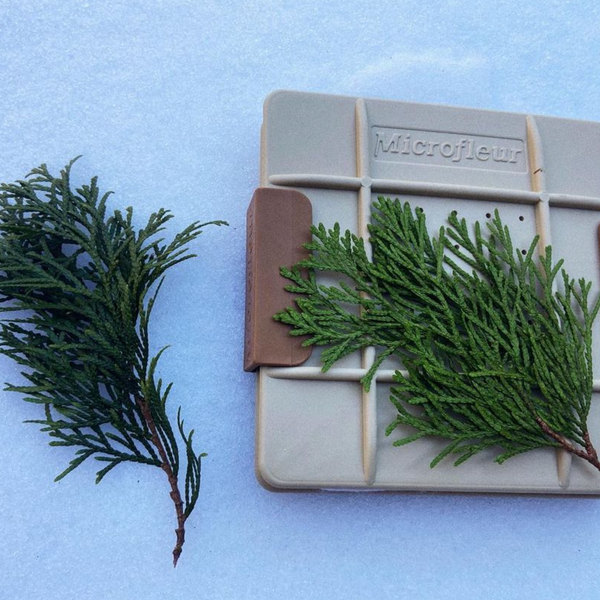
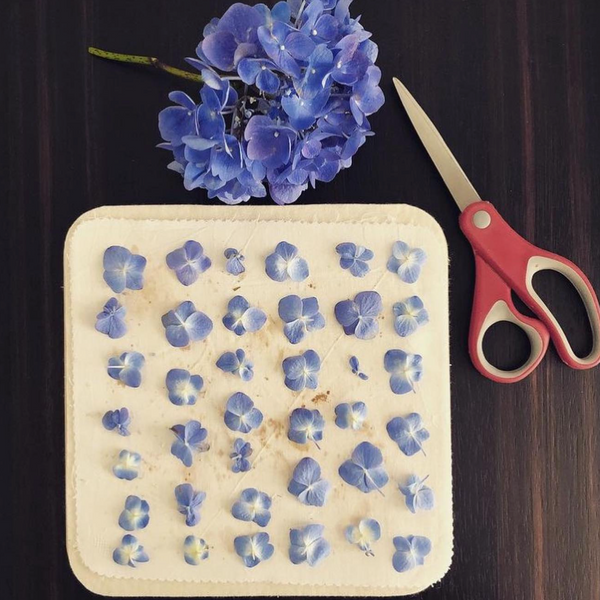
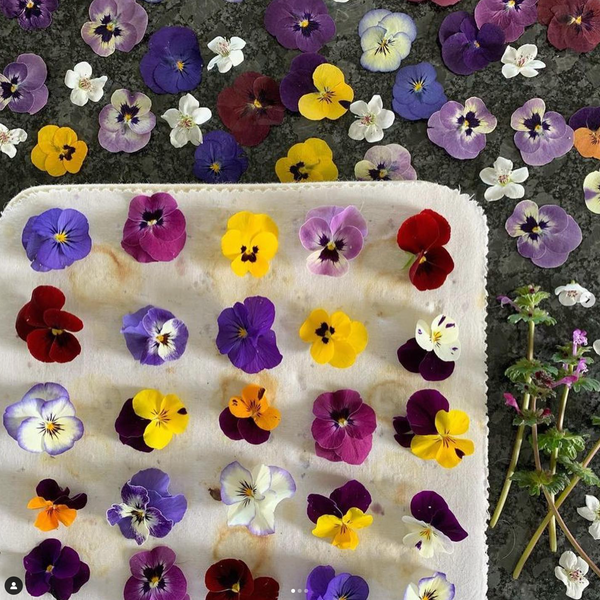
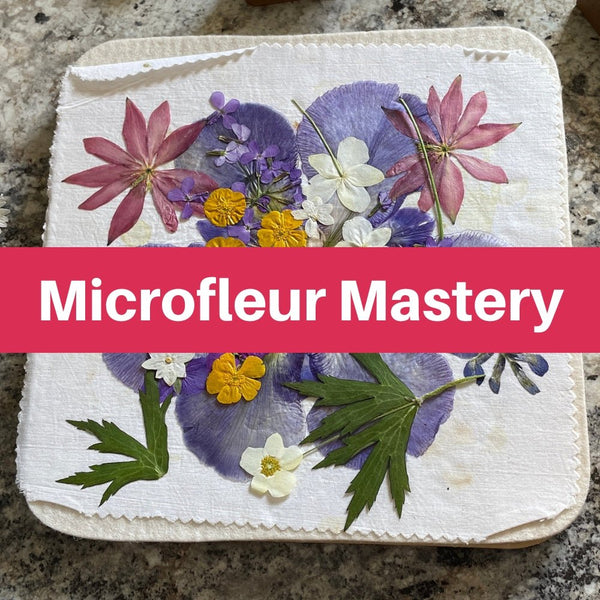
Flowers pressed with a Microfleur flower press retain beautiful color and work wonderfully for resin art projects.
Take Your Time with Bubbles
Bubble removal is one of the biggest secrets to achieving professional-looking resin jewelry.
Work in Thin Layers
Thin resin layers cure more evenly and help prevent flowers from shifting or floating.
Don’t Stress About Imperfections
Handmade pieces always carry their own unique charm. Tiny differences make each piece special.
Tiny Flowers, Lasting Beauty
Pressed flower jewelry is such a lovely way to preserve nature and turn it into something meaningful and wearable. Whether you’re creating for fun, gifting handmade treasures, or starting your own small business, these botanical resin pieces are endlessly inspiring to make.
Happy creating!
Check out more items we use for pressed flower jewelry and other crafts here.
[Disclosure: Keep in mind that some of the links in this post are Amazon affiliate links which mean we earn a commission if you click through and purchase something. It does not cost you anything. We only recommend products that we have used ourselves and the decision is yours whether or not to purchase an item.]