


A keepsake bookmark turns something small and special into something you’ll use every day. That might be a flower from the garden, a photo of someone you love, or a ticket stub from a great game. With clear peel-and-stick bookmark blanks, there’s no glue, no resin, and no special equipment. You arrange your pieces inside, seal the layers together, and you’re done.
sbb-itb-80d8183
What do you need?
- Clear peel-and-stick bookmark blanks
- Pressed flowers and leaves, small photo prints, or thin paper pieces like scrapbook paper, stickers, and tiny notes
- Tweezers
- A toothpick
- A small piece of tape
- A smoothing tool (a popsicle stick works too)
- A tassel, if you’d like one
Our Keepsake Bookmark Party Pack has 24 bookmark blanks in 6 shapes, 4 tweezers, 4 smoothing tools, and 24 tassels, so four people can make bookmarks at the same table.
What can you put in a keepsake bookmark?
Anything thin and flat. There’s no single right way to make one, so mix and match:
- Pressed flowers and leaves, for a bookmark that’s all about the colors and shapes of the garden.
- Photos, for a personalized gift for a friend, a teacher, or someone special.
- Themed pieces, like paper accents for a sports fan.
- A mix, such as a small photo with a pressed flower beside it.
Keep everything thin. A thick flower center or a stack of paper can hold the layers apart and leave an air bubble.
How do you make one?
- Plan your layout first. Arrange your pieces beside the blank before you open it, so there’s less handling of fragile petals once the sticky side is exposed.
- Add a tape hinge. Put a small piece of tape across the top of the blank, over both layers. It keeps them lined up when you open it.
- Open the layers. Use a toothpick to lift a corner and gently separate the layers. Try not to touch the sticky side, because fingerprints show through the clear layer.
- Place your pieces face down. Lay each piece face down on the sticky side, so it faces out when you turn the bookmark over. Use tweezers for pressed flowers.
- Leave some space. Keep a clear border around the edges so the layers can seal to each other.
- Close and smooth. Lower the top layer back down, then smooth from the center out toward the edges to push out any air.
- Finish it. Remove the tape and add a tassel if you’d like.
Where do the pressed flowers come from?
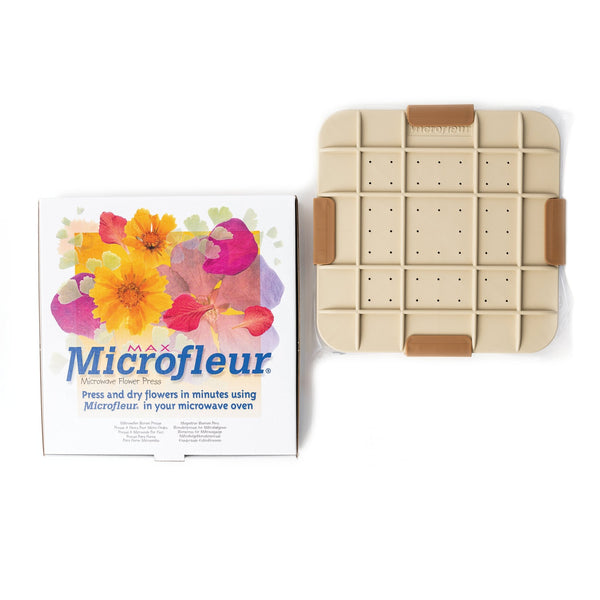
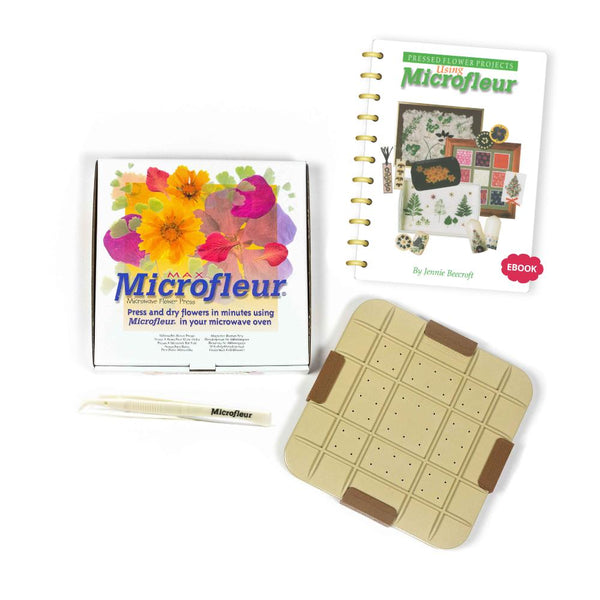
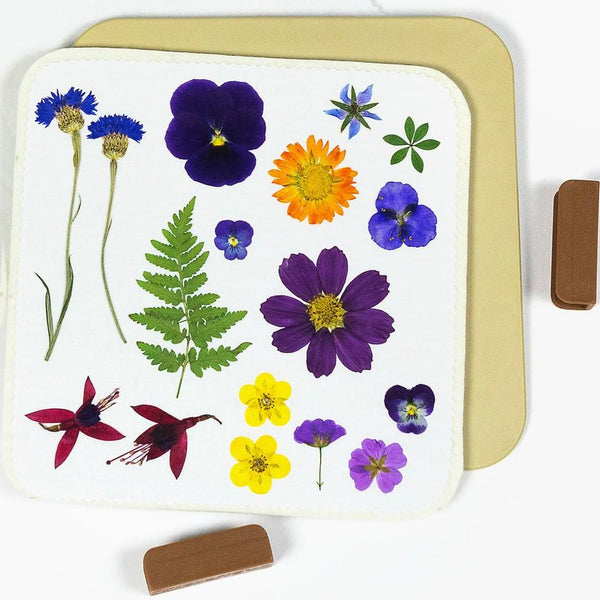
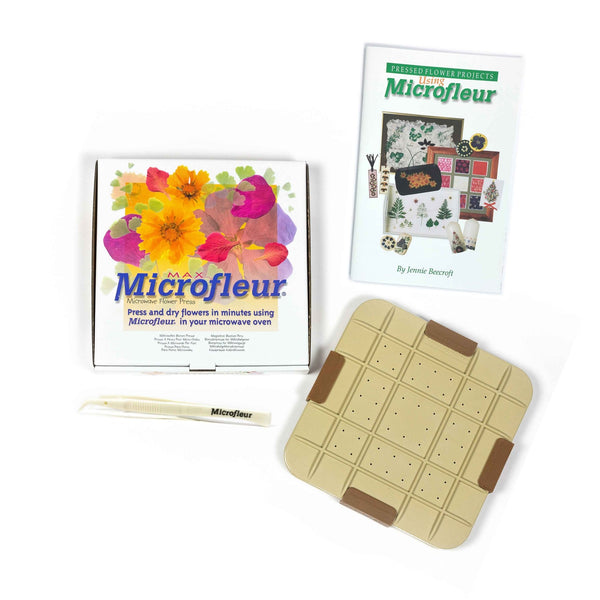
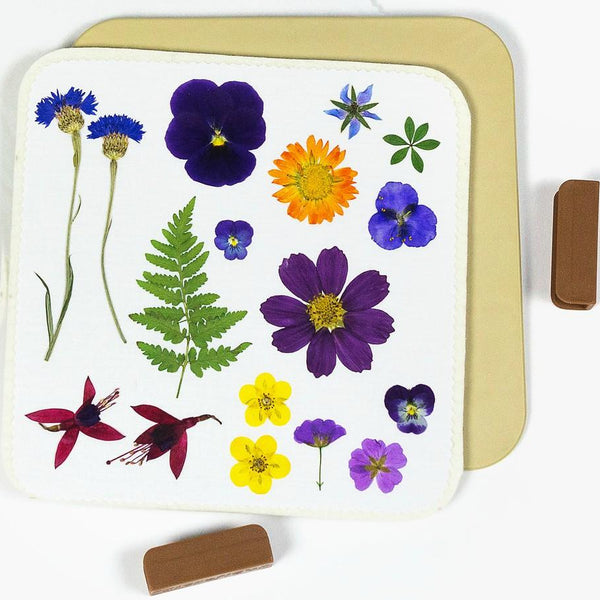
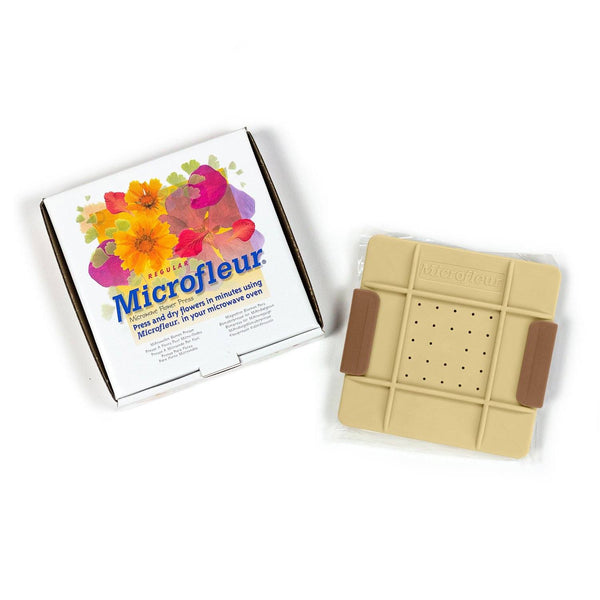
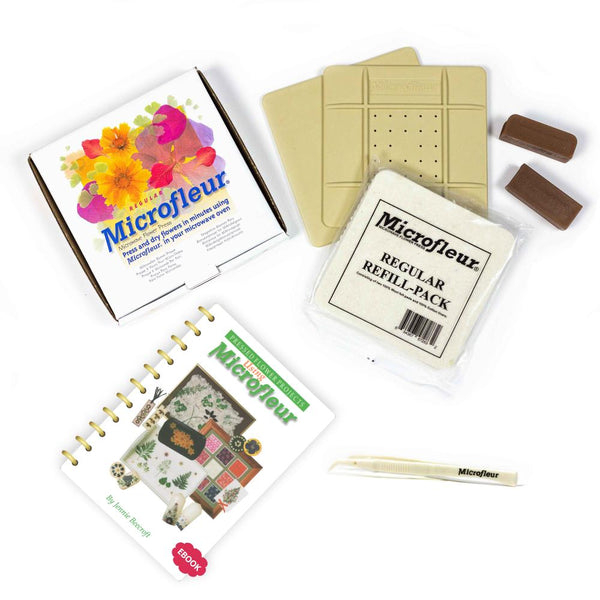
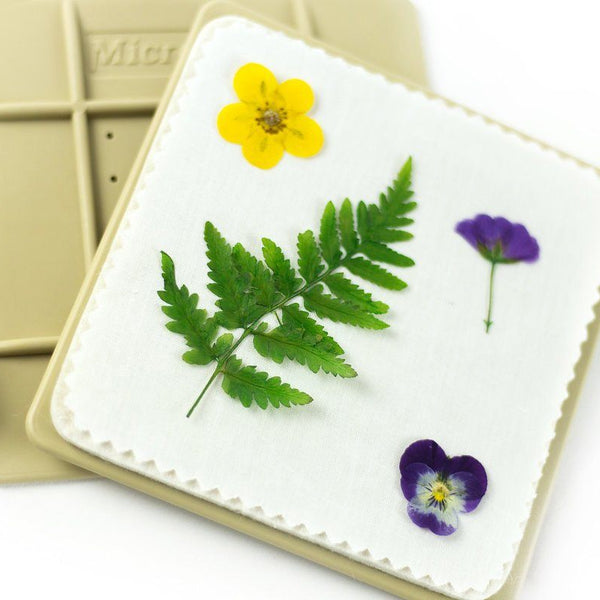
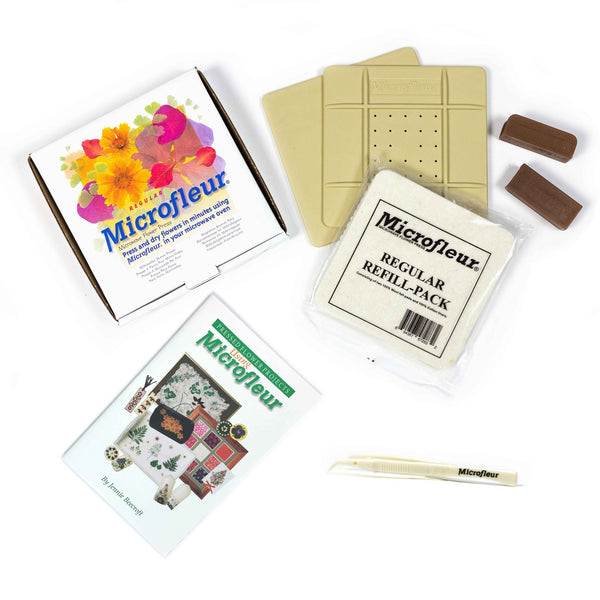
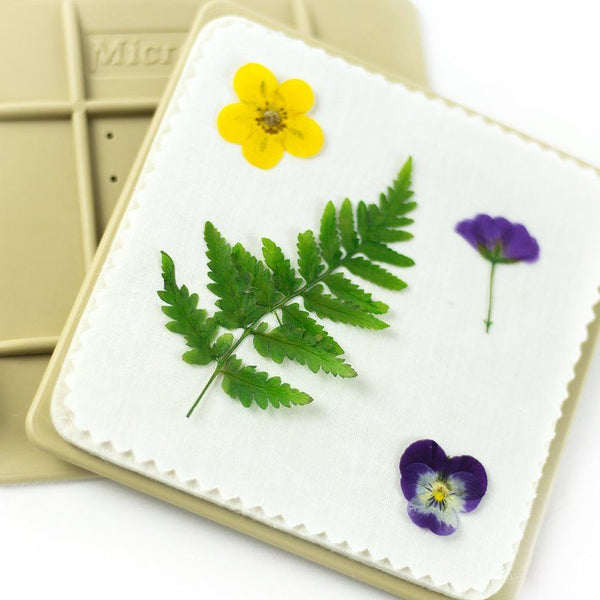
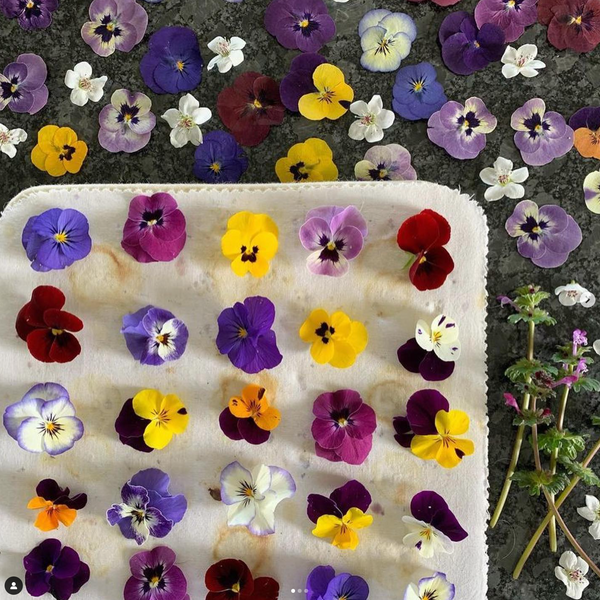
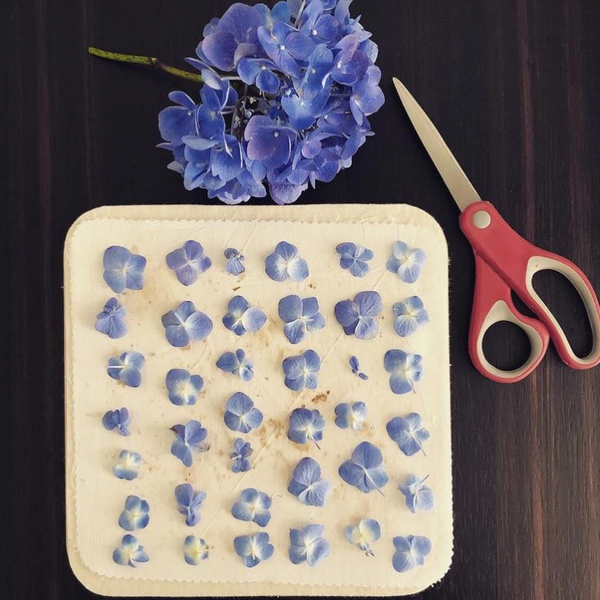
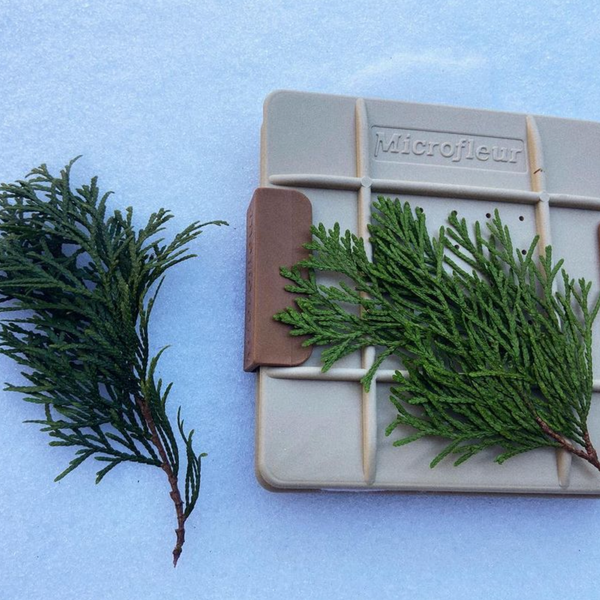
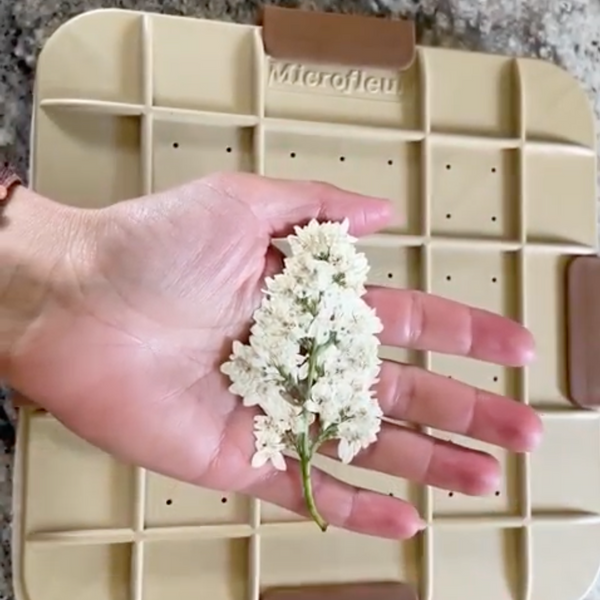
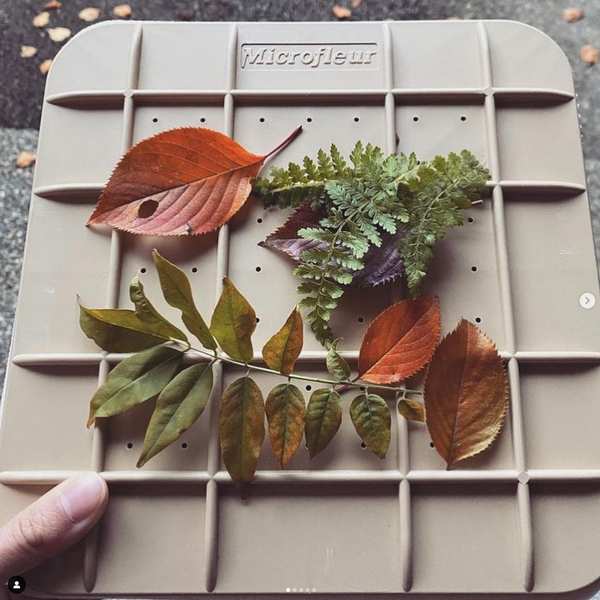
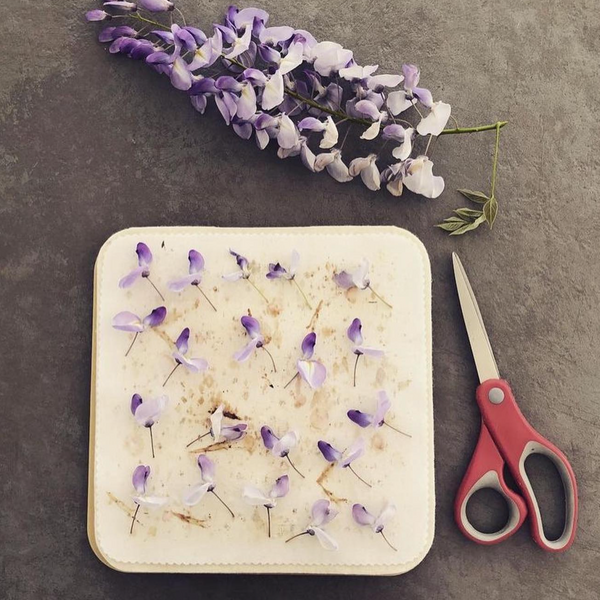
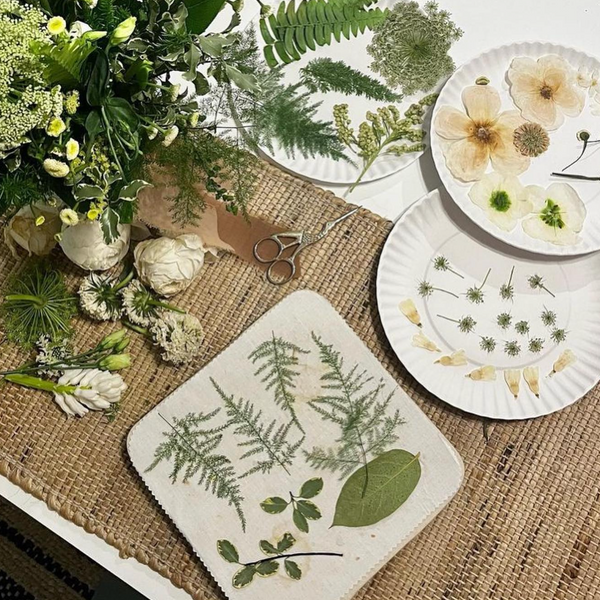
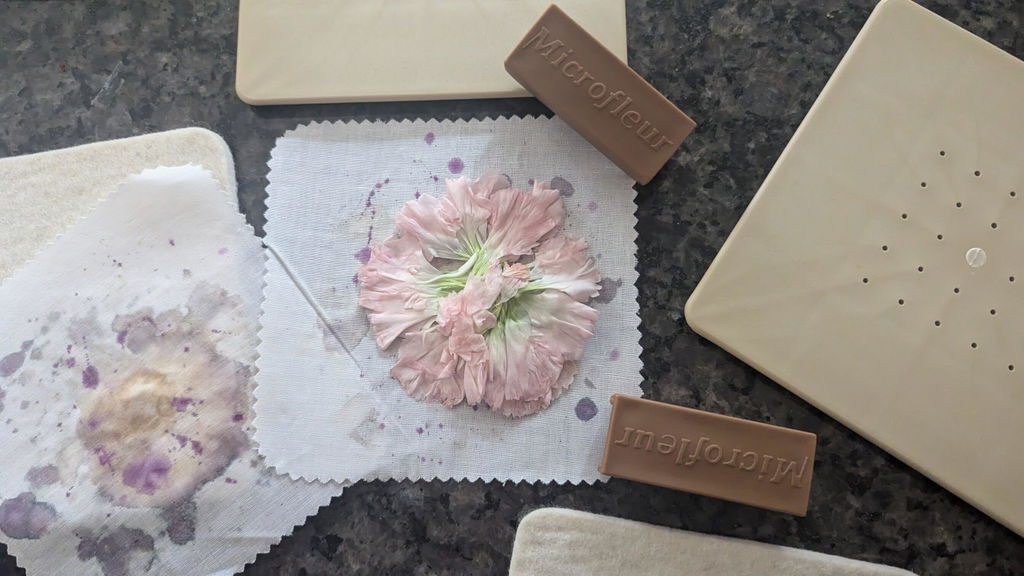
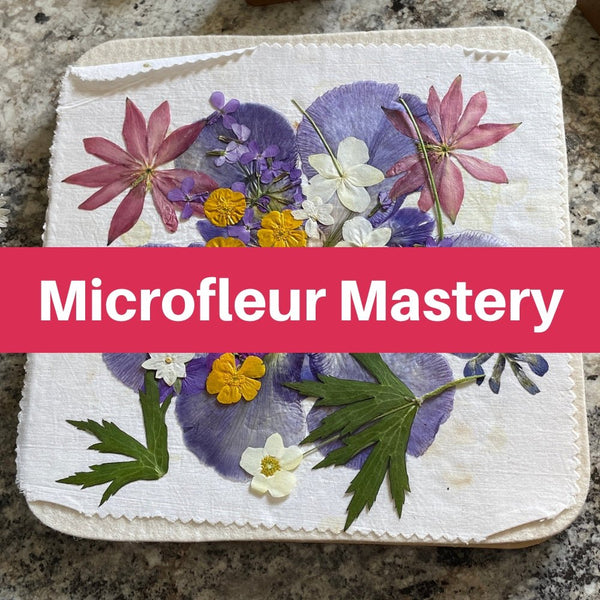
Pressed flowers need to be completely dry and flat before they go into a bookmark. A Microfleur microwave flower press presses them in minutes and keeps their color, so you can pick, press, and make a bookmark on the same day. New to pressing? The free Microfleur Mastery course shows you how, step by step.
FAQs
Do you need glue or a laminator to make keepsake bookmarks?
No. Peel-and-stick bookmark blanks seal on their own. You place your pieces inside, close the layers, and smooth them down.
What can you put inside a keepsake bookmark?
Anything thin and flat: pressed flowers and leaves, small photos, scrapbook paper, stickers, and tiny notes.
How do you keep air bubbles out?
Use thin pieces, leave a clear border around the edges, and smooth from the center out toward the edges as you close the bookmark.