

How to Make Pressed Flower Seed Paper
Pressed flower seed paper is one of those projects that feels equal parts crafty, thoughtful, and magical.
Not only do you get beautiful handmade paper decorated with real pressed flowers, but once it’s finished serving its purpose as a card, gift tag, or note, it can actually be planted to grow flowers!
It’s a lovely way to combine creativity with sustainability — and it makes such a meaningful handmade gift.
Let’s make some together!

Supplies You’ll Need
For the Paper
-
Scrap printer paper or construction paper
-
Water
-
Flower seeds
-
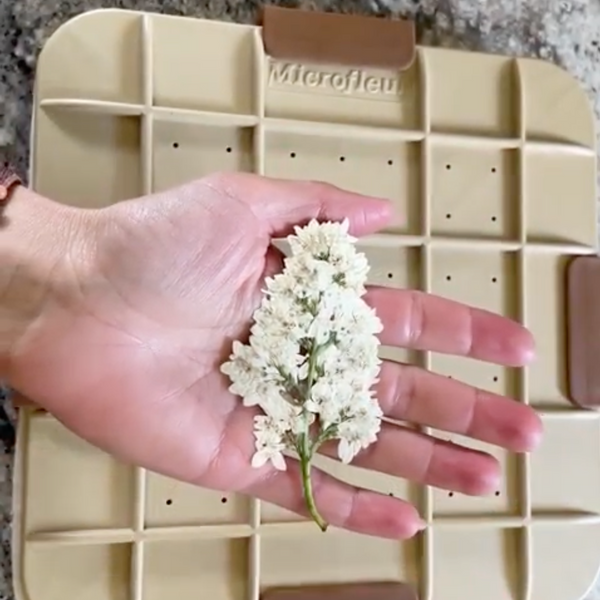
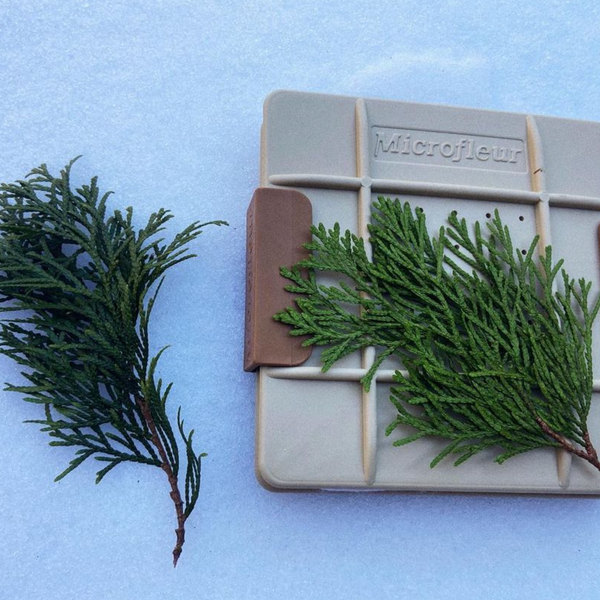
Pressed flowers
Tools & Equipment
-
Blender or immersion blender
-
Large bowl
-
Spoon
-
Towels
-
Tweezers
-
Old picture frame or mold
-
Tight-weave cloth or Microfleur liners
-
Clothespins
Choosing Paper Colors
You can absolutely experiment with different paper colors, but there’s one helpful tip:
Try not to use only white paper.
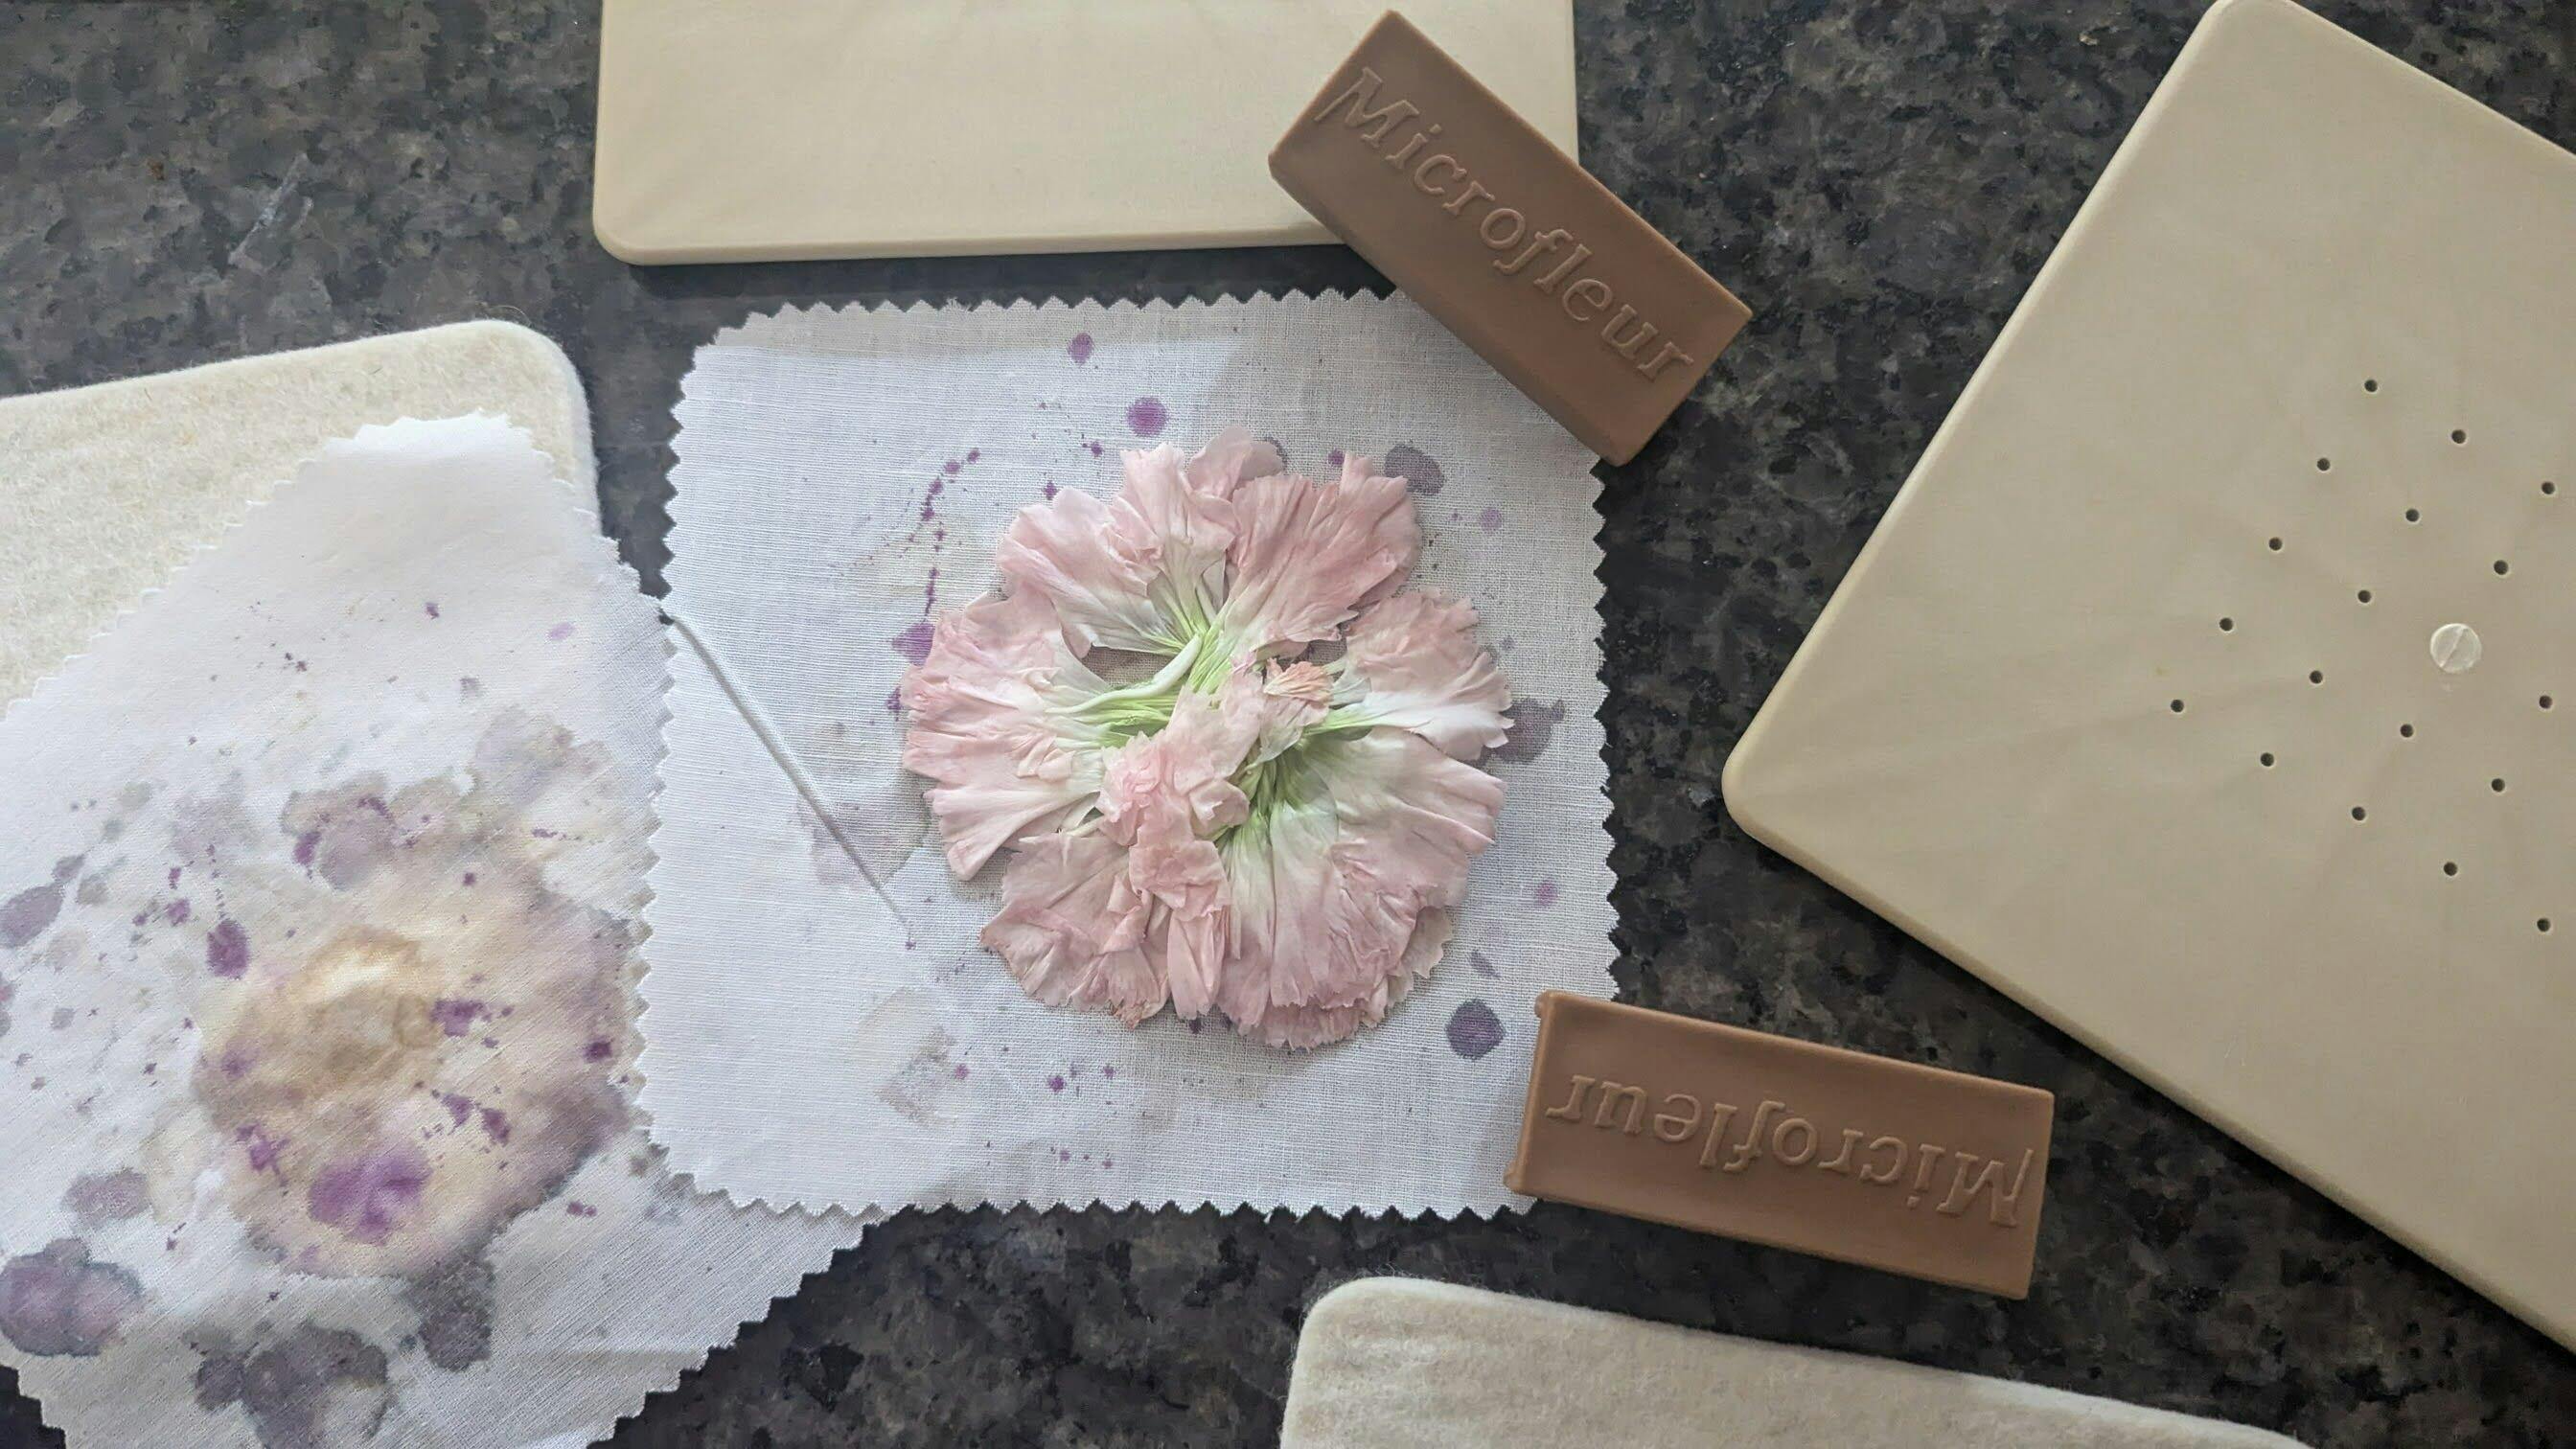
Because the paper starts out very wet, some flowers may release a little color while drying. On bright white paper, that bleeding can become very noticeable.
Instead:
-
mix white with a soft color
-
use pastel shades
-
stick to one gentle color tone
Soft peach, pink, lavender, or cream tones work beautifully.
Avoid mixing too many strong colors together though — otherwise the pulp may turn muddy or brown.
Step 1: Tear the Paper
Take your scrap paper and tear it into small pieces.
The smaller the pieces:
-
the faster they soak
-
the easier they blend into smooth pulp
This project is wonderfully forgiving, so uneven pieces are completely fine.
You can use:
-
printer paper
-
construction paper
-
uncoated paper scraps
Avoid heavily coated or laminated papers since they don’t absorb water well.
Step 2: Soak the Paper
Place the paper pieces into a bowl and cover with water.
Let the paper soak until it becomes:
-
soft
-
floppy
-
fully saturated
If you’re unsure whether it’s ready, let it soak longer. You really want the paper fibers softened so they blend easily.
Helpful tip:
Break apart any clumps while soaking to help the water reach all the paper.
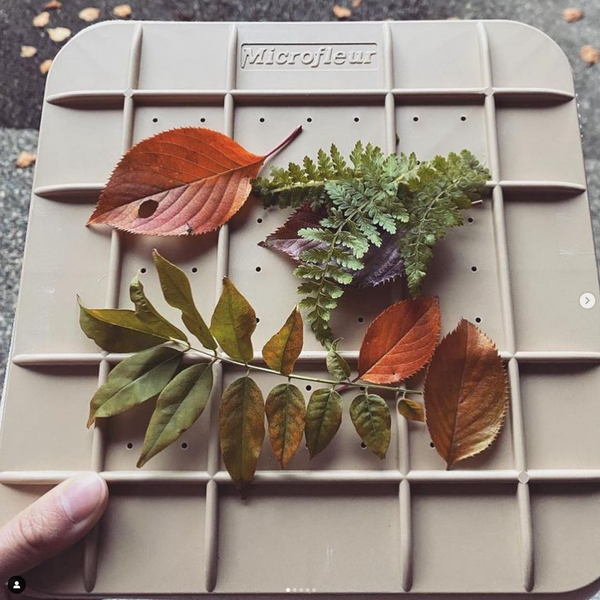
Step 3: Prepare the Paper Mold
While the paper soaks, prepare your frame mold.
Using:
-
an old picture frame
-
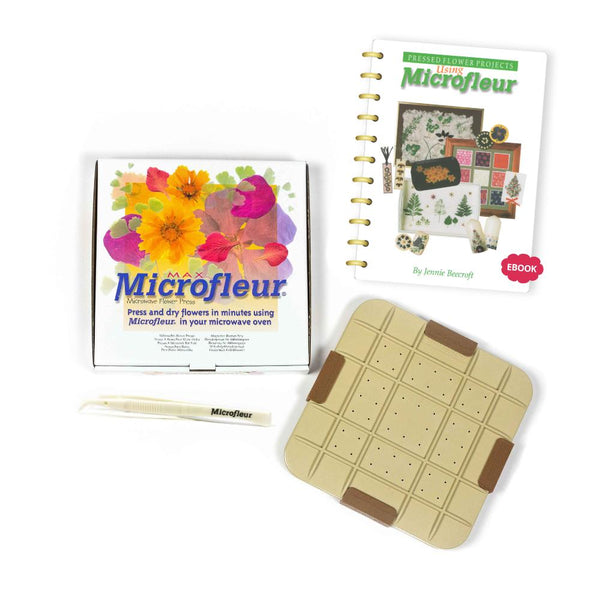
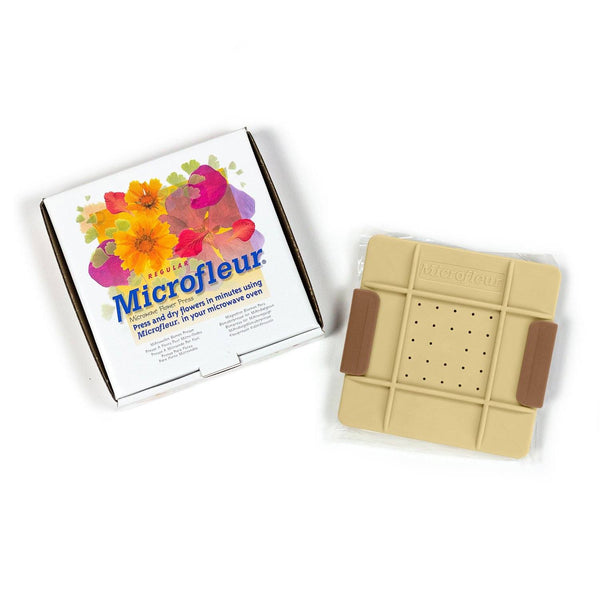
tight-weave cloth or a Microfleur liner
-
clothespins
stretch the cloth tightly across the back of the frame.
Pull it:
-
smooth
-
wrinkle-free
-
snug against the frame
The tighter the fabric, the smoother your finished paper will be.
Secure all sides well so pulp doesn’t slip underneath.
Step 4: Blend the Paper Pulp
Transfer the soaked paper and water into a blender.
You want:
-
more water than paper
-
enough liquid for everything to move freely
Blend until the mixture becomes a soft pulp.
It may still look slightly lumpy, but the smoother the pulp, the smoother your finished paper will feel.
The texture should resemble soft wet fiber pulp rather than recognizable paper pieces.
Step 5: Spread the Pulp Into the Mold
Lay a towel flat underneath your mold setup.
Scoop the pulp onto the cloth-covered frame and spread it evenly using a spoon.
As you work:
-
press gently
-
spread toward the edges
-
aim for an even thickness
Water will begin soaking through the cloth into the towel underneath, leaving the paper fibers behind.
You can gently press with the spoon to help remove extra moisture.
Tip:
Hold the frame steady while pressing so pulp doesn’t leak underneath the edges.
Step 6: Add the Seeds
Now comes the fun part 🌱
Sprinkle flower seeds evenly across the wet pulp.
You can use:
-
violas
-
wildflowers
-
herbs
-
pollinator-friendly blends
Choose seeds appropriate for your area, especially if gifting the paper to someone else.
The seeds themselves add lovely texture and visual detail to the paper — almost like natural confetti.
Gently press the seeds into the pulp using:
-
your fingers
-
or the back of a spoon
You can leave the seeds visible or add another thin layer of pulp over them if you’d rather hide them inside the paper.
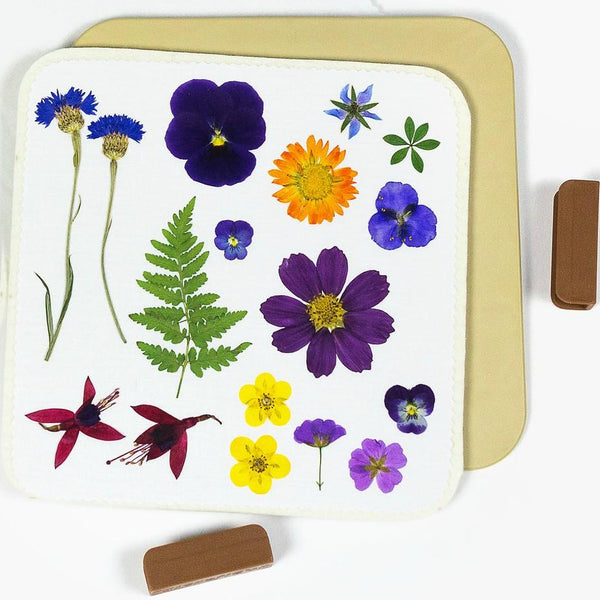
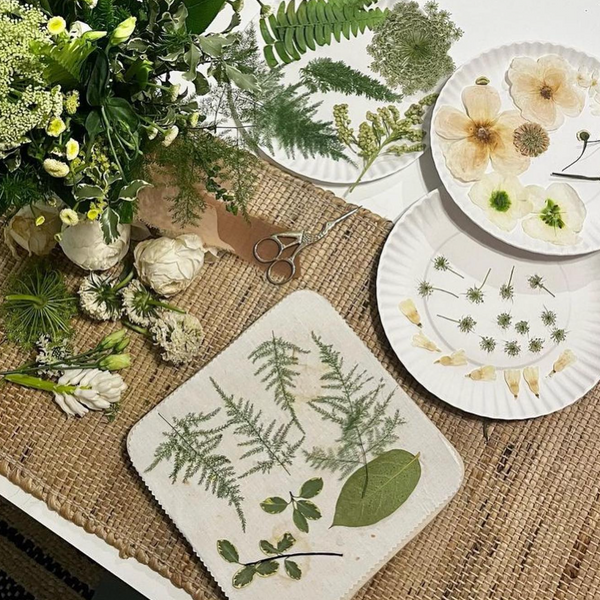
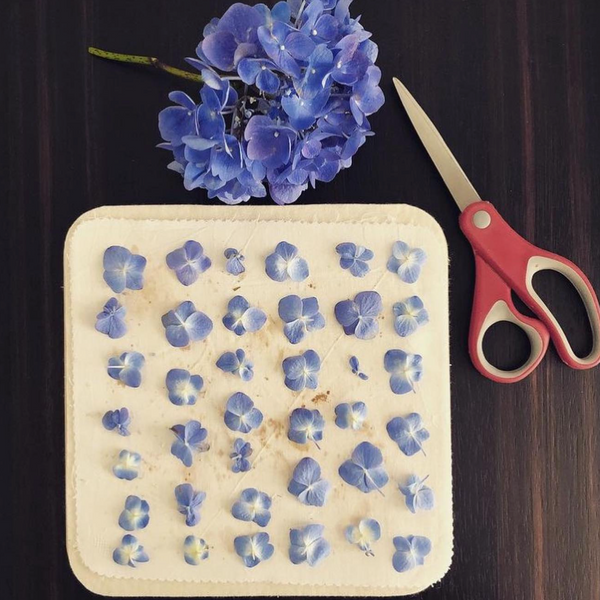
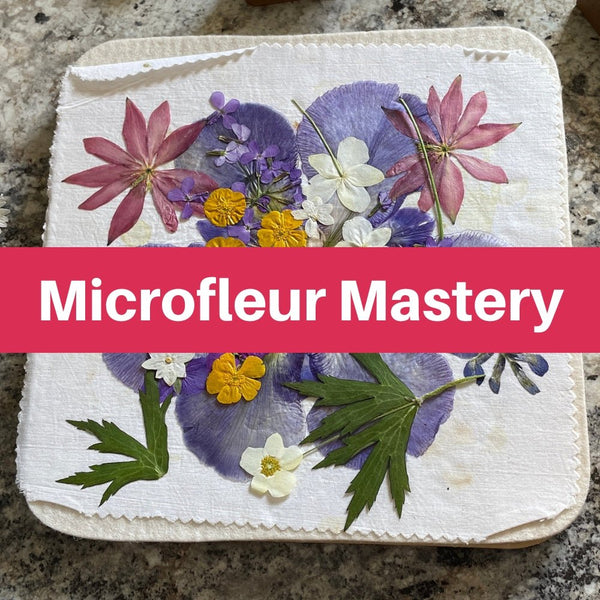
Step 7: Decorate With Pressed Flowers
Now it’s time to decorate with your pressed flowers 🌸
Using tweezers if needed:
-
arrange flowers across the wet paper
-
gently press them down into the pulp
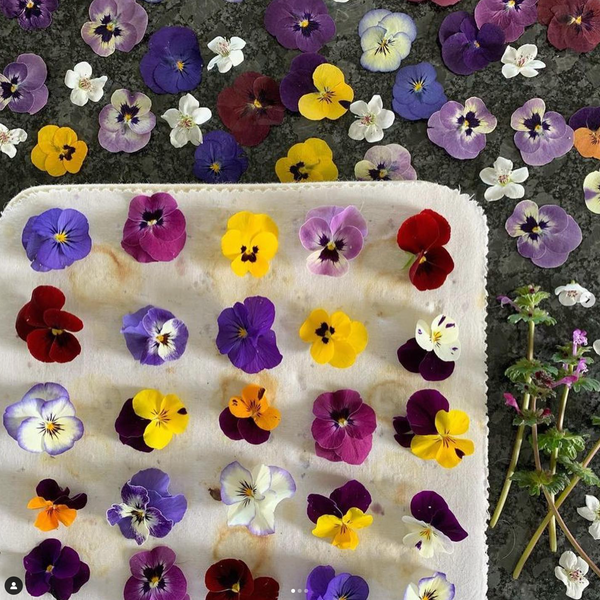
You can:
-
scatter flowers naturally
-
create patterns
-
design little botanical scenes
Keep in mind:
-
flowers only stick where the paper is wet
-
overlapping petals may not fully adhere to each other
The moisture in the pulp will hold them in place as the paper dries.
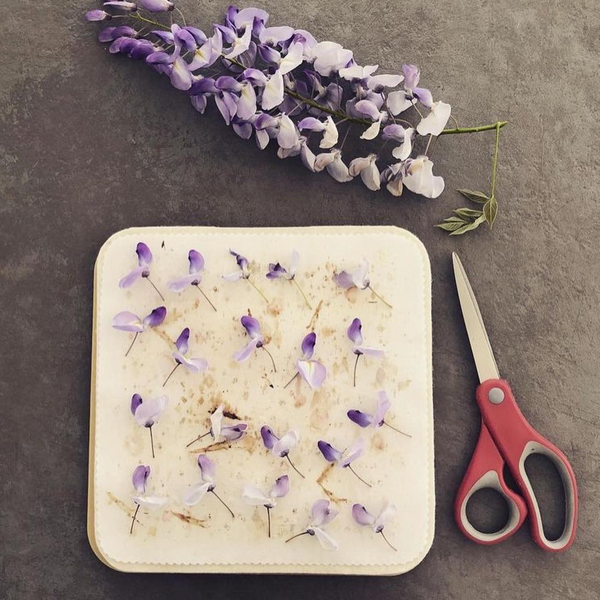
Dark flowers can create especially beautiful contrast against soft pastel paper backgrounds.
Step 8: Remove Excess Water
Once your flowers and seeds are in place:
-
gently press out additional moisture
-
use towels to absorb excess water
The drier you can get the paper early on:
-
the less likely flowers are to bleed
-
the flatter everything will dry
Remember:
This project isn’t meant to last forever like framed pressed flower art. It’s designed to be enjoyed for a while and then planted, so a little softness or color blending is perfectly okay.
Step 9: Unmold the Paper
Carefully remove the clothespins and lift the paper from the mold.
If you notice uneven edges or thin spots:
-
patch them with a little extra pulp
-
smooth them gently into place
At this stage, you can also experiment with shapes!
Instead of a rectangle, you could use:
-
cookie cutters
-
shaped molds
-
seasonal forms like leaves or hearts
These smaller shapes make beautiful gift tags.
Step 10: Dry the Seed Paper
Flip the paper carefully onto a dry cloth or towel.
Press gently again to remove more moisture.
Then allow the paper to dry flat.
Helpful drying tips:
-
place flowers face-down against cloth
-
keep airflow around the paper
-
lightly weight the paper if curling occurs
-
avoid trapping moisture completely
Once dry, the paper becomes firm and ready to use.
Creative Ways to Use Pressed Flower Seed Paper
Your finished seed paper can become:
-
greeting cards
-
gift tags
-
bookmarks
-
note paper
-
wedding favors
-
plantable invitations
-
scrapbook accents
You can even layer it onto cardstock for beautiful dimensional handmade cards.
And when someone is finished enjoying it?
They can plant it and grow flowers 🌿
Helpful Tips for Success
Softer Paper Blends Best
Uncoated papers break down into smoother pulp.
More Water Is Better Than Too Little
The pulp needs room to move freely while blending.
Press Out Moisture Gradually
This helps flowers stay flatter and reduces color bleeding.
Don’t Worry About Perfection
Tiny texture variations and rough edges add handmade charm.
Experiment Freely
Try:
-
different flower colors
-
mixed seeds
-
shaped molds
-
layered flower arrangements
Every batch turns out uniquely beautiful.
Let Your Creativity Grow
Pressed flower seed paper is such a joyful blend of art and nature. It’s handmade, meaningful, eco-friendly, and full of possibility — first as a beautiful gift, and later as blooming flowers in the garden.
There’s something so special about creating paper that doesn’t just preserve nature… it helps grow more of it.
Happy crafting!