
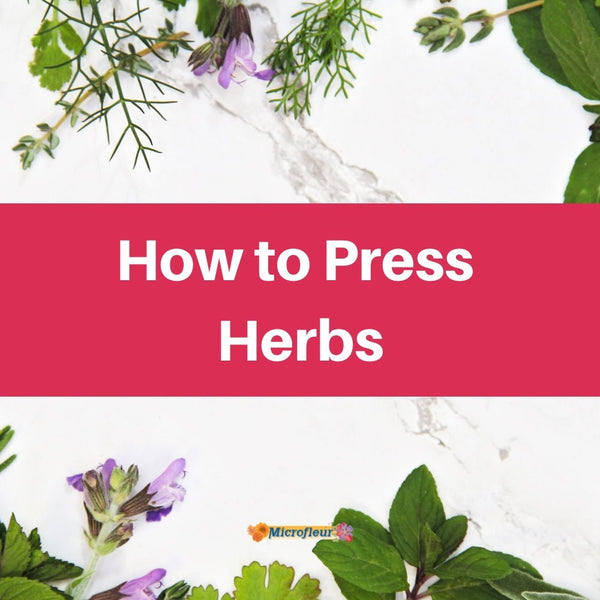

How to Create Pressed Flower Nail Art
If you love flowers and tiny details, pressed flower nail art is such a fun way to wear a little piece of nature every day.
This simple technique uses real pressed flowers to create delicate botanical nails that feel soft, creative, and completely unique. Forget-me-nots are especially perfect because they fit beautifully on fingernails, but you can experiment with any tiny pressed blooms you love.
The best part? You don’t need fancy tools or professional nail experience to create beautiful results.
Let’s make some floral nails together!

Supplies You’ll Need
Nail Supplies
-
Clear nail polish
-
Clear top coat
-
Optional glitter or sparkly top coat
Flower Supplies
-
Tiny pressed flowers
(Forget-me-nots work beautifully!)
Tools
-
Tweezers
-
Small piece of paper (optional for helping position flowers)
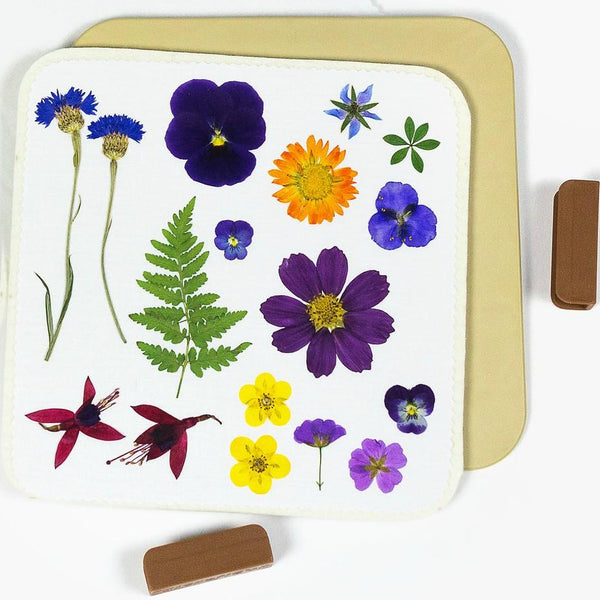
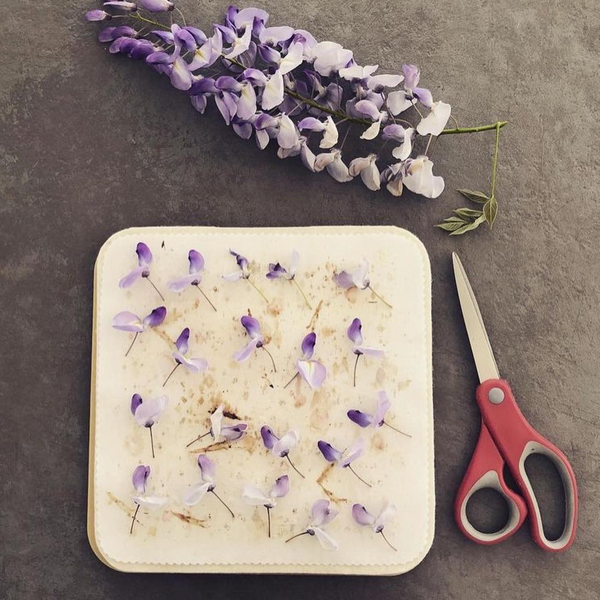
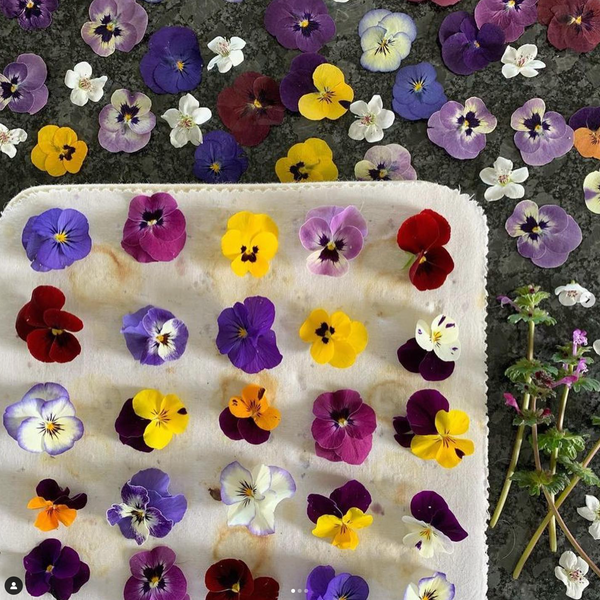
Choosing Flowers for Nail Art
Tiny flowers work best for this project.
Forget-me-nots are especially lovely because:
-
they’re naturally small
-
they press beautifully
-
they fit nicely on fingernails
-
you can layer more than one flower per nail
You can also use:
-
tiny petals
-
small leaves
-
miniature blossoms
-
delicate fern pieces
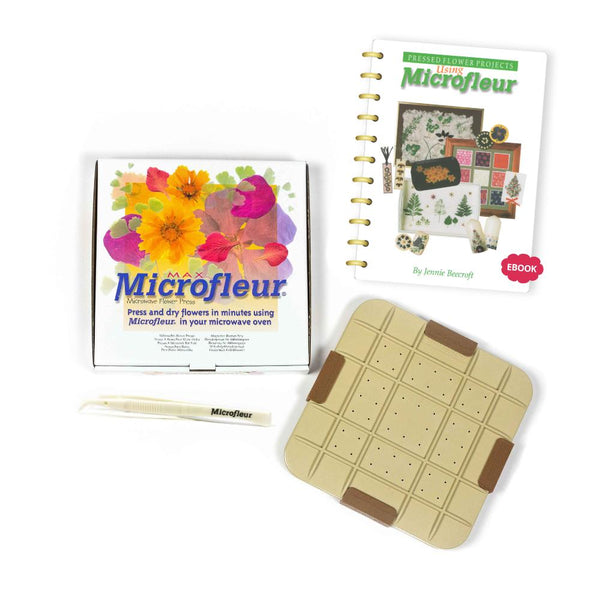
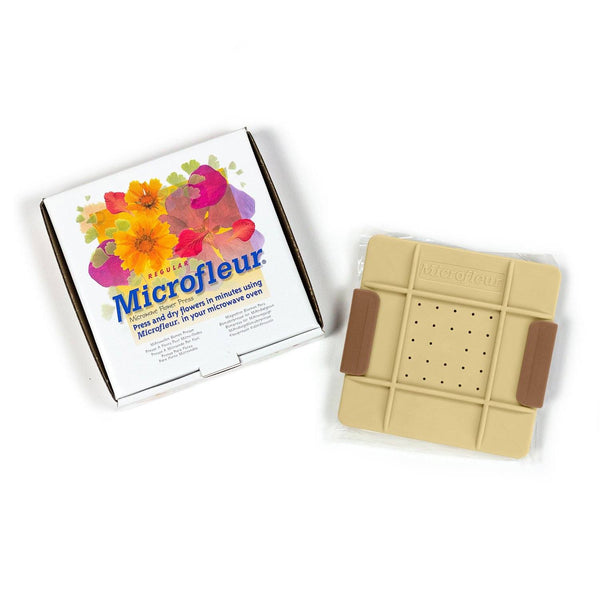
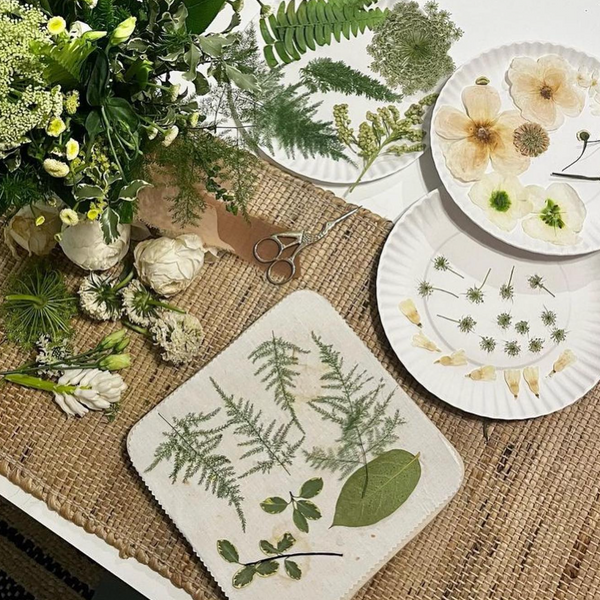
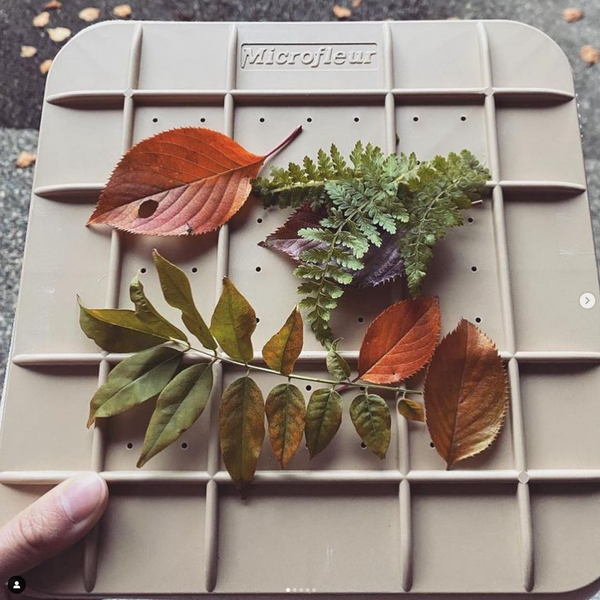
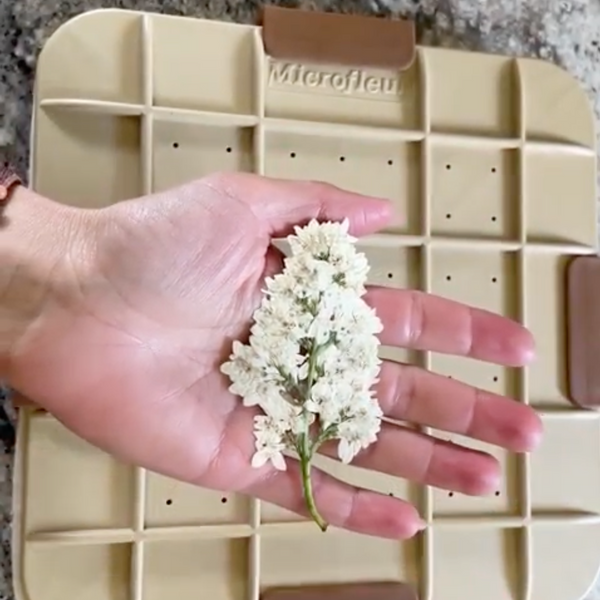
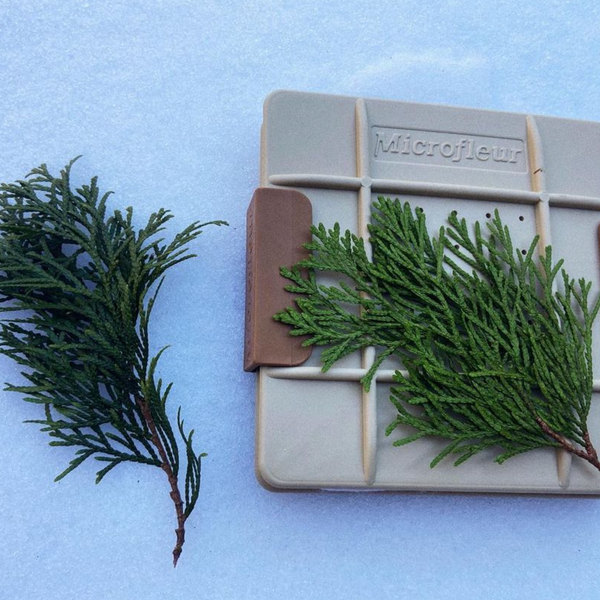
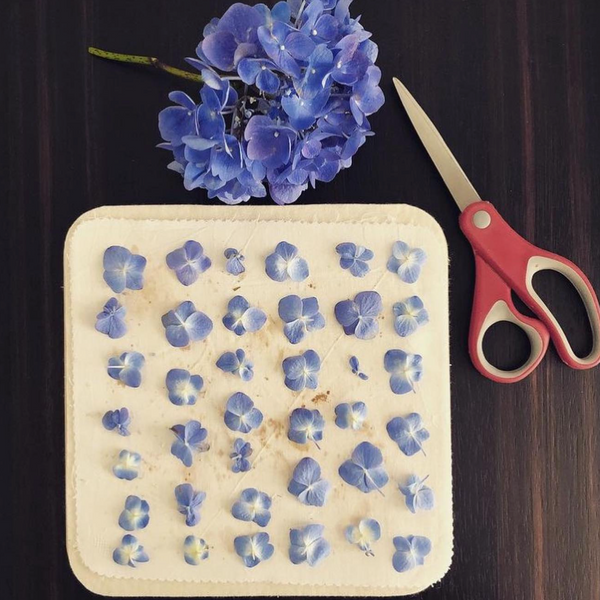
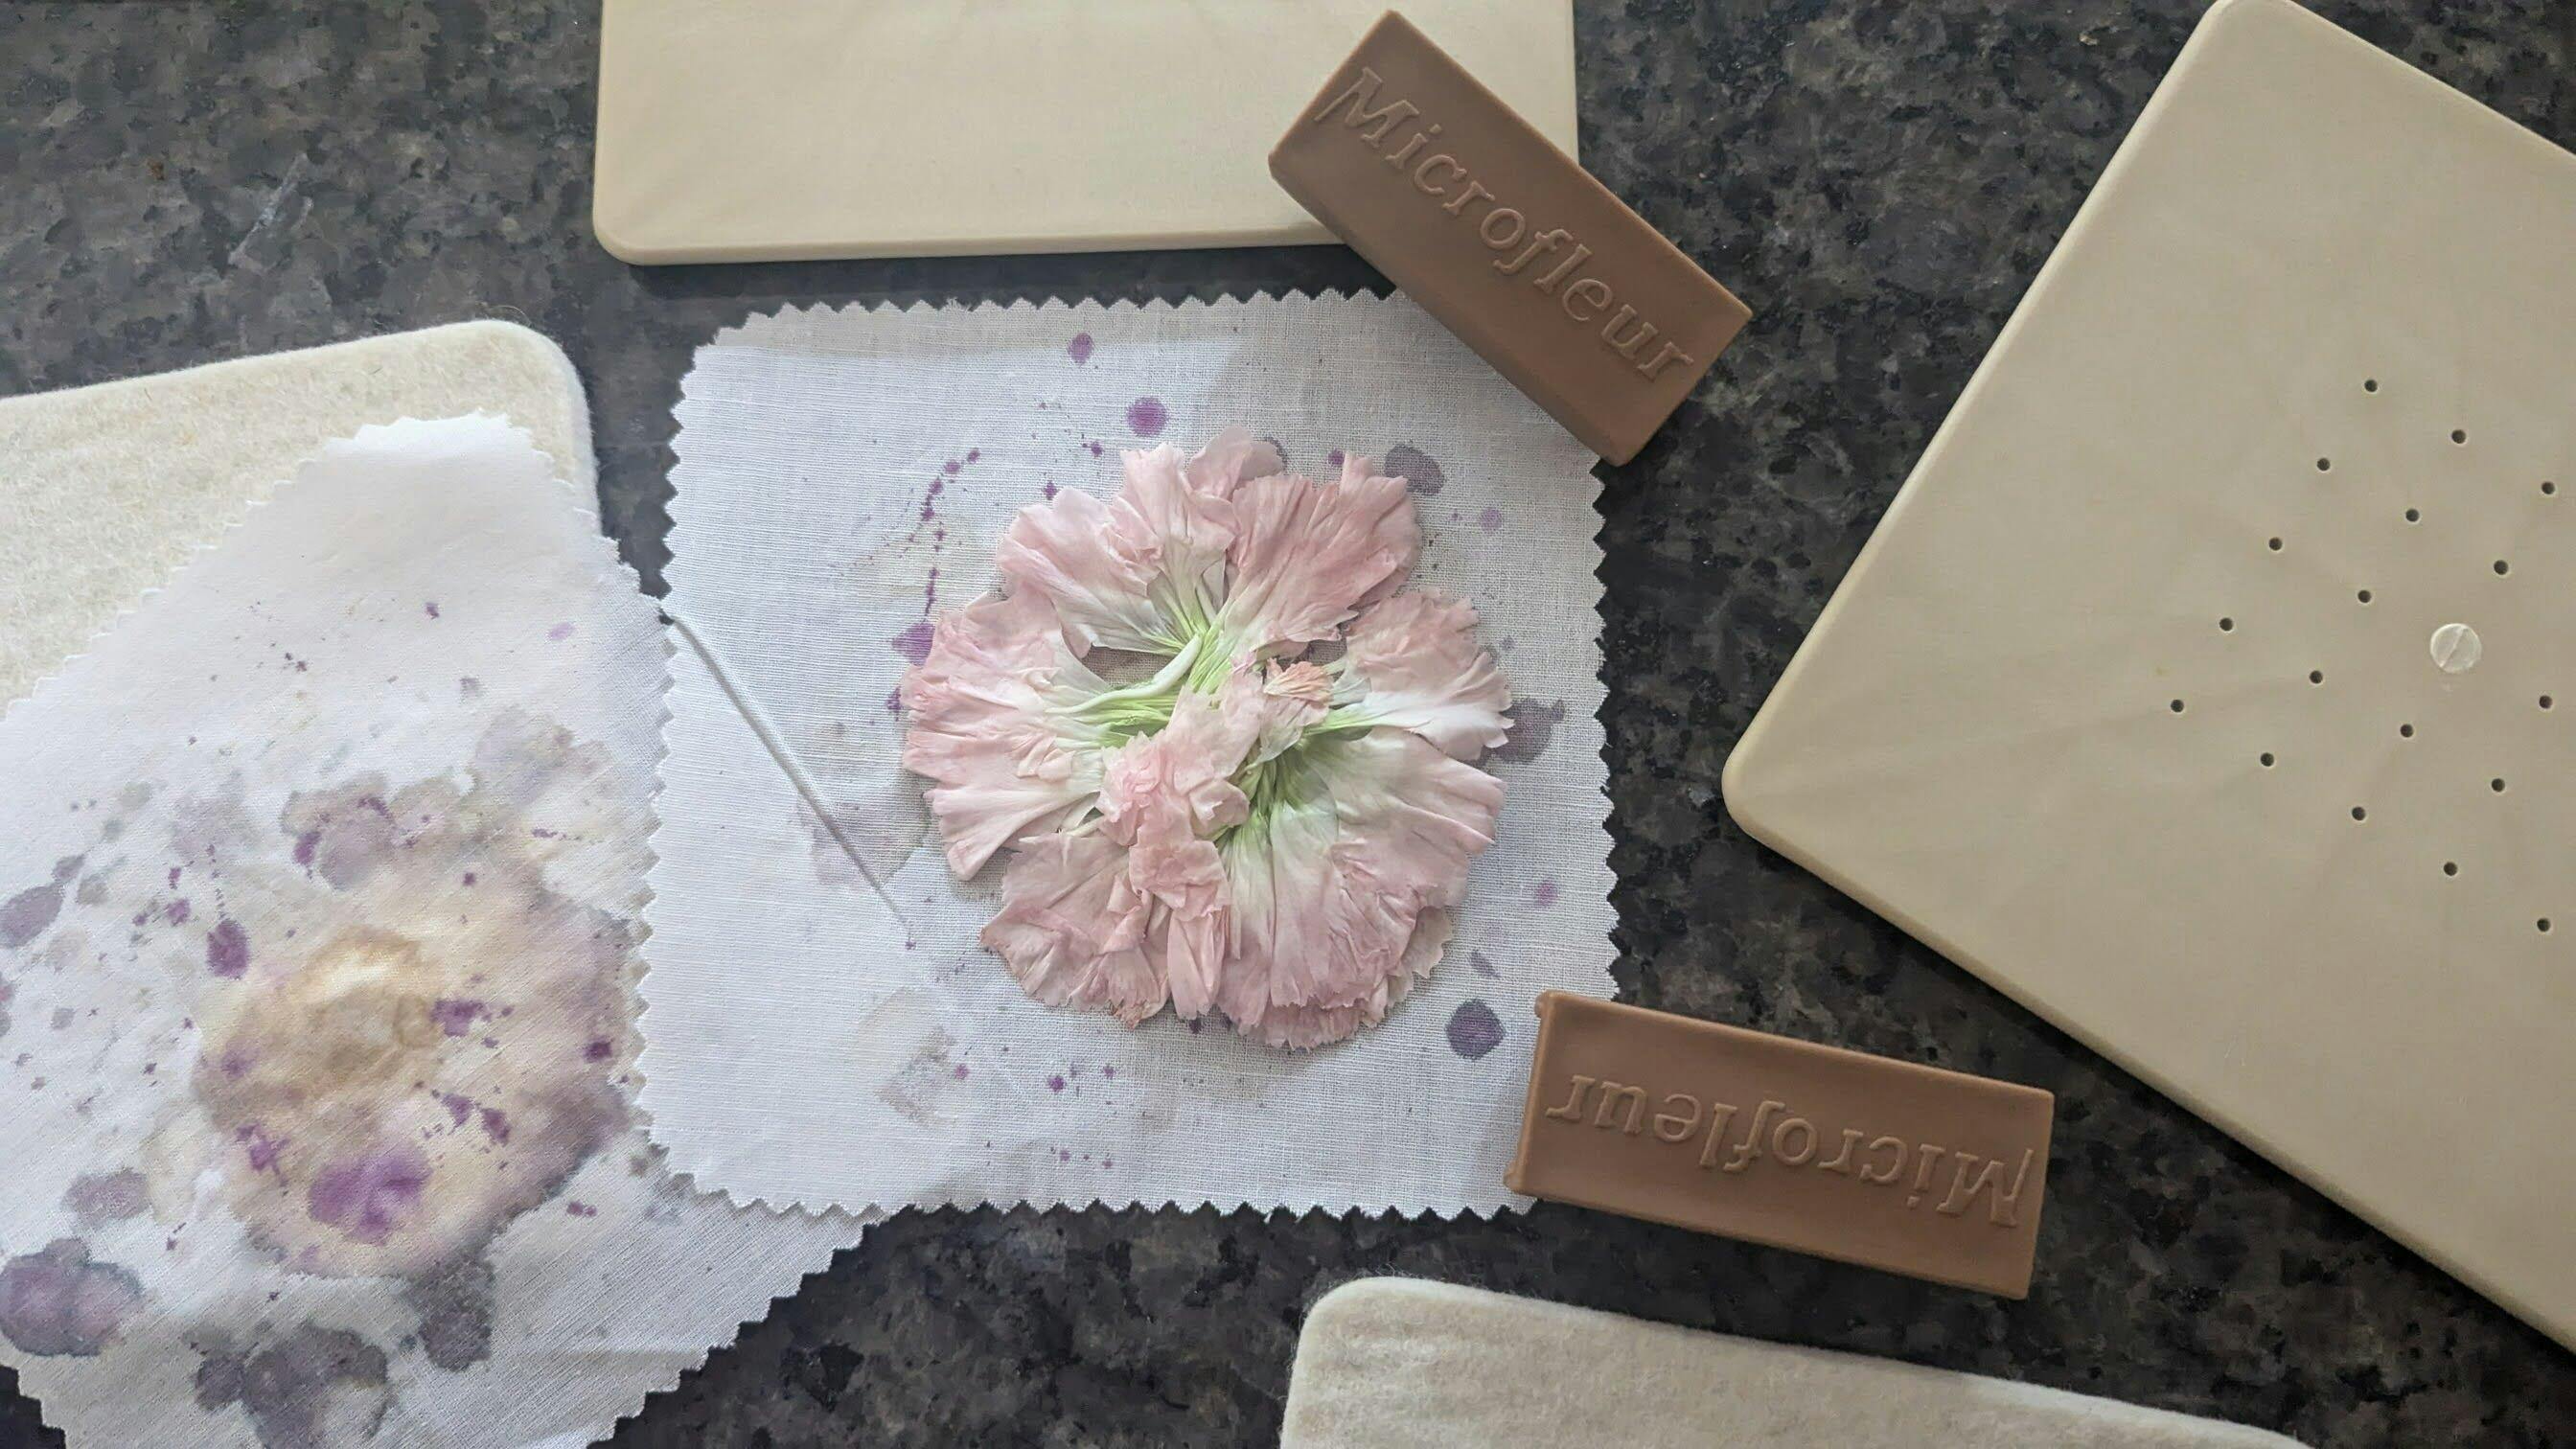
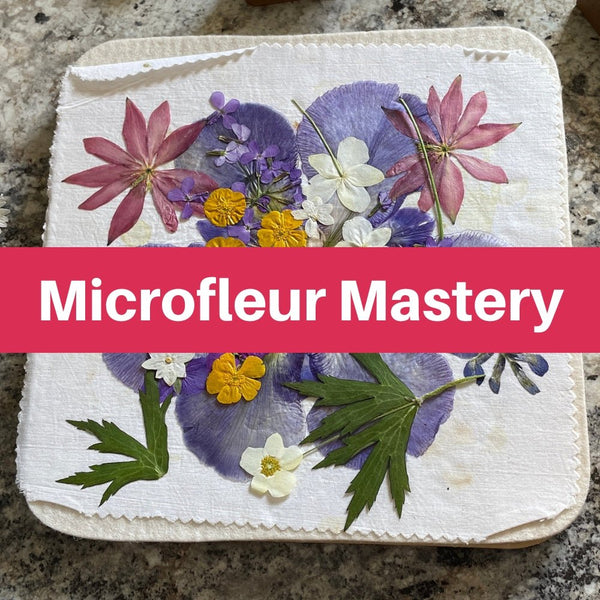
The flowers in this tutorial were pressed using a Microfleur microwave flower press, which makes pressing flowers quick and easy while helping preserve vibrant color.
Step 1: Prep Your Nails
Before adding flowers:
-
Clean and prep your nails.
-
Apply your chosen nail color if desired.
-
Allow the polish to dry completely.
You can use:
-
natural nails
-
pastel polish
-
bold colors
-
neutral tones
Pressed flowers look beautiful against almost any background.
Step 2: Plan Your Design
Before applying polish, arrange your flowers and decide:
-
which flower goes on each nail
-
whether you want one flower or multiple blooms
-
what color combinations you like best
Mixing flower sizes can create really pretty dimension and variation across your nails.
There’s no single “right” design — just have fun with it 🌿
Step 3: Apply Clear Polish
Working one nail at a time:
-
Apply a generous coat of clear nail polish.
-
While the polish is still wet, place your pressed flower onto the nail.
Tweezers make this much easier for delicate flowers.
Step 4: Position the Flower
Gently press the flower into the wet polish.
Some flowers may curl slightly or resist laying flat, especially if leaves or thicker parts are still a little stiff.
A few helpful tricks:
-
Use tweezers carefully to guide petals into place
-
Use a small piece of paper to help press the flower gently
-
Hold the flower down lightly until the polish becomes tacky
Be patient here — once the polish begins to dry, it will help hold the flower securely in place.
Step 5: Let the Nails Dry
Allow the clear polish layer to dry thoroughly before sealing.
This helps prevent the flowers from shifting when adding the top coat.
Step 6: Seal the Flowers
Once dry:
-
Apply another coat of clear polish or clear top coat.
-
Cover the flower completely to help protect and seal it.
Optional:
-
Add glitter polish
-
Use a sparkly top coat
-
Layer additional clear coats for extra durability
This final layer helps protect the flowers and gives your nails a smooth finished look.
Helpful Tips for Pressed Flower Nail Art
Smaller Flowers Work Best
Tiny blooms are easier to position and seal smoothly.
Work One Nail at a Time
The polish needs to stay wet while placing flowers.
Be Gentle
Pressed flowers are delicate, especially tiny petals.
Let Each Layer Dry
This helps prevent flowers from sliding or lifting.
Experiment with Designs
Try:
-
one flower accent nails
-
full floral nails
-
layered blossoms
-
tiny leaves mixed with petals
Why Pressed Flowers Are Perfect for Nail Art
Pressed flowers create a soft, natural look that stickers and decals just can’t quite replicate. Every petal is unique, making each manicure feel handmade and artistic.
It’s like carrying a tiny garden with you everywhere you go.
Let Your Creativity Bloom
Pressed flower nail art is such a fun way to combine beauty, creativity, and nature into one tiny wearable project.
Whether you keep it simple with one tiny forget-me-not or create a full floral manicure, these nails always feel fresh, delicate, and beautifully personal.
And once you start experimenting with pressed flowers, you’ll discover endless ways to use them in cards, crafts, jewelry, home décor, and more.
Happy creating!
[Disclosure: Keep in mind that some of the links in this post are Amazon affiliate links which mean we earn a commission if you click through and purchase something. However, we only recommend products that we have used ourselves and the decision is yours whether or not to purchase an item.]