

How to Make Pressed Flower Coasters
Pressed flower coasters are one of those projects that feel both elegant and wonderfully simple. They’re beautiful enough to display on a coffee table, thoughtful enough to give as handmade gifts, and easy enough for a relaxing afternoon craft session.
What makes these especially magical is the mirror backing. The reflection creates a soft floating effect behind the flowers, almost like they’re suspended inside the glass.
Let’s make some together!

Supplies You’ll Need
Materials
-
Mirror tiles
-
Glass tiles
-
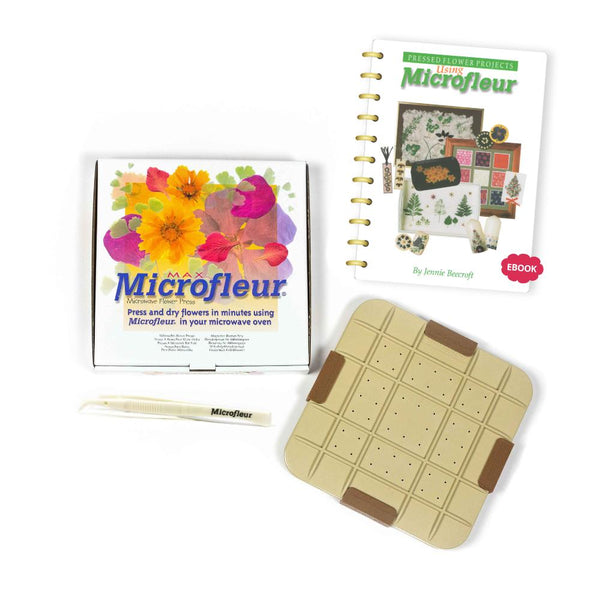
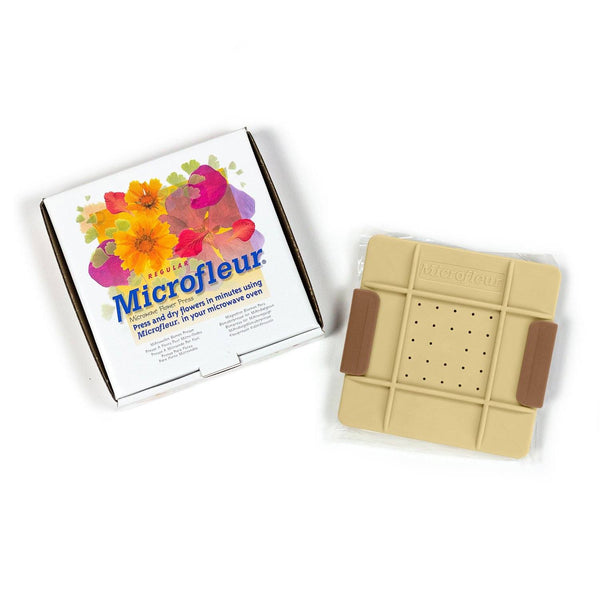
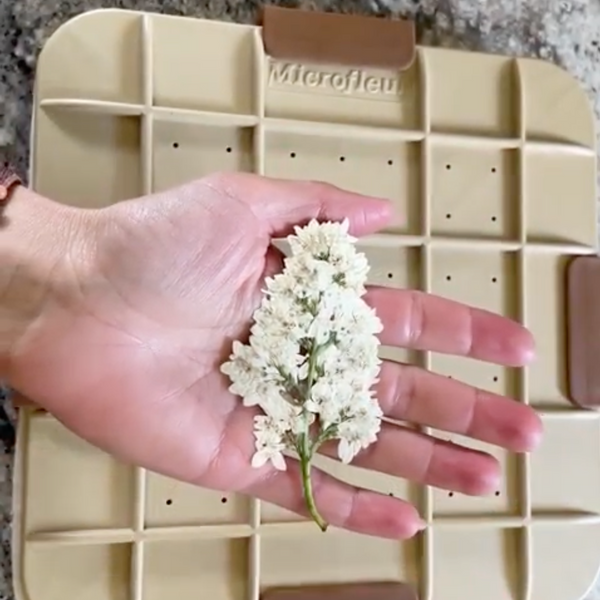
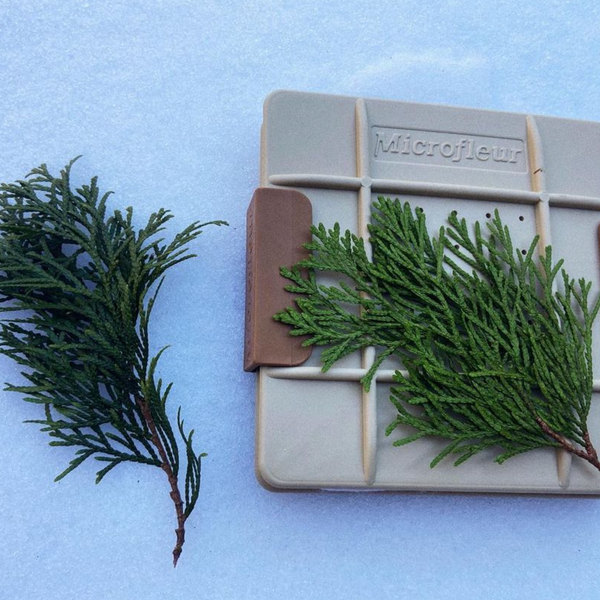
Pressed flowers
-
Copper tape
-
Silicone glue or clear-drying adhesive
Tools
-
Tweezers
-
Small scissors
-
Toothpicks
-
Soft cloth or rag
-
Rubbing alcohol or glass cleaner
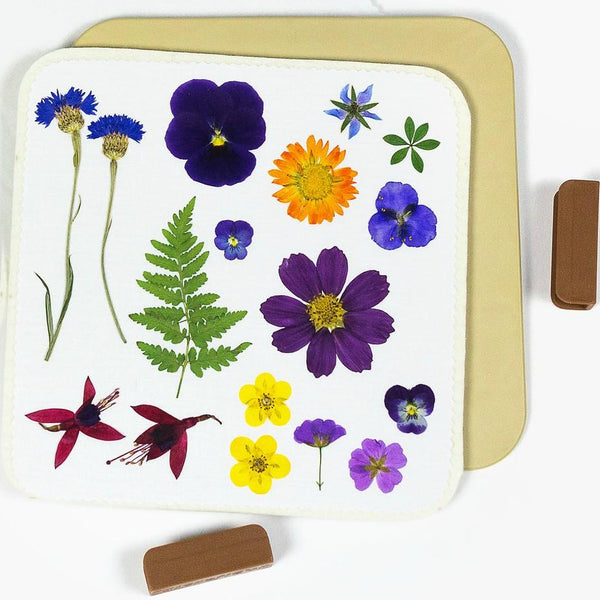
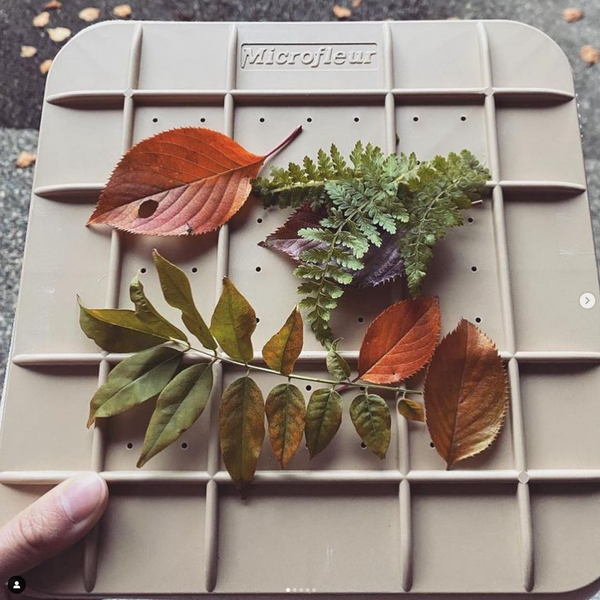
Tip: Flat flowers work best for this project since the flowers will be sandwiched between two hard surfaces.
Step 1: Clean the Glass and Mirror
Before you begin, clean:
-
the mirror tile
-
the underside of the glass tile
Use rubbing alcohol or glass cleaner with a soft cloth to remove fingerprints, dust, and smudges.
Since everything will be sealed inside, you’ll want the surfaces as clean as possible so nothing distracts from the beauty of the flowers.
You can clean both sides of the glass if you’d like, but keep in mind the top side will get fingerprints on it again while you work.
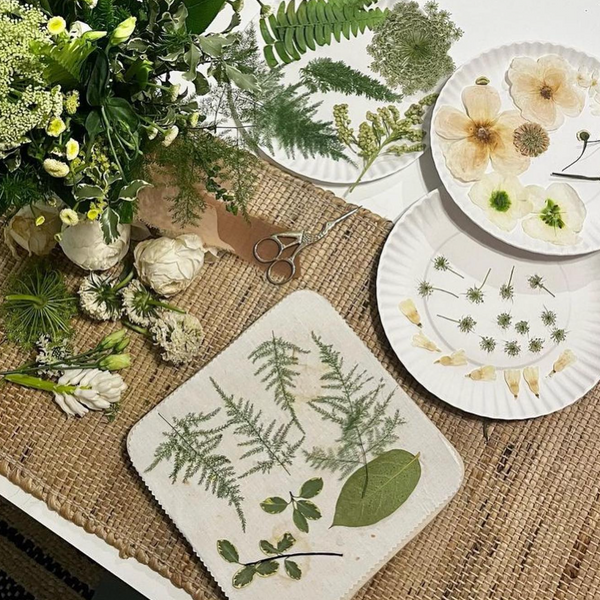
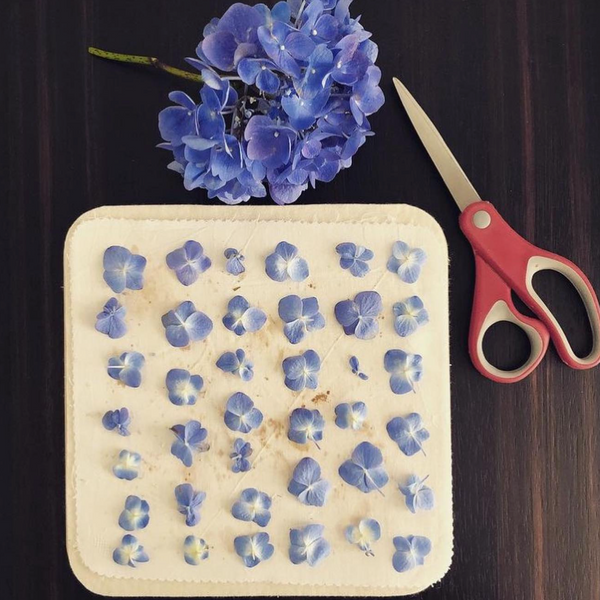
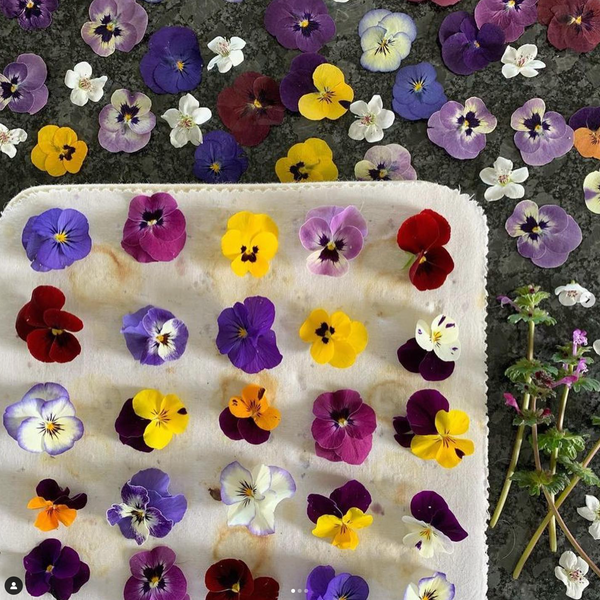
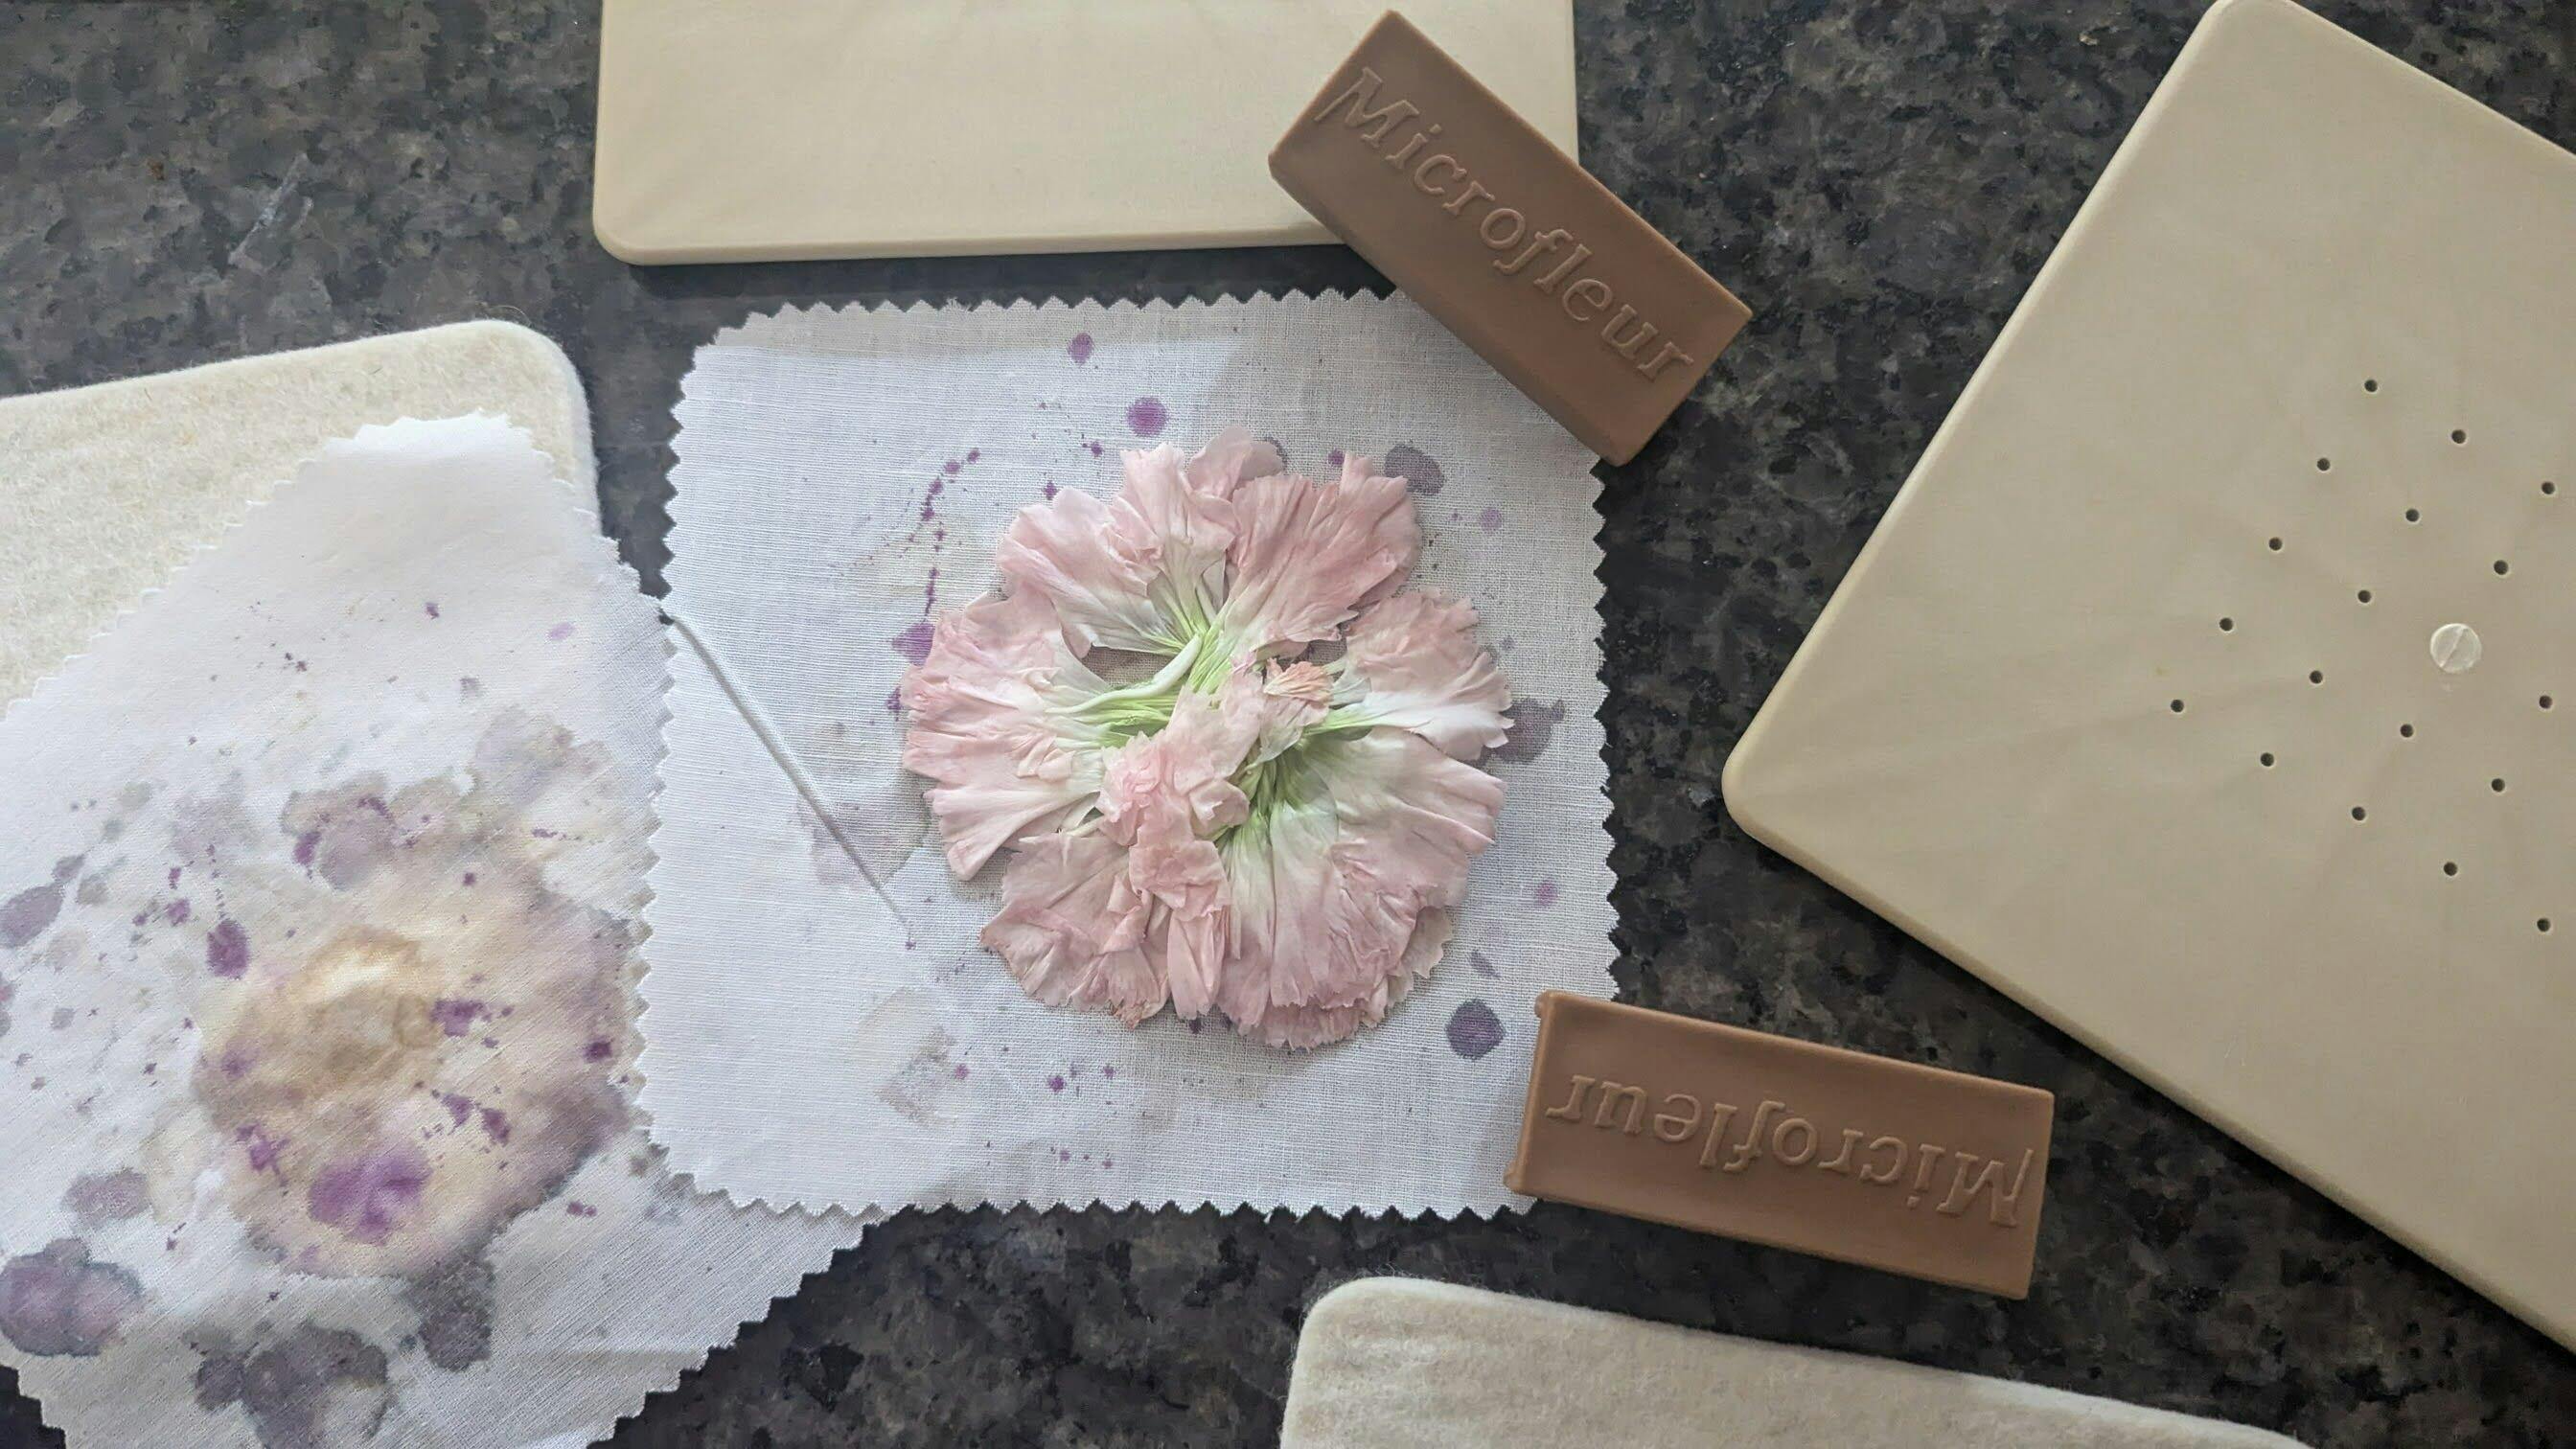
Step 2: Arrange Your Pressed Flowers
Now comes the creative part 🌿
Lay your flowers onto the mirror and experiment with different arrangements before gluing anything down.
A few tips:
-
Flat flowers are easiest to work with
-
Delicate blooms create a soft botanical look
-
Similar flower thickness helps the coaster stay level
If some flowers are slightly thicker, you can sometimes balance them across the design so the glass sits evenly.
Take your time here — this is where your coaster becomes uniquely yours.
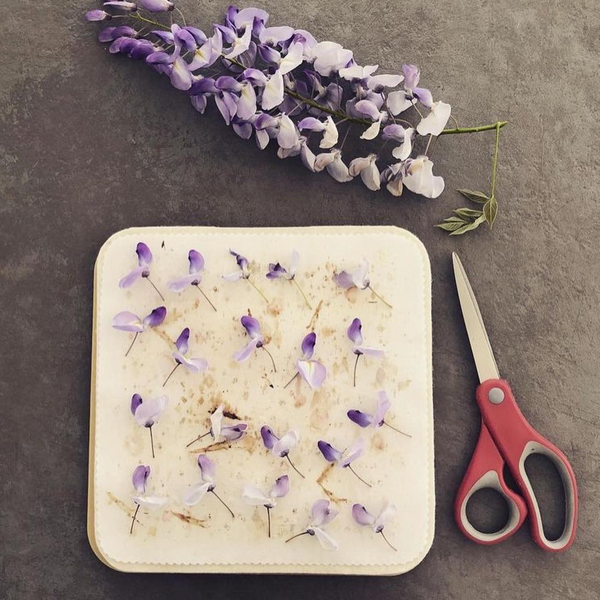
Step 3: Tack the Flowers in Place
Once you’re happy with your design:
-
Use a toothpick to apply a tiny dab of silicone glue.
-
Gently press the flower into place.
You only need enough glue to keep the flowers from sliding while you assemble the coaster.
Less is definitely more here.
Because the flowers are delicate:
-
handle them gently with tweezers
-
avoid smearing glue
-
try not to reposition them too much once placed
Allow the glue to dry completely before moving on.
Step 4: Add the Glass Tile
Place the glass tile carefully over the flowers.
If your glass tile has:
-
one flat side
-
and one beveled side
make sure the flat side faces downward against the mirror.
This helps the coaster sit more securely and reduces rocking.
Carefully line up the edges as evenly as possible.
Step 5: Apply the Copper Tape
Now it’s time to seal the edges.
Helpful Tip
Cut manageable lengths of copper tape instead of working directly from the whole roll. It makes the process much easier.
To apply:
-
Peel back a small section of the tape.
-
Start along one edge of the coaster.
-
Carefully press the tape around the sides.
As you work:
-
gently pinch the glass and mirror together
-
smooth the tape from the stuck edge toward the loose end
-
avoid pulling too tightly, especially around corners
If the tape tears or overlaps slightly, don’t worry — overlaps blend beautifully and still create a clean finish.
Step 6: Smooth the Edges
Once all sides are taped:
-
run your thumb gently along the edges
-
fold any excess tape over the front and back
-
smooth down corners carefully
This creates a polished gold border around the coaster and helps secure everything tightly together.
If needed, press the corners a little extra to help them stick well.
Step 7: Clean and Finish
Use a lightly damp cloth to wipe away fingerprints from the glass.
Be careful not to saturate the tape with cleaner while the adhesive is still settling.
Once cleaned, your coaster is ready to use!
Helpful Tips for Success
Choose Flat Flowers
Thin, flat blooms make assembly much easier and help prevent rocking.
Use Tiny Amounts of Glue
You only need enough adhesive to stop flowers from shifting.
Tape Holds Everything Securely
Once taped tightly, the coaster becomes surprisingly sturdy.
Don’t Worry About Overlaps
Copper tape overlaps blend nicely and add to the handmade charm.
Flowers May Naturally Fade Over Time
Because coasters are exposed to light, some fading may happen eventually — but many people love the soft vintage look this creates.
And the best part?
You can always untape the coaster later and refresh it with new flowers.
The Mirror Effect Makes These Extra Special
One of the prettiest details in this project is the mirror backing.
When the light catches it just right, the flowers reflect softly underneath and almost appear to float inside the glass. It adds depth and a little touch of magic that’s hard to capture in photos but beautiful in person ✨
Creative Ways to Use Pressed Flower Coasters
These lovely botanical coasters can be:
-
used daily on coffee tables
-
displayed as mini pieces of wall art
-
gifted as handmade presents
-
customized for weddings or events
-
made seasonally with spring blooms or autumn leaves
No two ever turn out exactly the same, and that’s what makes them so special.
Let Your Creativity Bloom
Pressed flower coasters are such a fun way to preserve tiny pieces of nature while creating something useful and beautiful.
Whether you make a matching set or mix different flowers and colors together, you’ll end up with handmade pieces that feel thoughtful, artistic, and full of personality.
We’d love to see what you create.