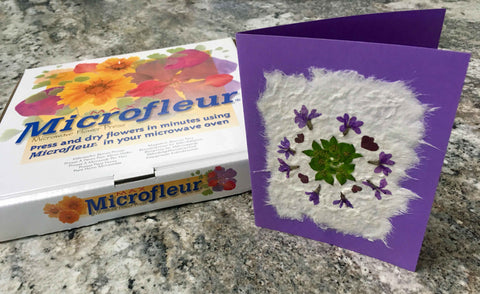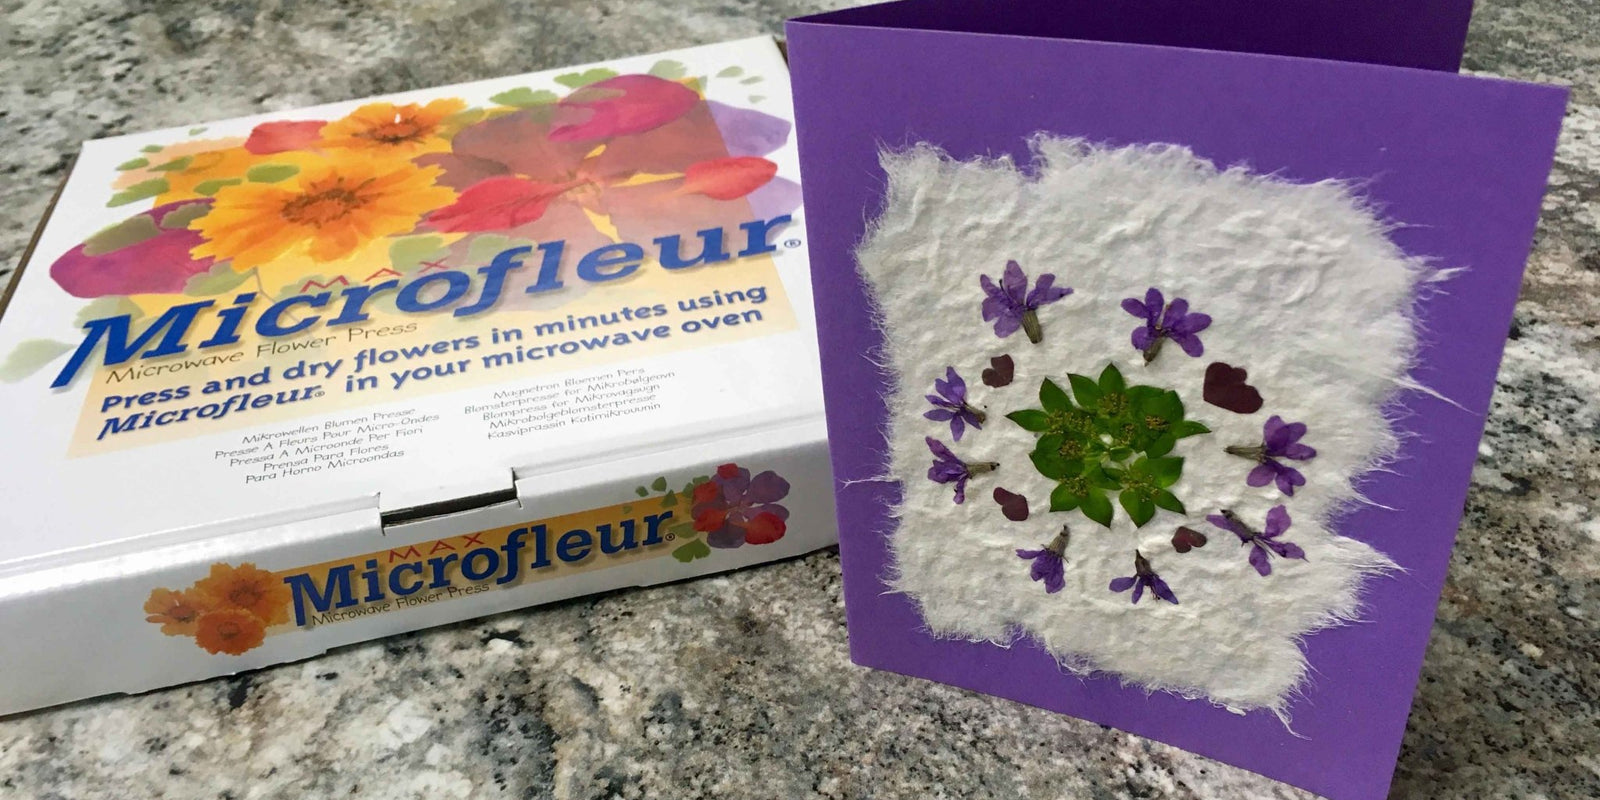
How to Create a Simple Pressed Flower Card.
Handmade cards are a great way to show someone you care. The fact that you took the time and effort to create something just for them adds that extra touch to any gift. They are great for Mother's Day, Father's Day, a birthday, Christmas, any special occasion, or just because. With pressed flower cards, the flowers themselves add beauty to the card so designs can be as simple as you would like.

[Disclosure: Keep in mind that some of the links in this post are Amazon affiliate links which mean we earn a commission if you click through and purchase something. However, we only recommend products that we have used ourselves and the decision is yours whether or not to purchase an item.]
For this project, you will want the following:
- Cardstock
- Mulberry Paper
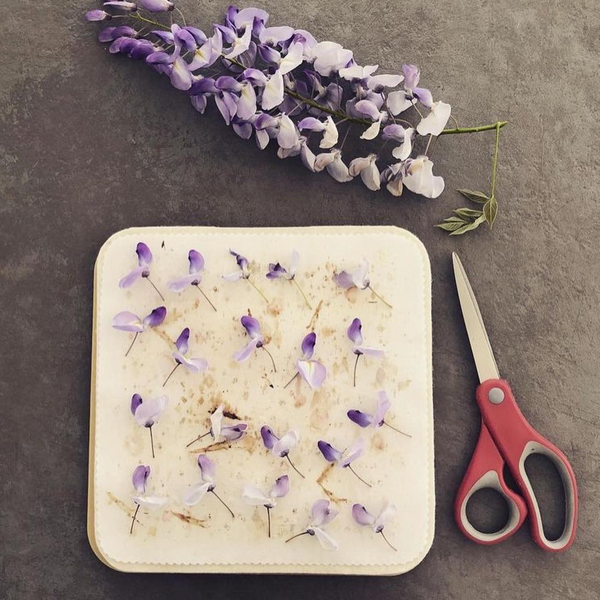
- Scissors
- Acid-free Glue
- Small Paint Brush
- Water
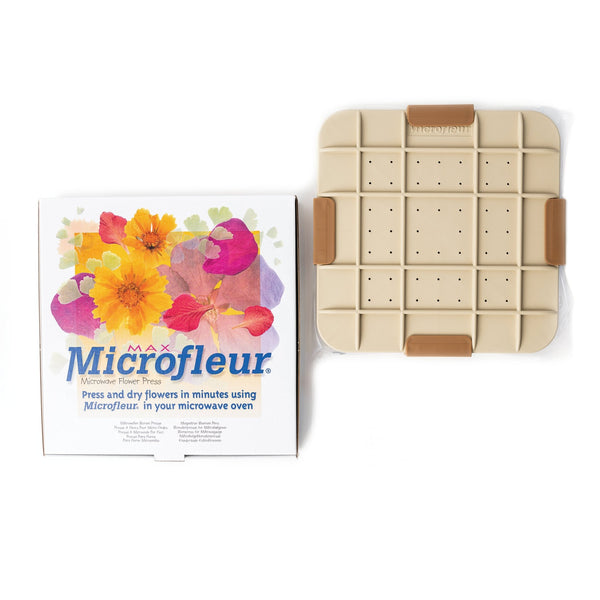
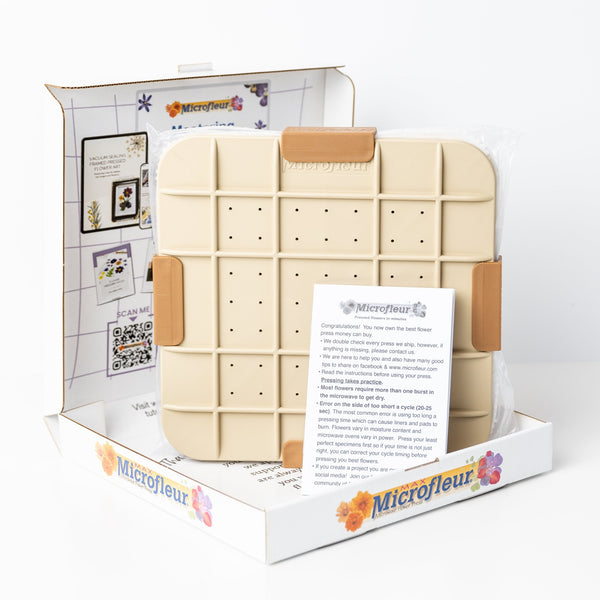
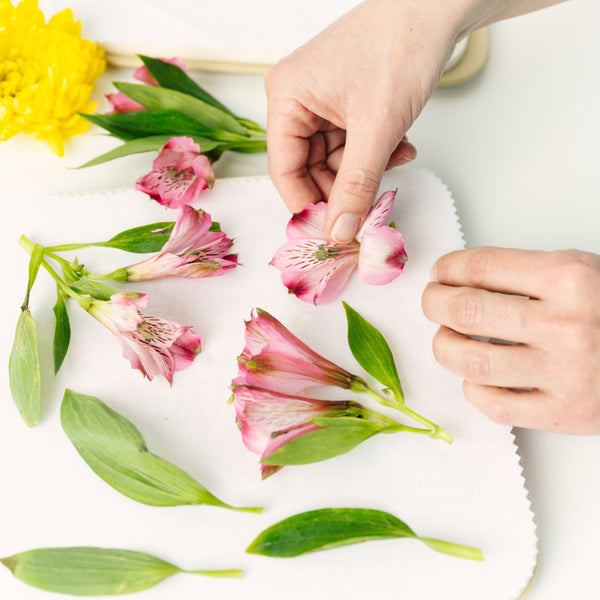
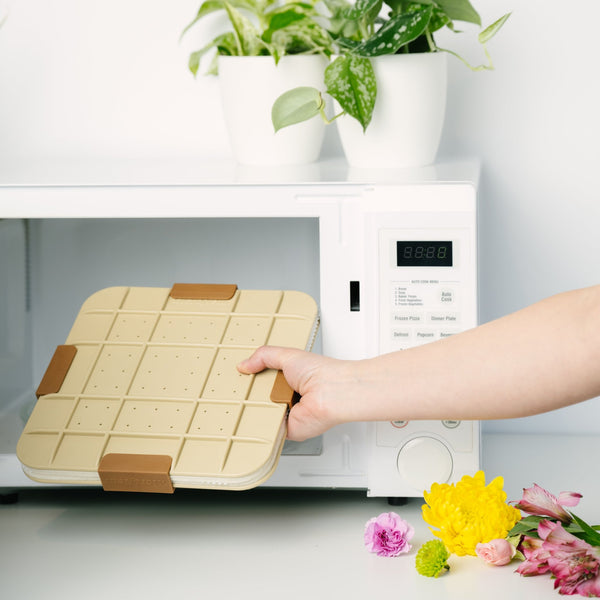
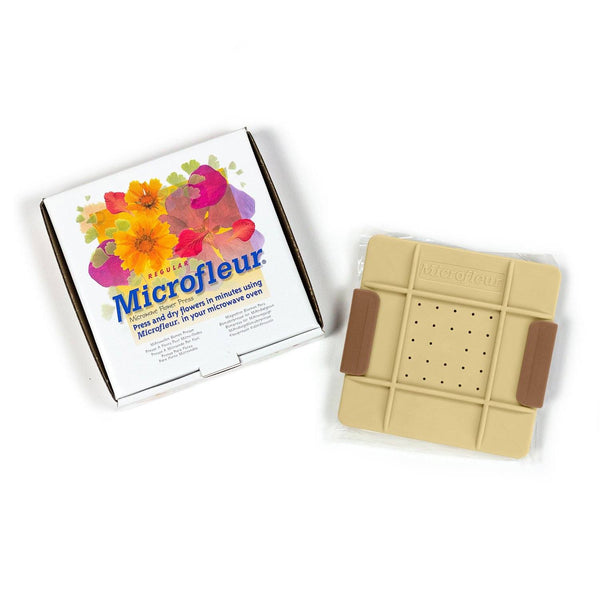
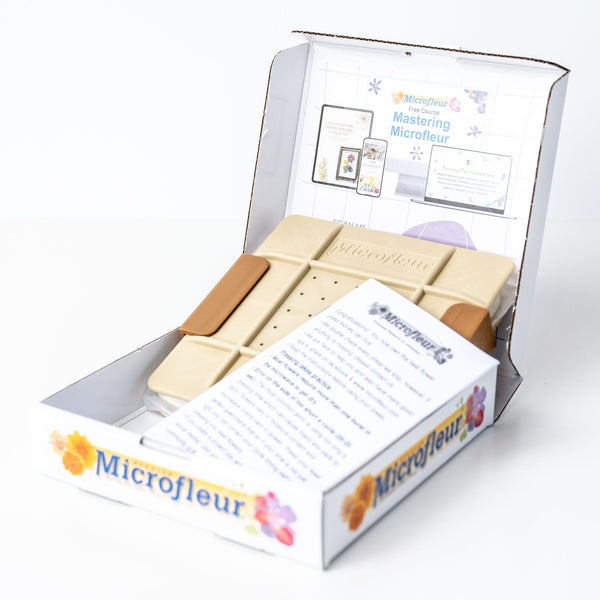
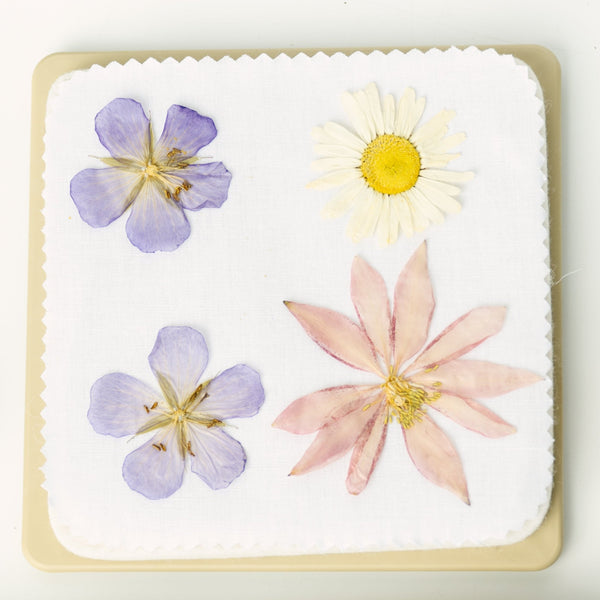
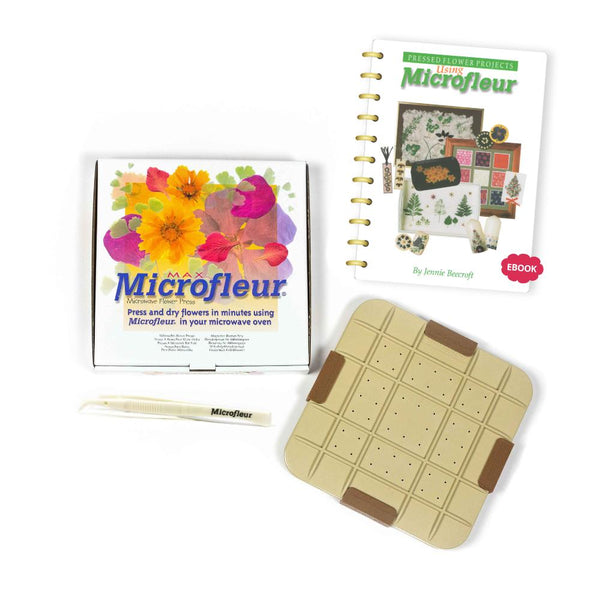
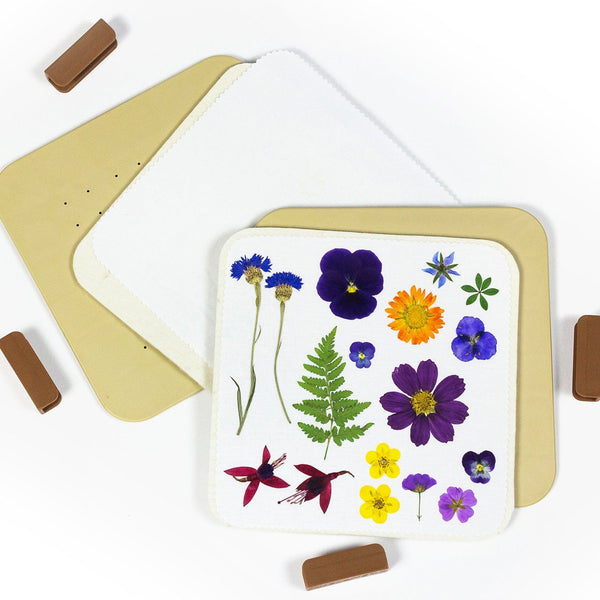
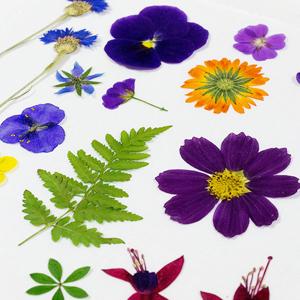
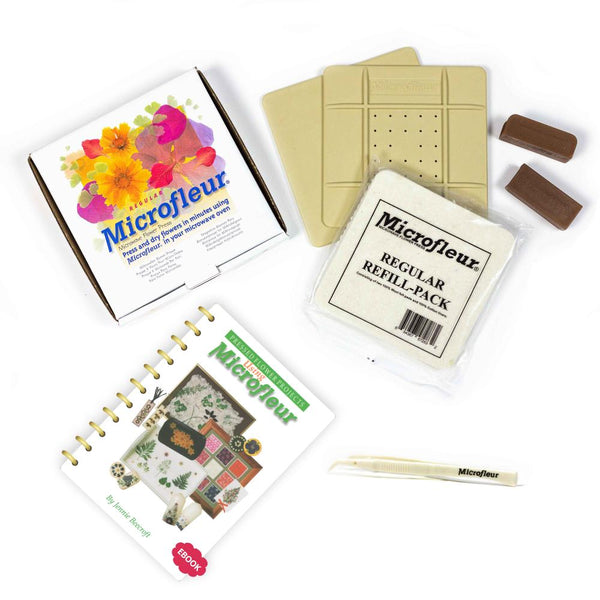
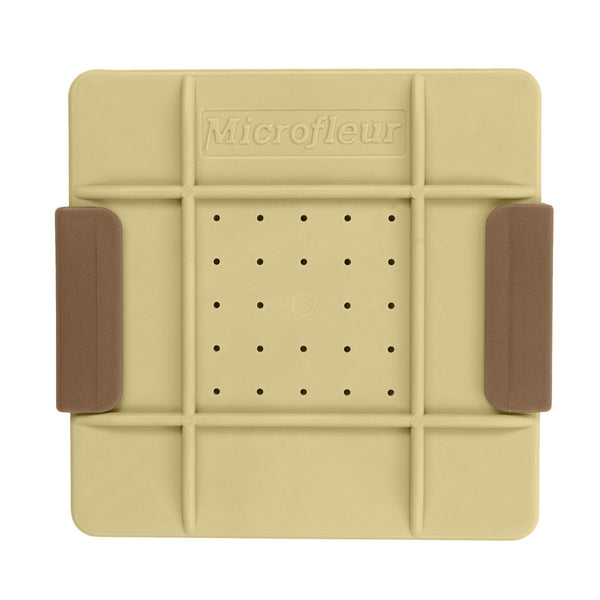
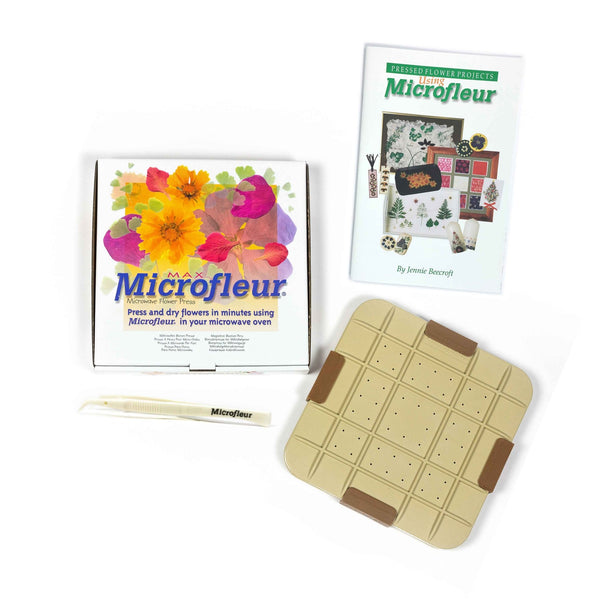
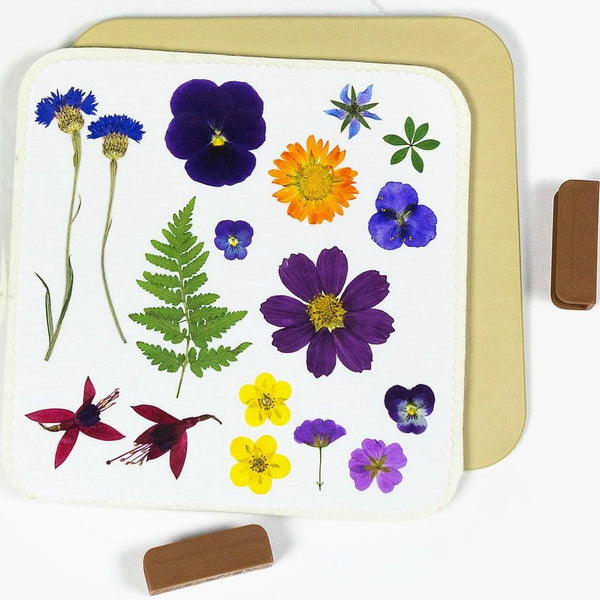
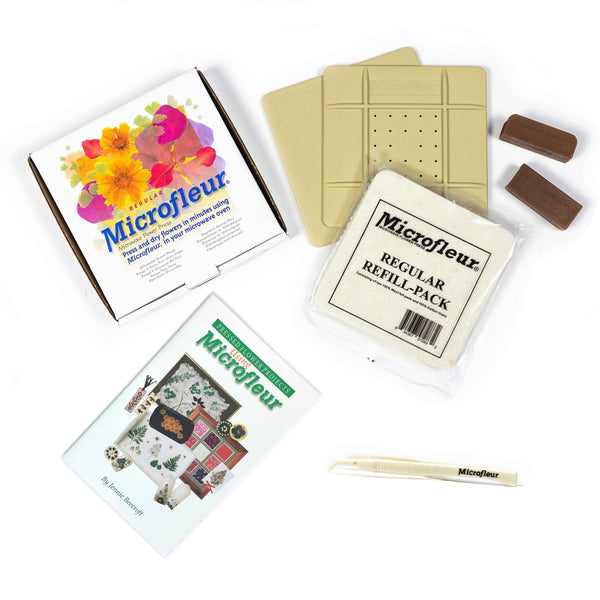
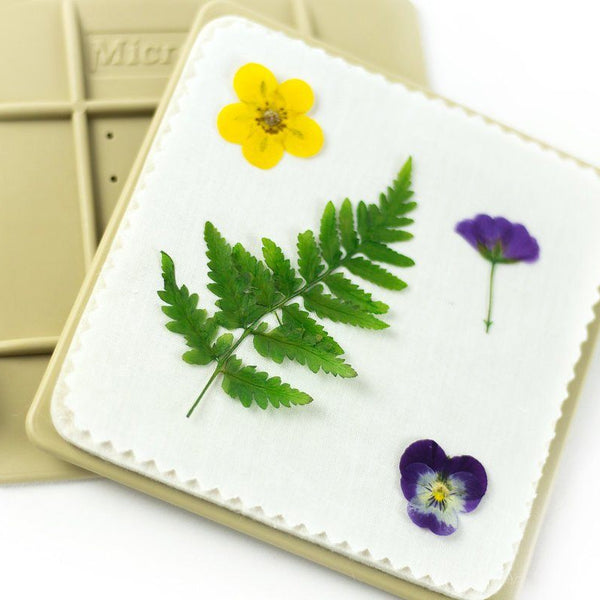
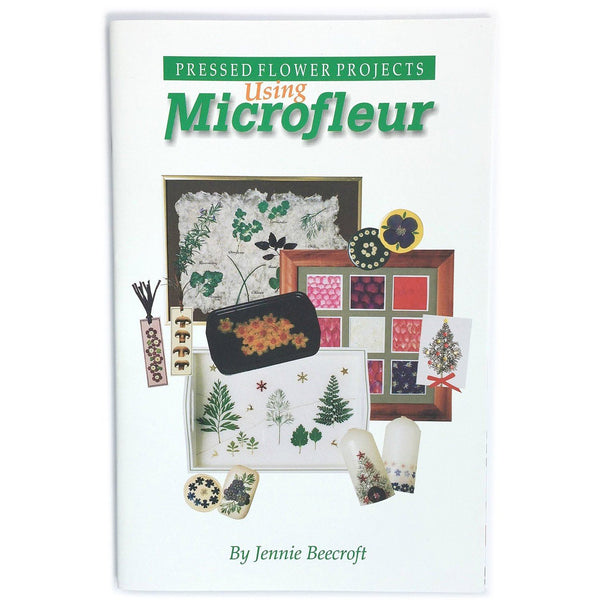
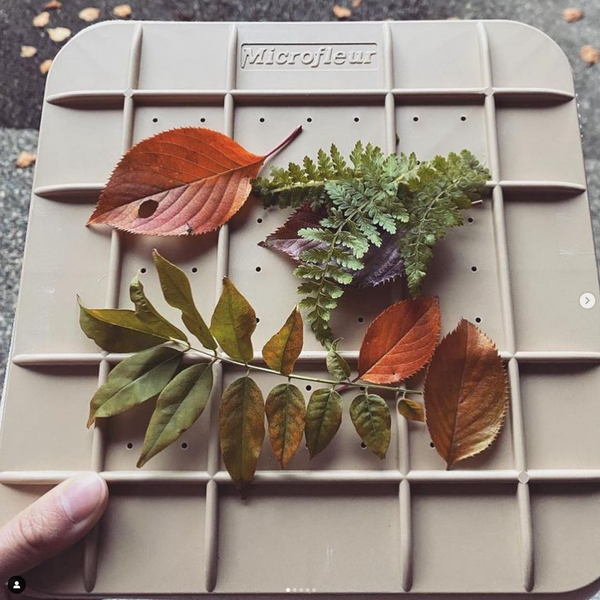
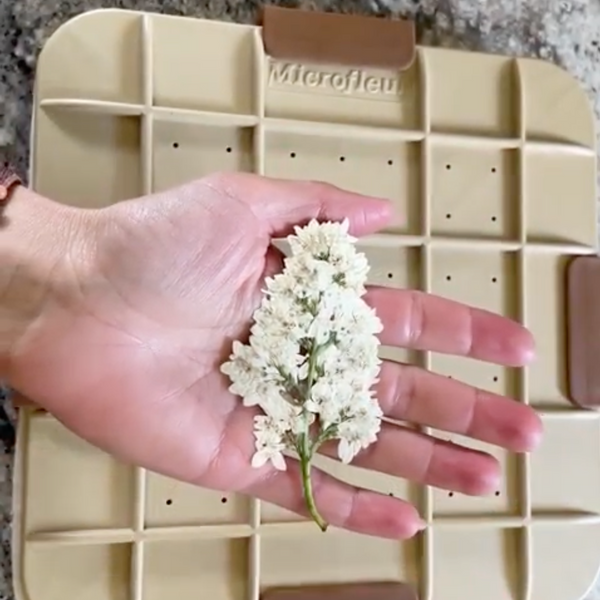
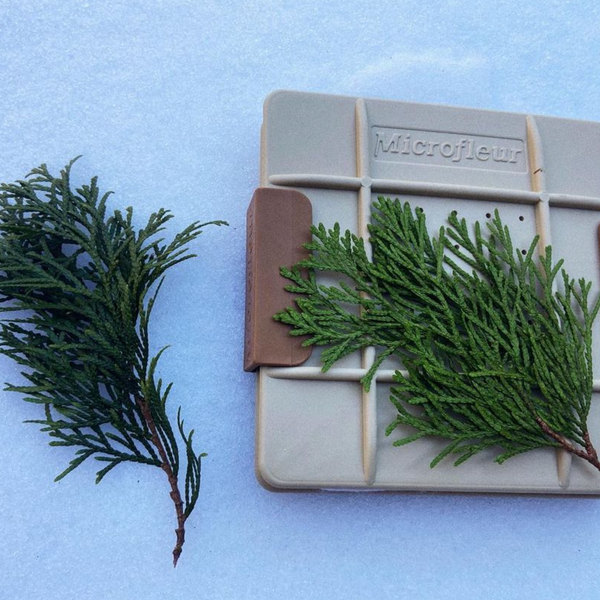
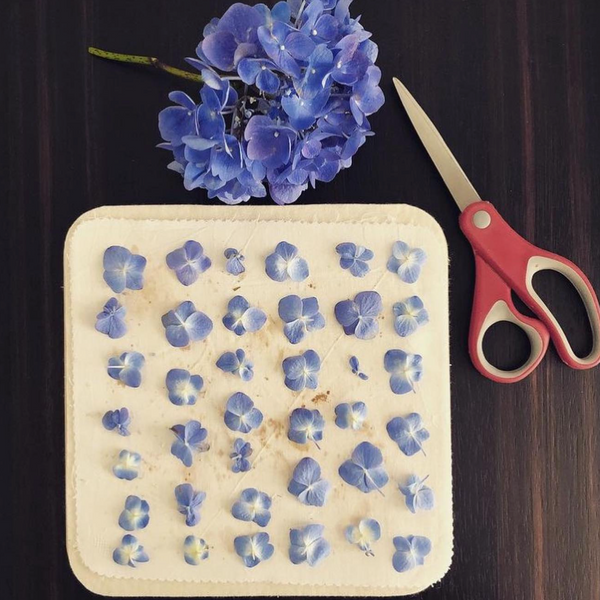
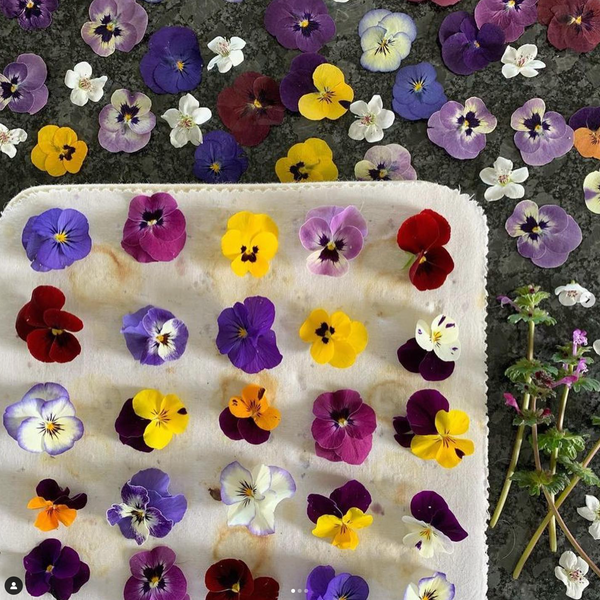
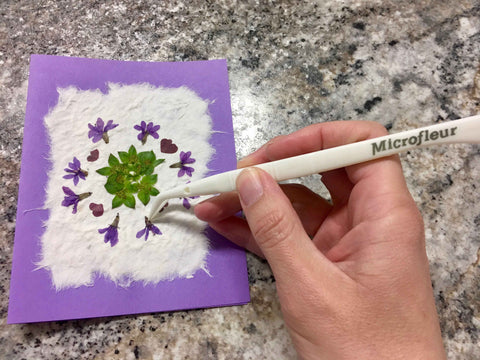
- Flowers - either already pressed or fresh (along with your Microfleur Microwave Flower Press. See the post about Flower Pressing Methods or our video tutorials for how to use the Microfleur)
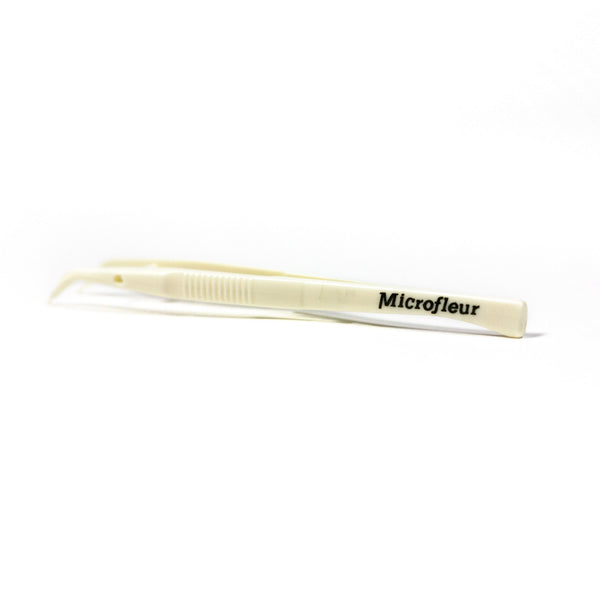
- Tweezers
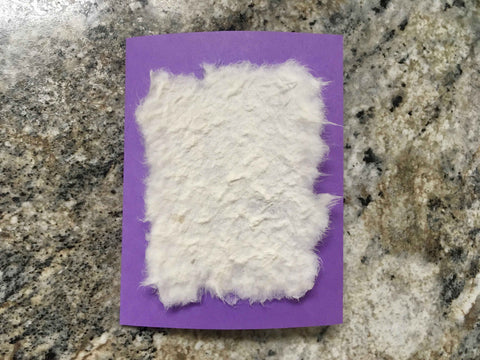
Start by cutting the card stock in half so you end up with two 5.5" x 8.5" pieces. Fold the pieces in half lengthwise and you will have two cards. Next, measure and cut a piece of mulberry paper the size of the front of the card (It will end up being smaller than the card when you are finished).
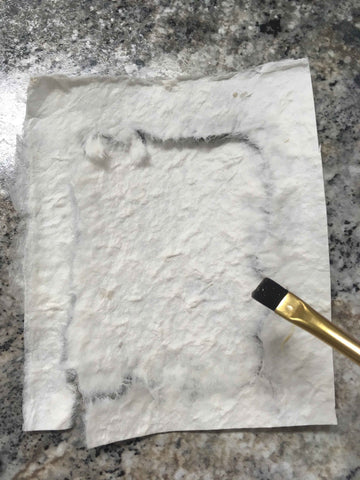
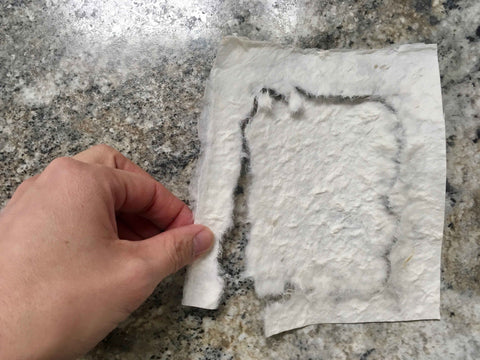
Take your finger or the paint brush, dip it in water, and wet the mulberry paper in the size and shape that you want it for your card. It can be rectangular, oval, heart-shaped, etc. It should tear easily, if not, wet it some more. Gently tear the outside portion off and you will be left with a frayed edge.
Spread glue on the back side and position it in the center of your card. The card stock will make a nice frame around your mulberry paper. Let it dry under a book or weight so the card stock doesn't curl.
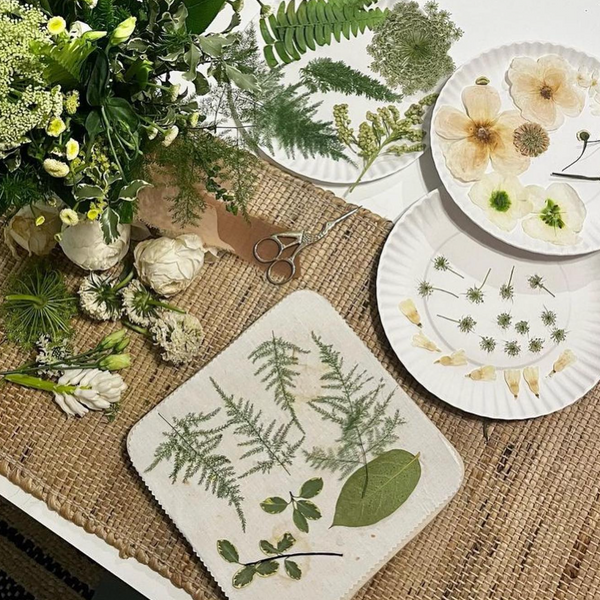
Once that has dried, you can gather your pressed flowers and arrange them on your card. It's recommended to arrange them first, before gluing, that way you can rearrange until you are satisfied with the look. Crafting Tweezers are great for handling the pressed flowers and placing them where you want them. Taking a picture of the arrangement with your phone, camera, etc. will give you a reference when gluing down the flowers (optional). Flip your flowers over, apply some glue, gently brushing on the glue starting from the center and out to the end of each petal, sticking them down in the arrangement you have chosen.
Depending on how many flowers in your arrangement, when finished gluing your pressed flowers down, you may want to spread some plastic wrap over the card (so your card won't stick) and place it back under the book or weight to let the glue dry to keep the card from curling.
Now all that's left to do is write a message inside the card and send it to that special someone.